
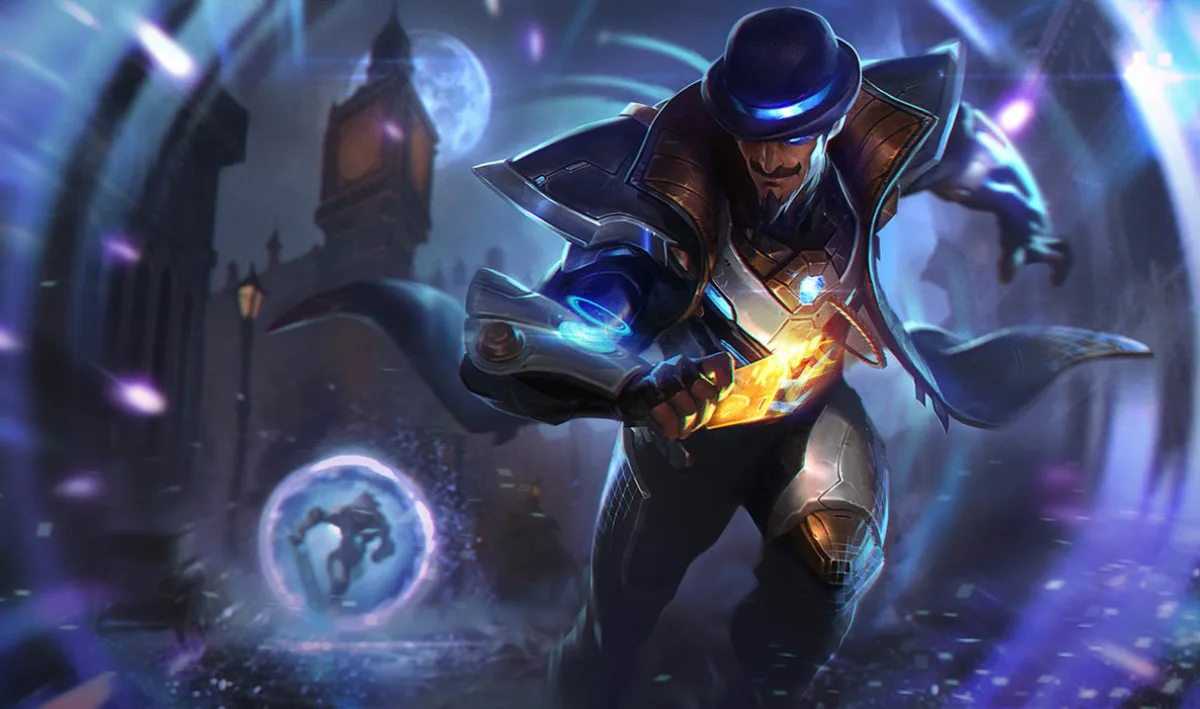
Taliyah, Twisted Fate, Galio, and Talon are our four best roaming mid laners, but they solve different problems. Taliyah cuts off a retreat. Twisted Fate brings a targeted stun from far away. Galio joins an ally already fighting. Talon crosses terrain to reach a vulnerable target from the side.
Choose the arrival your team needs, then learn to leave mid with enough time and resources to deliver it. A champion’s travel spell can shorten the journey; it cannot collect the wave you abandoned or make a teammate healthy enough to follow up. These are conditional recommendations, not a statistical power ranking.
Reviewed for modern PC Summoner’s Rift Patch 26.18 on September 10, 2026. The four travel tools and the cited mid-role quest and item functions retain the same restrictions. The recommendations concern leaving a playable mid wave.
Choose the kind of roam you want to make
For a broader lane-and-draft comparison beyond these four roaming jobs, see our best mid laners guide.
The departure starts with the wave you will return to
Before clearing a wave, look at the side lane you intend to visit. Are the opponents advancing toward your allies, or already retreating? Does your teammate have health, mana, and a useful spell available? Where was the enemy jungler last seen? Pick a plausible play before spending everything to push.
When you can safely finish a push into the enemy turret, do so. The full crash makes the opposing mid choose between collecting minions and moving. An unfinished push can leave your minions outside turret range, where the opponent may hold the wave and deny you farm on your return.
Check the next wave as well. A crash against someone who can clear quickly buys less time than a stacked wave they must spend several casts handling. A cannon does not automatically authorize a full bot-lane trip. The useful window includes getting there, attempting the play, and reaching farm again.
If the opponent cannot thin your wave or threaten you, you can build a larger wave before pushing it in. If they can punish every extra step forward, forcing a textbook slow push may cost all the health you needed for the roam. Take the safe clear or recall instead.
Do not leave a large incoming wave merely because your ultimate became available. Collecting the experience that unlocks your next level can matter more than arriving late to someone else’s fight. A nearby, decisive skirmish may justify losing farm, but make that trade deliberately; a distant enemy standing at full health usually does not.
Mid’s current quest rewards farming and timely movement
Mid still receives its Tier 2-to-Tier 3 boot upgrade on quest completion. Its other reward changed: patch 26.9 removed Empowered Recall, and patch 26.11 raised the replacement to 8% bonus AD and AP. Do not plan your return around the old faster recall.
Patch 26.9 also lets time spent in your assigned lane after level three bank enhanced passive quest progress for a later roam. Brief movement therefore need not immediately slow that passive progress. Missing minion kills and experience still hurts, and the bank is limited. It is permission to look for a good trip, not a reason to stay away indefinitely.
Travel toward information, not just toward the shortest line
Use the side of mid where your team has vision or a nearby jungler. A ward placed from safe ground can check an entrance before you cross it. Clearing a ward you discover may warn opponents that you are coming; if they back away, reassess instead of assuming the original gank still exists.
Watch the opposing mid while you move. If they disappear after you, warn the destination lane and account for a countergank. If they remain mid and push, your return is becoming more urgent. Neither response obliges you to continue.
Taliyah: put the enemy on the wrong side of the wall
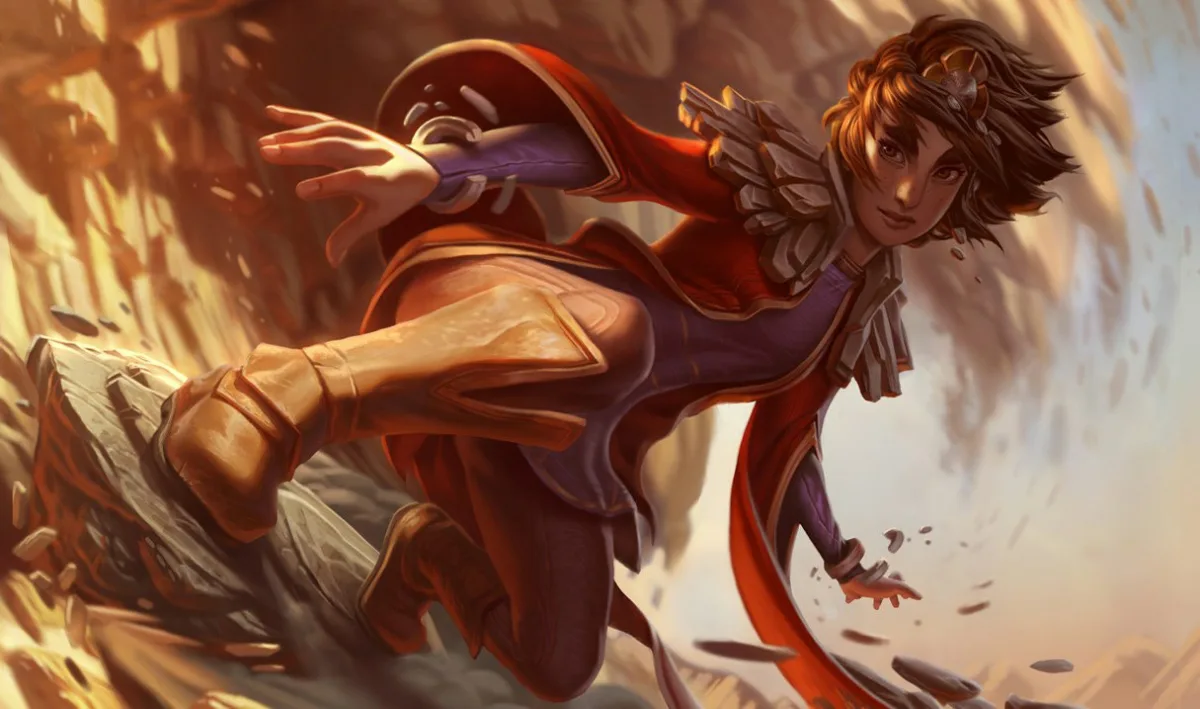
Taliyah works best when opponents have walked far enough down a lane that blocking their retreat changes the fight. Rock Surfing helps her travel beside terrain, while Weaver’s Wall can close a route behind them. She can also stay useful after the arrival through ranged damage and Unraveled Earth’s control.
Start with the minions. Threaded Volley’s rocks splash around the first enemy hit, so angle the cast to damage grouped minions rather than firing every rock into an isolated front minion. Casting on Worked Ground consumes it for a cheaper, shorter-cooldown boulder that slows. That can help manage mana, but it is a different cast from the five-rock volley; check whether the remaining minions actually die before walking away.
Keep enough mana for the destination. At level six with Q ranked three times and one point each in W, E, and R, a normal Q plus W, E, and R costs 295 mana before any additional casts. That is a spell-cost example, not a requirement to use the whole sequence. If pushing leaves less than the combo you intend to cast, recalling may create a better next window than arriving with only a wall.
A bot-lane approach with two possible endings
Suppose the opposing duo is pushing toward your healthy bot lane and your lower river route is covered. Clear mid, move down beside terrain, and check the duo again before casting. Rank-one Weaver’s Wall reaches 2,500 units, so level six does not let you connect every mid-lane position directly to bot. Move within range while the play still exists.
Draw the wall across the opponents’ retreat, leaving them on the same side as your allies. Do not cut your ADC off from the target simply to make the wall longer. Ride only as far as the fight requires, then get off where you can cast without becoming the closest target to both enemies.
If an ally has already locked someone down, place Unraveled Earth and use Seismic Shove to move that target through the stones. Enemies who dash or are knocked through the stones can be stunned. If the target is still free to dodge, an E covering its path may be more valuable than gambling both control spells at once. A wall-crossing escape or Flash can defeat the cutoff; the wall itself does not guarantee a kill.
The other ending is no cast at all. If the duo retreats before you reach a useful angle, leave the ultimate available and turn back. A safe ward on the return route can help the next attempt, but only if placing it does not add another dangerous detour.
Taliyah is vulnerable when the route becomes a close-range ambush. Recent champion or structure damage prevents her from casting Weaver’s Wall, so it is a poor last-second escape plan after she has already been caught. Once riding, moving or being immobilized ends the ride; ordinary damage alone does not knock her off. Riot established that distinction in her 12.9 update, and the current tooltip retains the cast restriction.
Twisted Fate: use Destiny to decide whether to Gate

Twisted Fate is the clearest choice when a side lane already has damage and needs reliable setup. Gold Card stuns through his next attack; he does not have to land a narrow skillshot to begin the follow-up. The recommendation here is an AP-oriented setup plan, not an on-hit build advertised as the same playstyle.
Destiny reveals enemy champions across the map, but Gate teleports only within 5,500 units. The reveal being global does not make the movement global. Gate also takes time to complete; Riot’s current description gives a 1.5-second teleport delay.
Before level six, use short walks with your jungler when the wave permits. Do not give away a large chunk of solo experience trying to imitate the ultimate you have not learned yet.
Your lane resources determine how often you can set up the real trip. Wild Cards travels through enemies. Red Card damages and slows an area, while Blue Card restores mana. Red can help finish a clustered wave; Blue can leave you better prepared for the next cast sequence. Spending every card on damage without checking mana can leave you able to reach a side lane but unable to contribute properly.
Look first, then choose the landing
After a crash, step toward the intended side without entering a blind corridor. When a real play is available, cast Destiny from a position where the opposing mid cannot simply walk up and punish you. Check the other enemy champions, not only the low-health target you already wanted to kill.
An apparently isolated top laner with a jungler beside them is a different play. You can decline to Gate. The ultimate has still revealed information, and keeping your life and wave is better than teleporting merely to justify the cooldown.
For a good landing, picture where your ally can attack when you arrive. Slightly behind or beside the enemy can cut off a retreat, but landing deep behind a turret may put you beyond all help. You need a position from which Gold Card can reach the target and your teammate can add damage, not the most aggressive point the range indicator allows.
Prepare Gold Card for the arrival, apply the stun, and aim Wild Cards while the target is controlled. Do not spend Gold Card on a nearby minion out of habit. If the opponent has already escaped your ally’s reach, turning the teleport into a long solo chase defeats the setup you chose TF for.
He is less convincing when the team expects the roaming mid to supply all the burst or tank the first engage. A targeted stun still needs follow-up, and Twisted Fate has no ordinary dash to undo a bad landing. When Gate is down, play within normal walking distance of the next fight instead of standing in a distant side lane as though the ultimate were still ready.
Galio: arrive where an ally can hold the fight
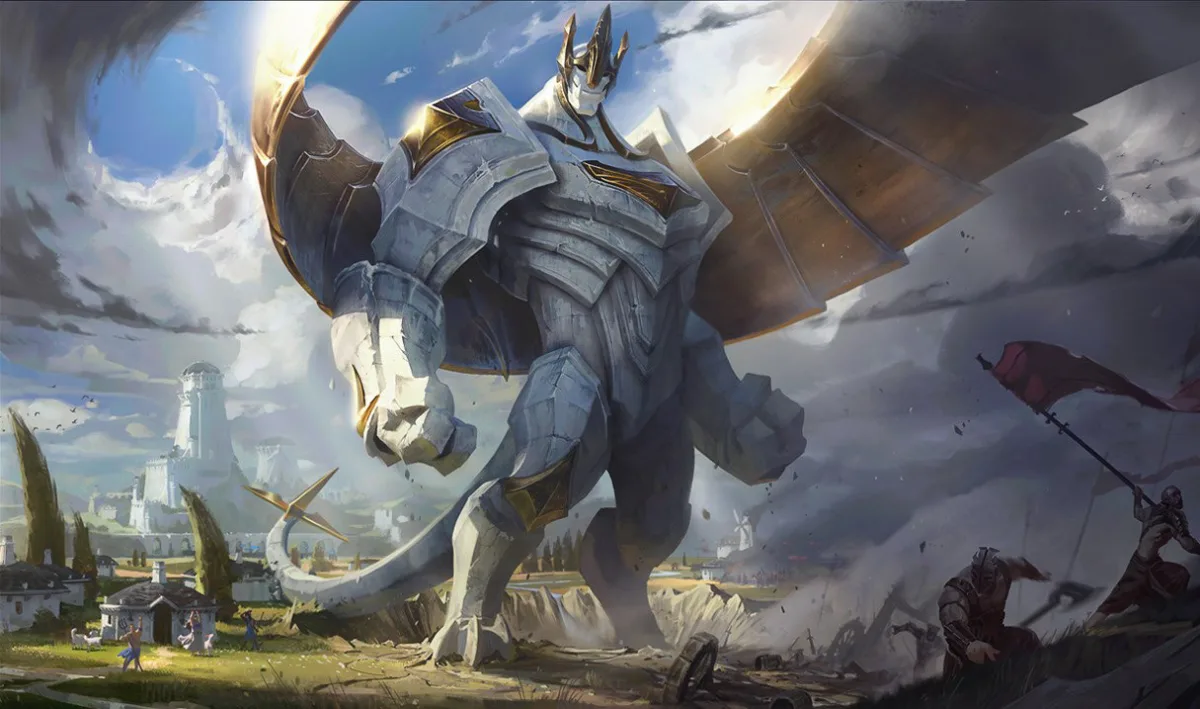
Galio turns an ally’s commitment into a second wave of crowd control. Hero’s Entrance requires an allied champion in range and uses that ally’s position as its landing zone. At rank one, its range is 4,000 units, growing with later ranks. A teammate in bot lane is not automatically reachable from wherever Galio happens to be farming.
Choose him when your jungler or side laner can make opponents stay near them long enough for the arrival. He is especially useful in a countergank: enemies have already stepped forward to attack your teammate, so the area they want to occupy is easier to identify.
The lane still needs work. Winds of War damages a group of minions, and Colossal Smash adds area damage to an empowered basic attack. Using the passive requires walking close enough to attack. Into a ranged opponent who is waiting to punish that step, clearing safely with Q may be slower but leave Galio healthy enough to help afterward.
Justice Punch is not a free wave-clear button when it is also the spell you need to escape a gank or reach the river fight. Its dash stops on terrain and the first enemy champion hit. Keep it available when a nearby threat can exploit the cooldown.
Follow the fight, not just the ally portrait
Imagine your jungler is moving into lower river after you have cleared mid. Walk far enough toward that side to place the jungler within ultimate range, then keep watching the space around them. You can threaten to reinforce without abandoning several waves to stand in bot’s lane brush.
Before casting, judge where the fight is heading. An ally retreating away from the position you would target may draw the fight out of your landing area. If they are already overwhelmed and your remaining teammates cannot approach, decline the cast rather than arriving alone after their death.
When enemies commit and the resulting fight is playable, cast while your ally still has room to survive the delay. Hero’s Entrance grants nearby allies a magic-damage shield, not a shield against every damage type. It cannot absorb the physical portion of an assassin’s combo or ordinary physical attacks just because the visual effect appears. The landing knockup may help stop those attackers, but that help arrives later. Riot’s shield clarification
After landing, extend the control with Shield of Durand when enemies are close enough to taunt. Longer charging increases its reach and taunt duration, but also leaves Galio moving slowly. Release when it will catch the target; waiting for the longest possible charge is pointless if the opponent leaves the area. If you need Justice Punch next, account for the enemy frontline that can intercept it.
A canceled opportunity does not require a consolation roam. Stay in range briefly if the threat remains real, then return to the next mid wave. Galio is a poor fit for a plan that asks him to appear alone behind two ranged carries without an ally already near them. He can reinforce an engage or protect a retreat; his ultimate does not independently create its own target.
Talon: leave a different wall for the way out
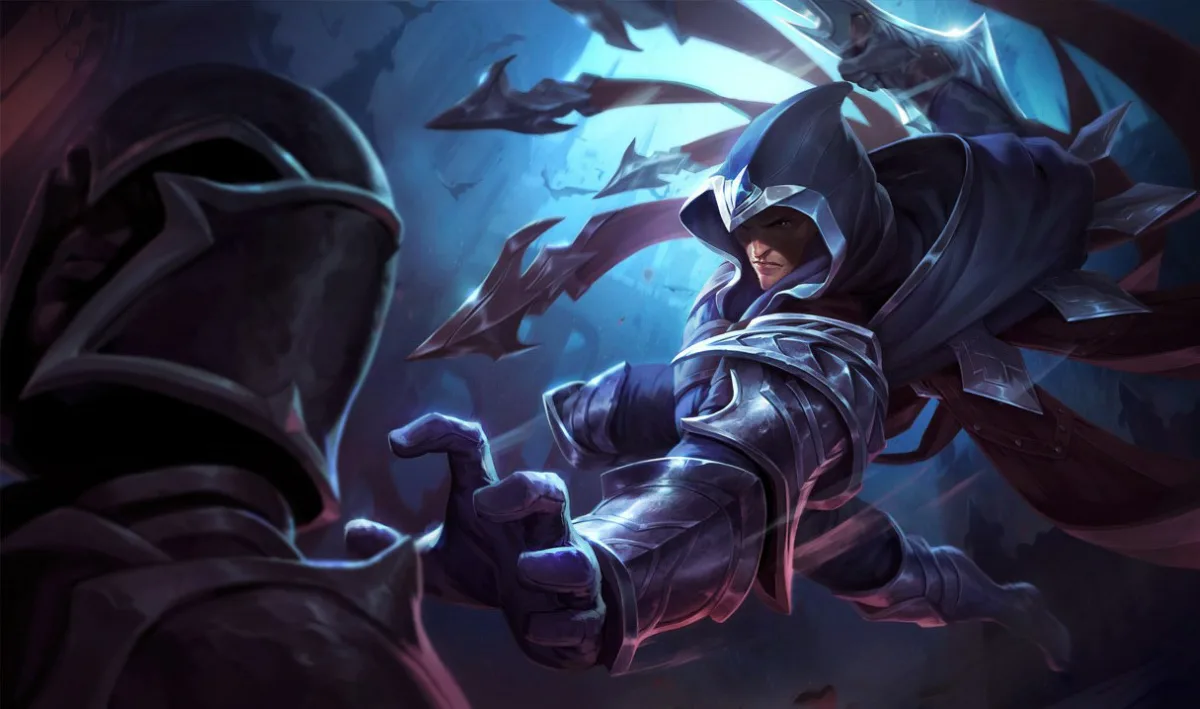
Talon’s Assassin’s Path lets him vault terrain and structures, opening flanks well before an ultimate-based roamer gains level six. The catch is that terrain he has just crossed goes on a separate, long cooldown for him. The ability being ready does not mean the same wall is ready.
Use him when physical burst and access to a fragile target fit the draft. His arrival is less useful into a compact group that can protect its carry, or when another physical-damage pick leaves your team struggling against armor. Reaching the backline is not the same as having enough damage and time to kill someone there.
Rake is central to creating the departure. Its blades deal damage outward and on the return, with the returning pass also slowing enemies. Position so the return catches the minions you need to finish. Leaving after the first pass while the wave survives can cost more than the wall shortcut saves.
Do not assume Talon always wins the early push because he roams well. Repeatedly walking up into a ranged opponent’s attacks to force Rake onto every minion can make the eventual gank unplayable. Noxian Diplomacy can restore health when it kills a target, but that sustain does not repay every trade you take while trying to shove.
Plan entry, target contact, and exit separately
Suppose your jungler is already covering the lower side and the enemy ADC has moved ahead of its support. After clearing mid, use the covered approach to reach terrain beside the lane. Check which wall you will cross to enter and which different section remains available if the support turns around.
If the landing side is unobserved and several enemies are missing, the shortcut may deliver you directly into them. Stay with the route your team can support instead of treating every wall as an invitation.
For a basic non-ultimate kill pattern, hitting both passes of W and then Q can supply the three Wound stacks for Blade’s End. You still need a basic attack on the fully marked champion to trigger the bleed. If the returning W misses, count the stacks again; the target does not bleed automatically just because you reached melee range.
At level six, Shadow Assault adds invisibility, movement speed, and another way to apply damage. Ending its invisibility with an attack or Q directs the returning blades toward that target. It improves access and the burst sequence, but spending it on entry can leave fewer options when the second enemy arrives.
Cancel when the ADC returns to its support and frontline before you commit. Do not convert the lost flank into a head-on attack on the tank. If you have already crossed one wall, use the remaining safe route to leave; jumping deeper to search for someone else is how a short roam becomes a missing mid laner for another wave.
Buy for the wave problem that is stopping your roam
Movement speed helps only if you can first leave lane in a useful state. For an AP Taliyah or TF build that uses it, Lost Chapter adds mana and restores some mana on leveling up. That can address repeated clearing costs. Basic Boots help reposition and travel; defensive boot choices may be more valuable when surviving the lane is what lets you push at all.
Youmuu’s Ghostblade combines lethality with out-of-combat movement speed and an active speed boost, making it a relevant mobility option for Talon’s physical-burst plan. Judge that travel benefit alongside the damage you need to finish waves. These are item-function examples, not a claim that every game demands the same first purchase.
When the roam produces nothing, stop spending time on it
First, check mid again. If the next wave is reachable and you have enough health and mana to collect it safely, take the shortest safe route back. If you need to buy or recover resources, recall from a protected spot instead of walking halfway to mid and recalling there anyway.
If your opponent has held the wave far forward on their side, do not sprint into a possible gank to recover every missed minion. Ask your jungler for help breaking the hold, use the farm your range permits, or accept a small loss until the wave changes. An empty roam followed by a death is much harder to repair than an empty roam alone.
When your ultimate is down, warn teammates and adjust your position. TF and Galio cannot promise the same distant reinforcement. Taliyah can still walk toward a nearby fight and control an entrance. Talon can still find another terrain route, but should not assume a used wall has reset just because the previous play ended.
Do not automatically tax the side lane to make your personal score look better. Help push when it gives your teammate a needed recall or denies the opponent a wave, and consider what you are missing mid while doing it. A forced enemy recall, a saved ally, or a useful summoner spell can make a roam worthwhile without a kill; none grants unlimited time for a second attempt.
For your next replay, pause at the moment you left mid. Name the expected arrival, the next wave you intended to collect, and the first change that should have made you turn back. If you can identify the destination but not the return or the abort point, practice that decision before adding another roamer to your pool.
Before roaming, recheck the wave, destination, travel restriction and the spell you need when you arrive. A faster route is useful only if the play remains available.