
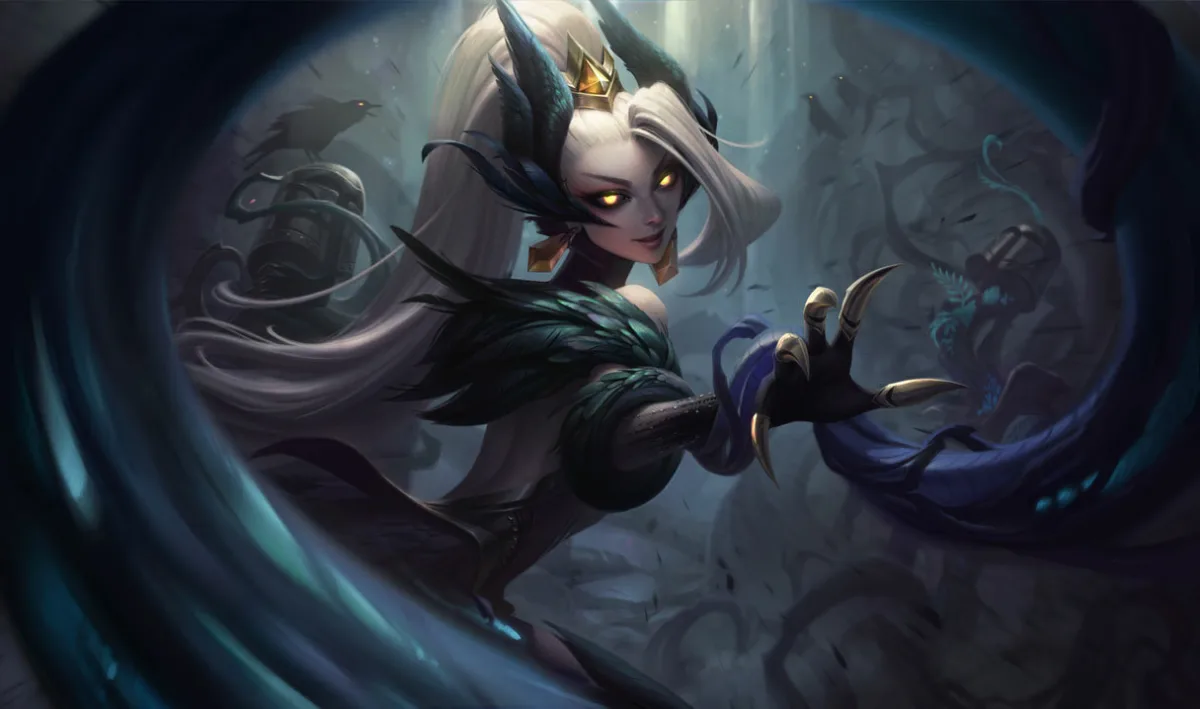
The damage chart is a poor way to choose a carry support. It cannot tell you whether your poke forced an important recall, whether your stun stopped a shutdown, or whether your team had any way to follow an engage. Zyra is our default recommendation among the best carry supports because she combines meaningful damage with roots, plants, and a teamfight zone the enemy has to respect.
Pick Pyke if you want to create and finish catches, Brand if you want damage to spread through grouped opponents, and Senna if you want a ranged threat that grows alongside her utility. Lux offers a more direct ranged pick pattern. Rell and Sona belong here too: deciding when a fight starts or keeping the team alive through another round of spells can carry a game without topping its damage chart.
Reviewed for modern PC Summoner’s Rift Patch 26.18 on September 10, 2026. The selected carry-support jobs and referenced quest and item functions are unchanged by this patch. Influence is judged on support income rather than by an old result table.
Choose the kind of carry support you want to play
The first five give you more direct damage responsibility. The last two give you different decisions to control. If you mainly need help filling a missing job in champion select, our broader best support champions guide covers that question.
1. Zyra turns lane pressure into control of an entrance

Zyra can punish a last hit, threaten a root, and make opponents walk through plants to reach her team. Deadly Spines grows ranged Thorn Spitters from nearby seeds. Grasping Roots can instead grow shorter-range Vine Lashers whose attacks slow. Stranglethorns adds a delayed knockup and enrages plants inside it. Those tools give her useful decisions before and during a fight.
In lane, aim for pressure your ADC can use. Hitting the opposing carry as they approach a low-health minion may force them to choose between the farm and their health. Throwing area damage through the whole wave while your partner is trying to hold it near your tower may undo a favorable position.
You do not need to throw E every time it is available. Against a support waiting to engage, keeping the root makes their approach harder. If you spend it for a speculative hit, back off while it recovers instead of standing in the same aggressive spot with one fewer answer.
The payoff for a won trade is a better next position. Help crash the wave if that is the plan, reset with your partner, and reach the next contested entrance with teammates. Seeds and plants near a river approach can make the enemy reveal how they intend to enter. A root into Stranglethorns is more useful there than an ultimate thrown at opponents who can simply leave its area.
Zyra fails when she has to build that position alone. An assassin approaching from the side does not care that plants cover the other entrance. Stay close enough for allies to contest the space with you, and do not treat plants as permanent wards or guaranteed protection.
2. Pyke has to spend his lead before the next pick gets harder
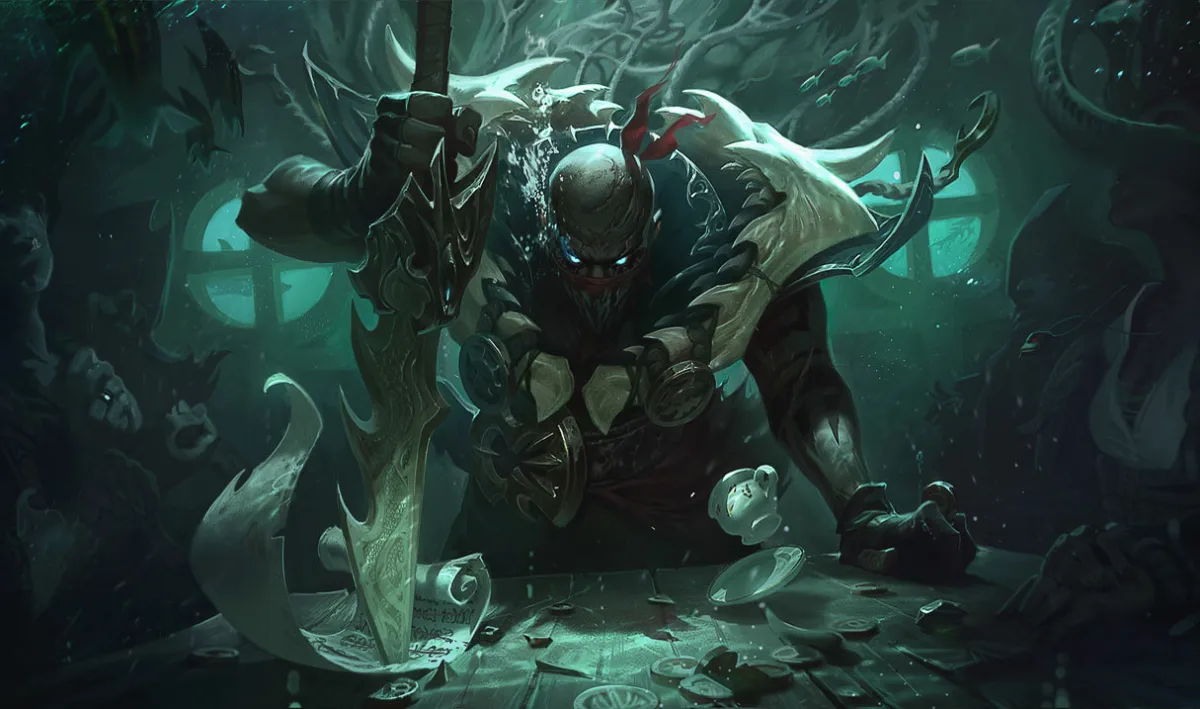
Pyke gives a support player unusual finishing power. Death From Below can execute a champion beneath its threshold, and a champion dying inside the X allows a recast. When Pyke gets the execute, the last assisting ally also receives kill gold. He has a reason to finish a target that differs from a mage trying to collect every kill.
The first opening still needs to happen. Use the threat of Bone Skewer to limit where the opponent can stand, then look for a clear harpoon path or an ally’s crowd control. Phantom Undertow can extend the play through its returning stun. Spending the dash aggressively is a commitment, though, and a missed sequence can leave Pyke surrounded.
After a kill, decide what the absence buys. Perhaps your ADC can crash and recall safely, your jungler can enter river, or the team can take a turret while its defender is dead. Chasing another opponent without looking at those options can waste the advantage you just created.
Pyke is not a conventional late-game frontliner. His passive converts bonus maximum health into attack damage rather than letting him build a normal extra-health pool. Once opponents group around their carries, a hook on the wrong target can start a fight their team wants.
When you are behind, look for an assisted catch rather than a duel. Play near the teammate whose damage makes the target killable, help control a safe approach, and preserve E if the enemy can collapse. Your execute can finish an opportunity someone else starts; you do not have to force the opening and the finish by yourself.
3. Brand wants enemies close enough to share the damage

Brand is the more direct choice if your goal is to deal threatening magic damage from the support slot. His spells apply Blaze, and reaching three stacks on a champion starts a delayed area explosion. Pyroclasm bounces among nearby enemies and can also use Brand as a bounce target. Its bounces favor completing Blaze stacks on champions. A fight in a narrow approach can give those effects more useful targets than a scattered chase.
Spell order changes what you get. Sear, his Q, only stuns a target already affected by Blaze. If an enemy is within Conflagration range and the Q line is clear, E can apply Blaze before Q follows. Opening with an unprepared Q does damage, but it does not supply the stun you may need to survive the response.
Against an opponent standing farther away, wait for a reachable cast or teammate setup rather than walking forward just to force that sequence. Brand has no dash to correct an approach that turns out to be too close.
Conflagration spreads around its target, with a larger spread when that target is already ablaze. This can punish an opponent standing near the wave, but it can also damage minions your ADC wanted left alone. Check both outcomes before casting. More total damage is not automatically a better lane trade.
Brand’s late-fight value depends on getting the spells out. Stay offset from the ally who is likely to receive the first engage, then cast into enemies who have committed. Deliberately dying for one rotation is not a default plan: surviving may give you another stun, another cast, and the ability to help take the objective afterward.
He is a worse answer when your team already has ample magic damage but nobody who can stand in front, or when ranged threats keep forcing you away before you can participate. A damage pick still needs access to the fight.
4. Senna adds a second ranged threat without giving up every support tool

Senna offers a different version of the carry-support idea: a marksman who also heals, roots, and shields. Absolution grants attack damage, attack range, and critical strike chance through collected Mist. Piercing Darkness damages and slows enemies while healing allied champions along its path. That gives her a source of permanent progression and a way to contribute to an ally’s trade at the same time.
Look for attack windows after the opposing support spends an important threat, not whenever a soul is available. Senna’s attacks take time to fire. Stepping forward for an extra collection or hit while a hook is ready can cost more health than the reward justifies.
Q positioning deserves attention. A cast that passes through an injured teammate and reaches the opponent has more value than tunnel-vision damage that leaves your partner exposed. Last Embrace can help keep an enemy in place, but its root is delayed; landing W does not instantly stop someone already reaching you.
As the map opens, use your growing range behind teammates who can occupy the dangerous ground. Collect nearby Mist when safe, then reposition with the group. You are not required to follow a scattered soul trail into an area your team cannot defend.
Dawning Shadow’s wide allied shield makes it worth watching a fight before someone is almost dead. Its damage is in the narrower center. Sometimes protecting the teammate who can finish the fight matters more than aligning the beam to claim the last hit yourself.
Senna is an awkward pick if your composition already consists of vulnerable ranged damage dealers with nobody to protect them. More eventual range does not answer a dive today. In that draft, the carry contribution your team lacks may be Rell’s setup or a protective support rather than another weapon.
5. Lux makes one caught target easy to punish

Lux is a practical damage-support choice when you want a clear ranged sequence without Brand’s need to manage Blaze or Zyra’s plant placement. Light Binding roots the first two enemies it hits, Lucent Singularity provides a slowing zone, and Final Spark adds damage along a long line. Prismatic Barrier shields allies on the outward and returning paths of the wand.
One minion in front of a champion does not necessarily stop Q from reaching them; two intervening enemies can use up its hits. Watch the actual line instead of treating the whole wave as either an impenetrable wall or irrelevant.
You can also leave E’s zone active briefly when its slow makes a follow-up easier. Detonating immediately is not always the best use of the spell. Once Q lands, check that the target is still in a useful position and that your team can follow before committing the rest of your damage.
The carry trap is forgetting W and overvaluing Illumination attacks. A passive-enhanced attack adds damage, but walking into an engage to deliver it can lose the entire trade. If your partner is taking return fire, send the shield through them while maintaining your own safe position.
Lux loses much of her threat when she misses Q and continues walking forward. Fall back during that opening, especially against champions who can close the gap. When behind, a binding and well-aimed shield remain useful even when your full combo no longer removes a health bar. Play for a target your team’s damage can finish instead of assuming every hit should be a solo kill.
6. Rell carries by making allied damage connect

Choose Rell when your team already has damage and needs someone to put enemies within reach of it. Crash Down creates a knockup, Shattering Strike breaks shields and stuns, and Magnet Storm pulls nearby opponents inward before dragging them toward her. Full Tilt accelerates Rell and an ally to help the approach.
Your most important check happens before the cast: can the damage arrive? An impressive multi-target entry accomplishes little if your ADC is beyond attack range and your mid laner is behind a wall. A smaller catch on someone your team can immediately punish may be much better.
Magnet Storm is not a blanket stun that prevents every enemy action. Its ongoing field does not interrupt their other actions, so opponents can still respond or use movement abilities to escape. Riot’s Magnet Storm description
Identify the displacement or disengage that could ruin your landing before you commit. An approach from fog, a teammate forcing that spell first, or simply waiting can make the difference.
The decision can also reverse once the fight starts. If your fed carry is being reached, keeping Q or your next disruption for the diver may win more than trying to chase the enemy backline. Carrying through Rell means choosing the right fight, including the defensive one.
When behind, avoid entering alone to "make something happen." Look for a nearby ally who still has meaningful damage, then play around a reachable target. Your crowd control does not require the income of a solo-lane carry, but your teammates still have to be there.
7. Sona makes a second round of spells possible

Sona is the pick for players who want to carry through repeated team support rather than burst. Her basic spells provide damage buffs, healing and shields, or movement speed. Accelerando rewards effective spell use with basic-ability haste up to its cap, then reduces the remaining cooldown of her ultimate through further qualifying uses. She benefits from a fight that lasts long enough to use those tools again.
Power Chord gives you a specific choice that is easy to miss while cycling abilities:
- After Q, the empowered attack supplies extra damage.
- After W, it reduces the target’s physical and magic damage output for a short time.
- After E, it slows the target.
If a diver is threatening the ally who can win the fight, the W version can matter more than another damage hit. If the team needs to keep someone within reach, E’s version has a different job. Still respect attack range: an ideal chord is not worth walking into a stun to deliver it.
Stand where your auras can reach useful teammates without putting you at the front. Keeping several allies alive through an exchange lets them continue dealing damage, contesting the entrance, or finishing an objective. Buying only for your own burst would work against the reason to choose Sona here.
Her limitation is how easily an abrupt fight can end that plan. If Sona gets caught before the first important cast, there is no second round. Lane requires particular care when opponents can force an all-in; do not spend health for a poke pattern your duo cannot defend.
Sona is also less able to create a distant pick on her own than Pyke or Lux. Choose her when you enjoy managing an entire fight from within your team’s formation, and recognize that a regroup or safe reset can be more valuable than extending an exhausted chase.
Keep the support economy working for you
A carry-support plan should function without taking over the ADC’s normal farm. Help prepare or clear a wave when the lane needs it, use the support quest properly, and collect a wave that would genuinely die unclaimed. Allocate farm to the teammate who can use it best instead of competing for every minion.
That is a team-resource decision, not a warning about the old excessive-farming penalty. Riot removed the support gold reduction for killing too many minions in quick succession in patch 26.7. You can catch otherwise lost farm without invoking that removed restriction. Riot’s patch 26.7 notes
Current quest rules matter here. Patch 26.16 equalized quest-stack rewards from champion or turret damage with those from minion last hits at the corresponding quest stages. Risking your health just to hit a champion is no longer justified by the old higher-progress comparison. It can still be a good trade, but it needs a lane reason. The same patch strengthened the early off-bot minion gold and experience penalty to discourage supports behaving like a second jungler from the opening minutes. Riot’s patch 26.16 notes
Make item decisions around the job you are performing. Zaz’Zak’s Realmspike adds a damage effect when an ability hits a champion; Dream Maker rewards healing or shielding another ally with offensive and defensive follow-up. Both are current support-quest upgrades with ward access, but they solve different problems. Copying a damage-focused setup onto Sona because the page says “carry” misses the point.
Keep warding as your damage grows. Travel with help into contested areas and replenish vision on a useful reset. A fed support dying alone before the objective can remove both a damage source and the team’s ability to approach safely.
When a lead does not become a win, inspect the next decision
Review what happened immediately after you gained an advantage. That is often more revealing than the champion’s final damage total.
You won the trade, but the wave became worse. Check whether an area spell or plant pushed minions your ADC needed held. The next adjustment is spell placement or a coordinated crash, not necessarily more damage.
You landed the engage, but nobody dealt damage. Look at ally distance, mana, and available spells at the moment you went in. Rell connecting with several champions and Pyke catching one are only useful if someone can punish the targets.
You got the kill, then lost the objective anyway. Check health, recalls, wave positions, and where the enemy jungler was. A kill may create time for a safe reset rather than an immediate dragon. Starting it while everyone is nearly dead can hand the advantage back.
You were ahead, then spent the next fight unable to act. Identify the spell or flank that reached you. Preserve the root, stun, dash, or defensive position that answers it next time. More gold helps only if you are alive and in position to use what it bought.