
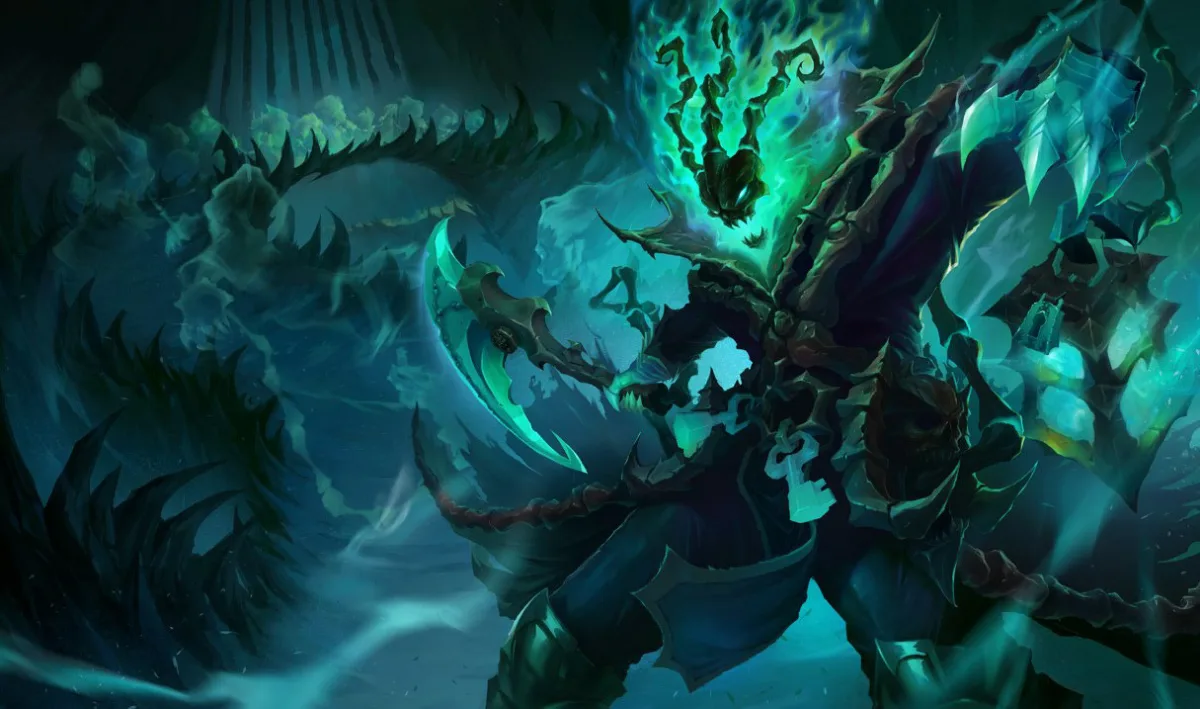
Thresh lands a hook on the enemy support. His ADC is still finishing a minion, a large enemy wave stands between them, and the enemy marksman has every spell ready. Taking the second Q would turn a successful hook into a bad fight. Picking a good Thresh partner starts with recognizing that difference.
Jinx is our default recommendation with Thresh. She can extend his catches with Chompers, and his lantern gives an immobile carry an escape she cannot supply herself. Pick Draven when the plan is early trading pressure, or Aphelios when both players will coordinate around his weapons. Lucian, Kalista, and Jhin round out the shortlist for different kinds of follow-up.
Thresh’s partners are chosen for reachable follow-up and a usable lantern route in normal PC Summoner’s Rift. His 26.17 Flay damage reduction remains part of that damage budget. The 26.18 changes do not alter the featured catch-and-retreat interactions. Riot's 26.18 notes.
Choose the lane you can actually follow up on
The order is a starting point for champion select. If you already play Aphelios or Kalista well, that familiarity can outweigh this order. All six are marksmen whose usual sustained damage is predominantly physical. Thresh’s magic-damage spells and occasional magic damage in their kits do not solve a team composition that badly needs a separate magic-damage threat.
The first two waves decide which hooks are useful
Give the lane a plan before Thresh throws anything. If you can contest the opening wave without losing too much health, help clear it and track the level-up race as the second wave arrives. Step forward together just before your next level, not after the opponents have already recognized it and retreated. If they will level first, give ground early; a landed hook does not compensate for both enemies gaining another spell.
The skill choices matter. Thresh with Q and E has a different level-two lane from Thresh with Q and W. The former can add Flay to a catch but has no lantern yet. The latter can offer a way out but cannot promise the same displacement chain. An ADC who commits on the assumption that all three spells are available can die before the duo reaches level three.
Once you have a lane brush you can occupy safely, Thresh can threaten a closer Flay instead of gambling on a hook through minions. Death Sentence stops on the first unit hit. Remove the minion that blocks the angle, or approach from a position that changes it. Do not stand beyond your ADC’s reach simply because that is where the clearest hook line happens to be.
Holding a large enemy wave near your turret creates a different job. Help your ADC collect it and keep Flay for an approach or dive. Hooking an enemy tank across that wave may force your partner to choose between losing farm and walking through two champions’ damage. You can take the Q damage and disruption without pressing Q again. The recast moves Thresh to the target; it is not required to finish the spell.
1. Jinx: turn a catch into several safe attacks
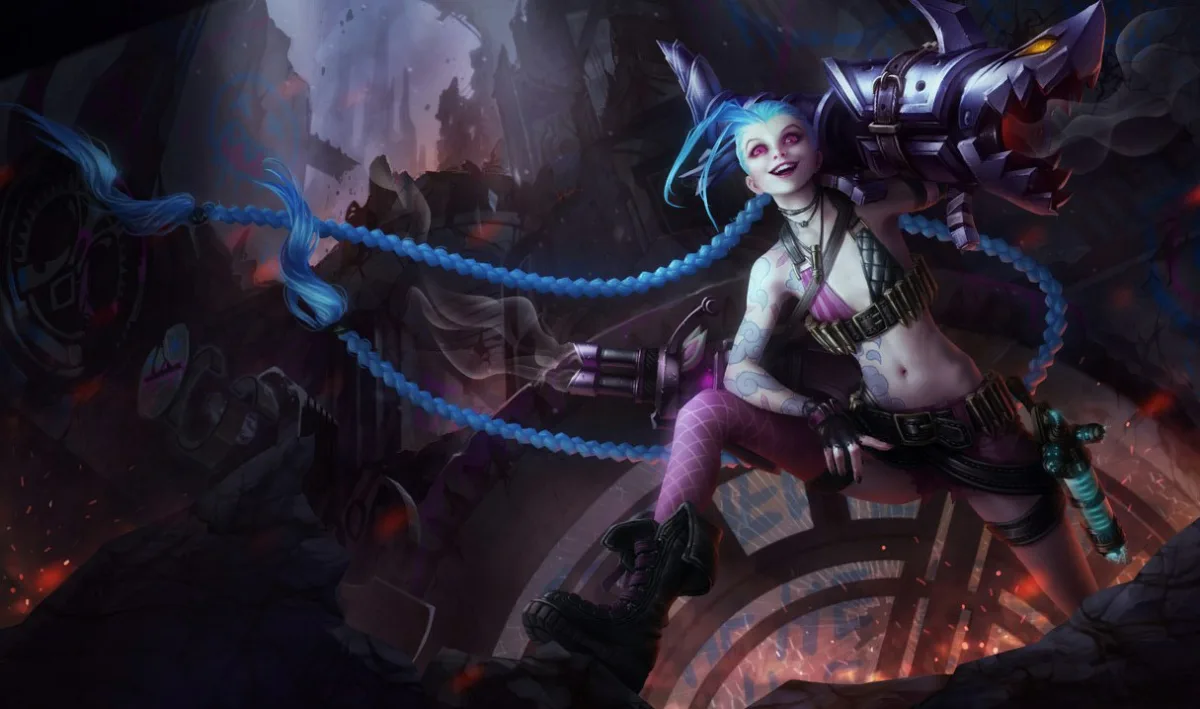
Jinx gives Thresh a useful plan even when the lane does not snowball. A hook can set up a Chompers root; later, Flay and lantern can keep her firing at the closest safe target. She does not need Thresh to reach the enemy backline before she starts contributing.
Once Jinx has learned Chompers, place them where the hooked enemy is being pulled or along their escape path. Do this while Thresh’s control is buying time, rather than waiting for the target to start moving again. A max-range hook followed by an immediate Thresh dash can leave Jinx too far away to convert the catch. Let her close enough to attack before deciding whether the fight needs Q2.
Her weapon swap changes the trade. Rockets offer range and splash at a mana cost; the minigun builds attack speed as she attacks. Use rockets to contribute without walking into danger, then consider the minigun when the target is safely in reach. Burning mana on the wave and then discovering that Chompers and follow-up spells are unavailable defeats the point of the pairing.
The vulnerable state is easy to identify: Chompers are down, the wave is pushing away from Jinx, and Thresh wants to leave. Do not treat her future damage as permission to abandon that lane. Help finish a crash or remain close enough to stop the enemy from walking her off the wave. Against repeated poke, Thresh offers a shield, not a heal that erases every bad trade.
In teamfights, protect the attacks that may produce Jinx’s first takedown. Get Excited can then give her the movement and attack speed to continue. A hook on a frontline target can be useful while Thresh stays near her with Flay available. Our Jinx support guide covers the alternative if you would rather give her a different kind of protection.
2. Draven: fight while the axes are working
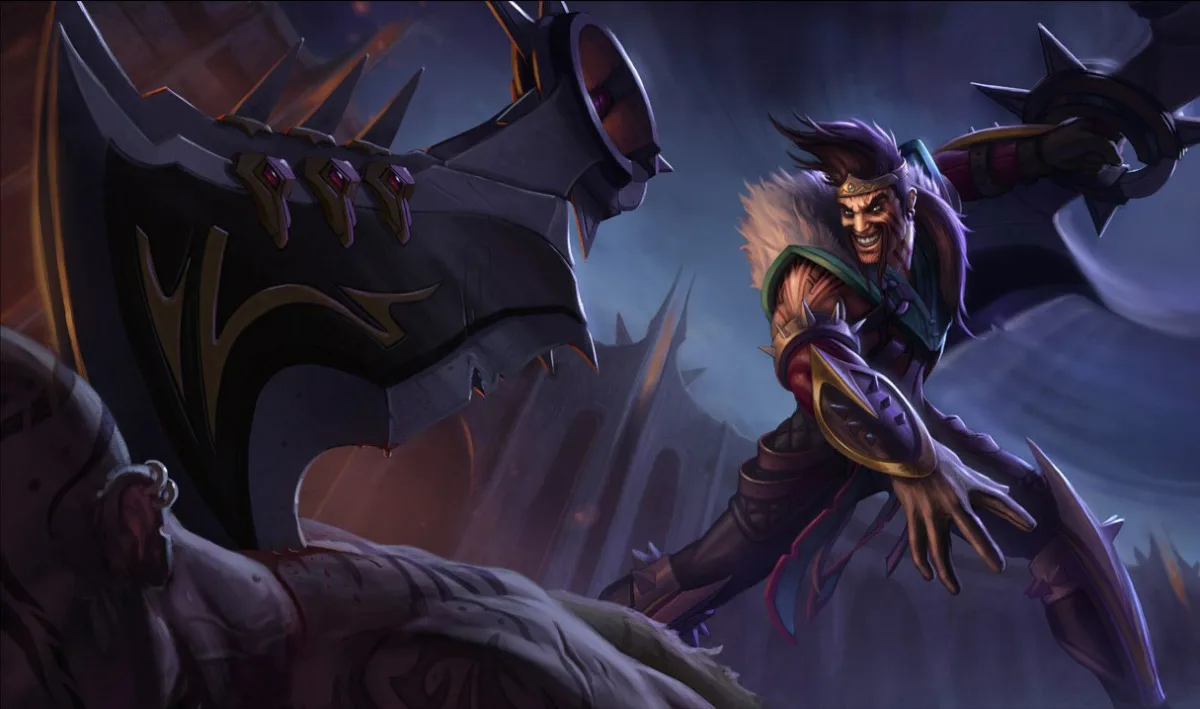
Draven is the pick when you want Thresh’s control to buy more than a quick spell rotation. Spinning Axe adds physical damage to his attacks, and catching it readies another. If the enemy stays within reach, the pressure continues after the first exchange. That makes a close Flay or a patient hook especially useful.
Before walking up, check that Draven has his axes prepared and enough mana for the trade. Catching an axe refreshes Blood Rush’s cooldown, but it does not remove the need to pay for another cast. A Draven who has just dropped his axes is not offering the same all-in as the one who was attacking a moment earlier.
Thresh should watch the catch locations as well as the enemy health bars. Draven’s movement after an attack influences where his axe falls. A retreating catch gives the duo a natural point to stop trading; a forward catch may expose him to the support’s return spell. Do not Flay the enemy out of reach while Draven moves to collect an axe, and do not expect him to chase every hook target in a straight line.
A useful early pattern is to contest space together, let Thresh threaten Flay, and use Draven’s attacks when the opponent gives up ground too late. If the target uses an escape, reassess rather than spending both players’ remaining tools to pursue through a fresh wave. Getting them too low to contest the next crash can be worth more than forcing a kill under their turret.
Against Morgana, distinguish damaging the enemy from opening them to crowd control. Black Shield absorbs magic damage and blocks disabling effects while it holds. The physical damage from Draven’s axes can hurt the target without depleting that shield. Pressure can still be useful, but do not assume those axe hits have cleared the way for Thresh’s hook. Wait out the shield or look at the other opponent.
The kill itself matters to Draven’s Adoration payout, but that is not an instruction to stop dealing damage while a target escapes. Secure a close fight. Later, when someone dives Draven, lantern should offer a route away from the threat even if taking it means dropping an axe.
3. Aphelios: call the weapons before the target
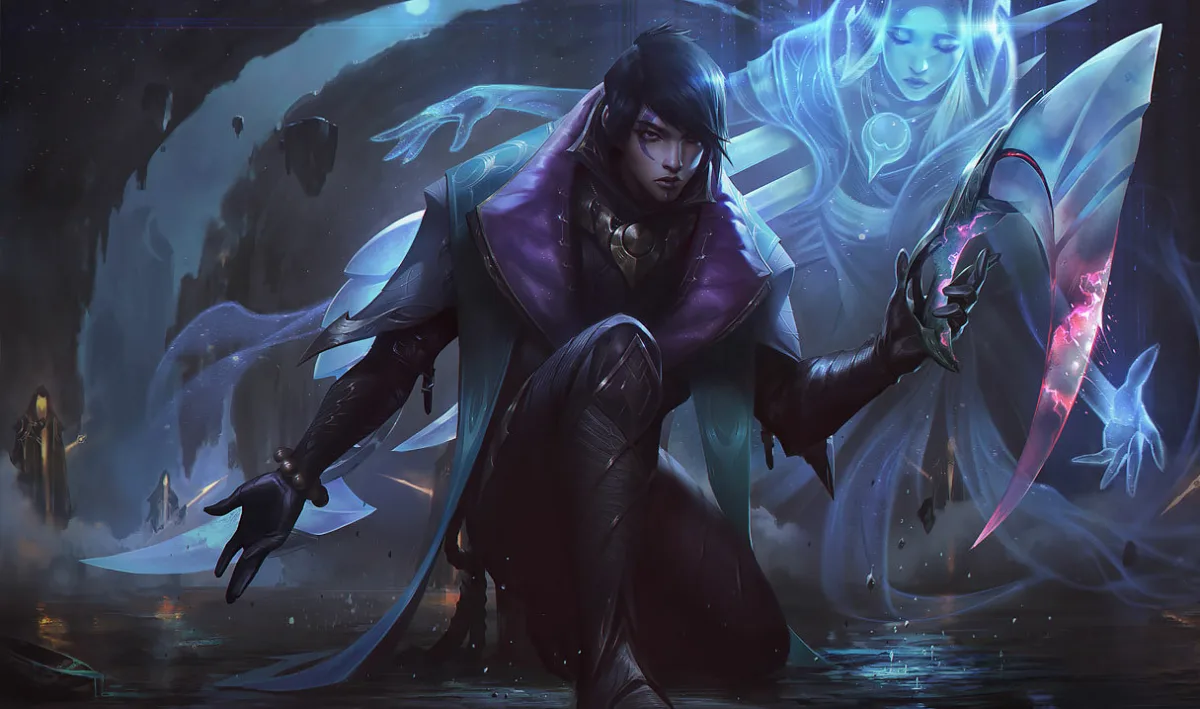
Aphelios is our preference for a duo willing to communicate more than an engage ping. Lantern helps him reposition without needing a dash in his own kit, while his weapons give Thresh several ways to start or extend a catch. The cost is that the same-looking opening is not equally good with every pair of guns.
Gravitum, the purple cannon, supplies the most direct setup. Its slow lets Aphelios use that weapon’s Q to root affected enemies. Thresh can then aim Q at the rooted target, or Aphelios can extend a hook with the root. Do not overlap both controls at the first possible instant if spacing them will leave the enemy unable to move for longer. Gravitum Q roots enemies slowed by Gravitum; it is not a root on any target Thresh happens to touch.
Riot’s current weapon descriptions make the other distinctions clear. Calibrum, the green rifle, provides a marking shot and ranged follow-up. Severum, the red scythe pistol, has a movement-and-attack ability. Infernum, the blue flamethrower, attacks a cone and follows with the off-hand weapon. Crescendum, the white chakram, can place a sentry that uses the off-hand gun. A plan that requires Gravitum must wait until he has it.
Watch the ammo and each weapon’s Q cooldown before committing. Attacks and abilities consume ammunition, and an empty weapon rotates out. If Aphelios is about to lose the gun that makes your catch work, either use that window deliberately or wait for the new pair. Do not call an ordinary level-one spell combo, either: Aphelios learns his weapon Q at level two.
In a fight around a narrow entrance, an Infernum setup may reward hitting grouped enemies. A Crescendum sentry can instead help define an area to fight in. Thresh should protect the position that suits the equipped weapons rather than hooking someone so far away that Aphelios has to abandon it. This is why the pair can justify third place without being our default for two strangers who are not tracking each other’s resources.
4. Lucian: a short trade can be the entire play
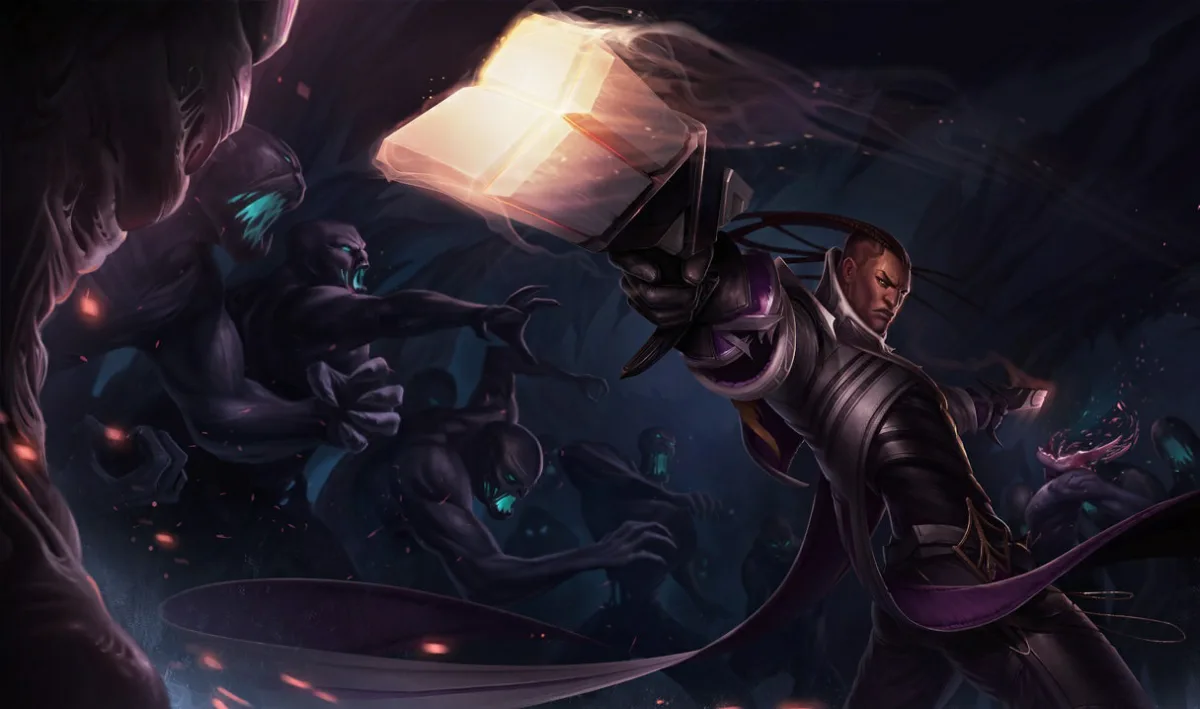
Lucian fits a Thresh who can create a brief opening and then stop. He can dash into attack range, weave attacks between abilities, and get meaningful damage out while the target is controlled. You do not have to turn that exchange into a chase after the hook ends.
The pairing also has a current passive interaction, not just an old reputation. Lucian gains Vigilance’s bonus magic damage when an ally heals or shields him, or a nearby enemy champion is immobilized. Thresh can supply a lantern shield or Q/E immobilization. Lucian’s W has another route: when Thresh damages an enemy marked by Ardent Blaze, that allied trigger grants Vigilance too. A slow alone is not the immobilization trigger.
Lucian’s separate Lightslinger effect makes the attack after an ability a double shot. Give him time to use those attacks instead of rushing through every spell at once. If he must spend E simply to reach a distant hook, ask where he will stand when the enemy support responds. An offensive dash is much easier to justify when lantern is still available and Thresh is positioned somewhere worth escaping to.
Back off when the available attack sequence is finished instead of expecting another full trade from a Lucian who has spent his mana and cooldowns. Against a duo that keeps him outside attack range, the existence of Vigilance does not create a trade by itself.
After level six, remember that The Culling hits the first enemy in each shot’s path. Minions or another champion can absorb it. Thresh’s control helps Lucian aim, but a hooked target behind a blocker is not guaranteed to receive the whole channel.
5. Kalista: agree who is committing whom
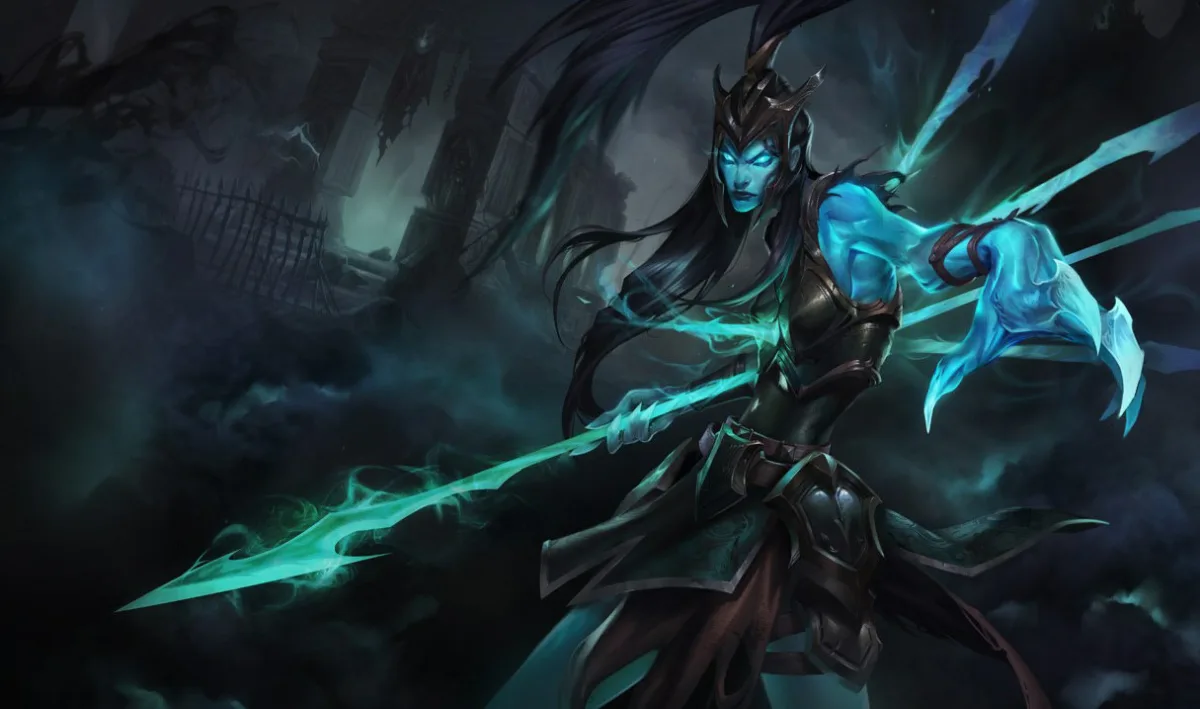
Kalista belongs on a practiced duo’s shortlist more than a stranger’s emergency counterpick. Bind Thresh as the Oathsworn with Kalista’s Black Spear. That bond is required for the planned Fate’s Call interaction.
Before six, the practical attraction is time to attack. Thresh holds or displaces an enemy while Kalista adds spears and uses Martial Poise to reposition between attacks. With a point in Sentinel, attacks from both Oathsworn allies on the same target can add its bonus magic damage. Thresh still has to contribute the required attack; a hook is not a substitute for it.
Rend gives the duo a way to plan the end of a trade. It deals physical damage from the stored spears and slows its targets, and a kill with Rend refreshes its cooldown and refunds mana. If Kalista has prepared a nearby minion she can kill with E while also hitting the enemy champion, she can use that reset to avoid leaving the lane with Rend unavailable. Do not assume every E refunds itself, or that she can keep hopping effectively when no target is in attack range.
At six, decide whether Fate’s Call is the start of the fight or the way to save Thresh after he enters. Kalista pulls her Oathsworn in, but Thresh chooses the launch. The launch stops on the first champion hit and knocks back nearby enemies. After a hit, the Oathsworn is placed at their own maximum attack range from the target. Thresh is ranged, so this is not an automatic point-blank landing. Account for that distance when aiming the follow-up.
This makes a pre-fight call useful: "R to save you" and "R to start" ask Thresh to make different decisions. Keep an eye on the distance between the partners, too; Fate’s Call is not a global rescue. If Kalista has already used it to pull Thresh out, they no longer have that same insurance for his next hook recast.
6. Jhin: extend the catch without following Thresh in
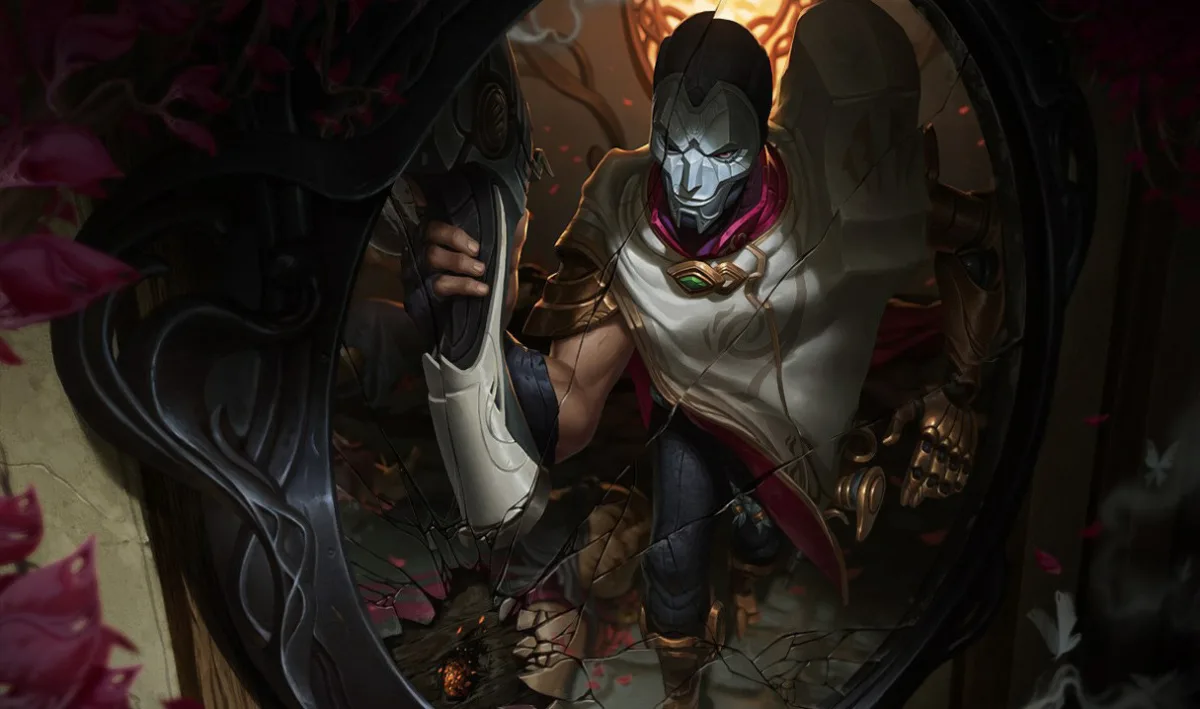
Jhin is the alternative when you want ranged follow-up more than a prolonged brawl. Thresh damages a champion, then Jhin can root that marked target with Deadly Flourish. This creates a useful sequence where Thresh does not need to dash in first and Jhin does not need to spend his escape summoner to get involved.
The bullets decide how much comes afterward. Whisper carries four shots, and the fourth is his heavy finishing shot. If Jhin has it ready, a controlled target can give him a clear opportunity to spend it. If he has just fired it and needs to reload, his W root may be all the immediate follow-up Thresh should expect. Landing the root does not mean the duo has the attacks to win a long exchange.
Use the wave to prepare that window: last-hit while keeping track of the next bullet, and approach together when Jhin can contribute. His W passes through minions but stops at the first champion, whereas Thresh’s hook stops at the first unit. That difference sometimes lets Jhin begin the control on a target Thresh cannot yet hook, provided the target has already been marked by allied champion damage.
Jhin is less appealing when the team needs this lane to supply sustained attacks into several durable enemies. He can still help catch them, but the reload remains part of the fight. The full Jhin support comparison is useful if that utility-first plan does not fit your draft.
Put the lantern where the ADC can use it
A defensive lantern needs two safe locations: the place the ADC clicks and the place Thresh is standing. Throw it within reach of the retreating carry, preferably along the route they already need to take. If Thresh is beside the enemy diver, clicking W may simply deliver the ADC to the same danger from another direction.
The shield and the ride are different functions. The ally must click the lantern to dash; walking into it does not automatically extract them. The shield goes to Thresh and the first allied champion who contacts it, not every teammate gathered around it. Place it carefully if several allies are nearby and one specific carry needs that shield.
Crowd control can prevent the ally from taking the ride. Immobilization, grounding, and silence are restrictions to respect, not failures to spam-click through. Riot’s original grounding explanation explicitly includes Thresh’s lantern, and CertainlyT’s preserved design explanation confirms silence as deliberate counterplay. The relevant condition is on the ally trying to use the lantern; an already-thrown lantern does not become unusable simply because Thresh is stunned.
Throw W before the ADC is trapped when you can anticipate the engage. A lantern next to someone standing in Cassiopeia’s grounding field is not an immediate escape. Nor should a player spend their last safe movement stepping toward a lantern whose endpoint leads deeper into the enemy team.
For an offensive lantern, throw W beside the ADC and signal the target before taking Q2. The ADC needs to know whether clicking means joining a winnable fight or entering alone without a return tool. With Jhin, a root from range may be sufficient. With Lucian, he may already have a safe way to reach the target. There is no reason to use both players’ repositioning tools merely because both buttons are ready.
An item can help with a specific failure, but it does not erase these rules. Mikael’s Blessing removes eligible crowd control from an ally; its listed exclusions include airborne effects and suppression. Locket of the Iron Solari instead offers a nearby-team shield. Consider the problem you need to answer, and check the active cooldown before treating either item as available protection. Neither is a promise that a late lantern will save every caught ADC.
Roam after solving the wave, not after missing Q
Thresh can create plays elsewhere, but first identify what his ADC must do while he is gone. A completed crash with a planned recall offers a different window from a wave slowly pushing away from an immobile carry. With Jinx or Aphelios, staying long enough to make the next wave collectable can be more useful than walking toward a mid-lane play that never develops.
The current support quest gives no extra reason to force a losing trade just to hit a champion. Patch 26.16 equalized quest-stack payouts from champion or turret damage and minion last-hits at the corresponding item stages. It also extended the early off-bot minion gold and experience penalty through level four. Keep progressing the quest through safe opportunities; spending health on a bad hook attempt can cost the ADC control of the next wave.
That is not a rule against roaming before level five. It is a reason to weigh the play against the lane you leave. Ping the departure, give the ADC a realistic return time, and come back before the enemy’s held wave turns into a forced walk forward. A Draven lane that wants repeated pressure may gain less from your absence than the minimap initially suggests.
In the teamfight, decide whose movement matters
When the enemy’s only diver is waiting for Thresh to leave, holding Flay beside the ADC can be the winning use of the spell. Push the threat away when it enters reach, use The Box to slow its pursuit, and keep the lantern endpoint on the safe side of the fight. A hook on another target is not automatically more valuable than those attacks you are protecting.
Jinx and Aphelios often want that space to keep firing. Draven wants access to a target without being forced off every axe. Lucian may need a short opening and an exit; Jhin may need time to root, fire, then reload. Kalista adds a separate commitment through Fate’s Call that both players must account for.
Take Q2 when arriving at the hooked target improves that plan: your damage is in range, the return threat is manageable, and moving Thresh does not strand the carry. Otherwise, keep your position and let the catch do its work.