

An enemy carry is standing behind two minions. Lux’s binding uses both hits on those minions; Zyra’s roots can continue through the wave. Brand’s fireball stops at the first enemy. Before comparing their damage, check which of those spells has a route to the champion you want to hit.
Zyra is our first recommendation among the best AP supports for controlling the space around a fight. Choose Lux when you want ranged catches and an ally shield, or Brand when the enemy gives you several nearby targets to burn. These are damage-oriented support choices beside a farming bot laner. An enchanter having AP ratios does not automatically put them in the same category.
This is an editorial shortlist, not a win-rate table. The recommendation changes with the opponent’s position, the control your team already has and how much help your ADC needs to keep attacking.
Reviewed for modern PC Summoner’s Rift Patch 26.18 on September 10, 2026. The AP-support spell timings, ranges and mana costs used in these examples are unchanged by the 26.18 delta. The choice still depends on the control and protection the ADC needs.
Choose the damage you can deliver from the support position
Leave the lane’s regular farm to your bot partner. Before throwing area damage through the wave, agree whether you are trying to push it. If the spell kills the minions your ADC was preparing to last-hit, they watch their farm disappear while you get the satisfying damage number.
You will usually buy less quickly than a mage taking regular farm. Keep that in mind when planning a kill, but keep looking for useful control: Zyra and Lux can still root an attacker while behind in damage. Your ally may only need enough time to get away.
There are times to help clear: preparing a recall, protecting a turret when the farmer cannot arrive, or pushing a wave together before moving. Those are deliberate wave decisions. Repeatedly clearing because nothing else is in range changes who is receiving the farm without necessarily improving the lane.
Zyra makes a patch of ground expensive to cross
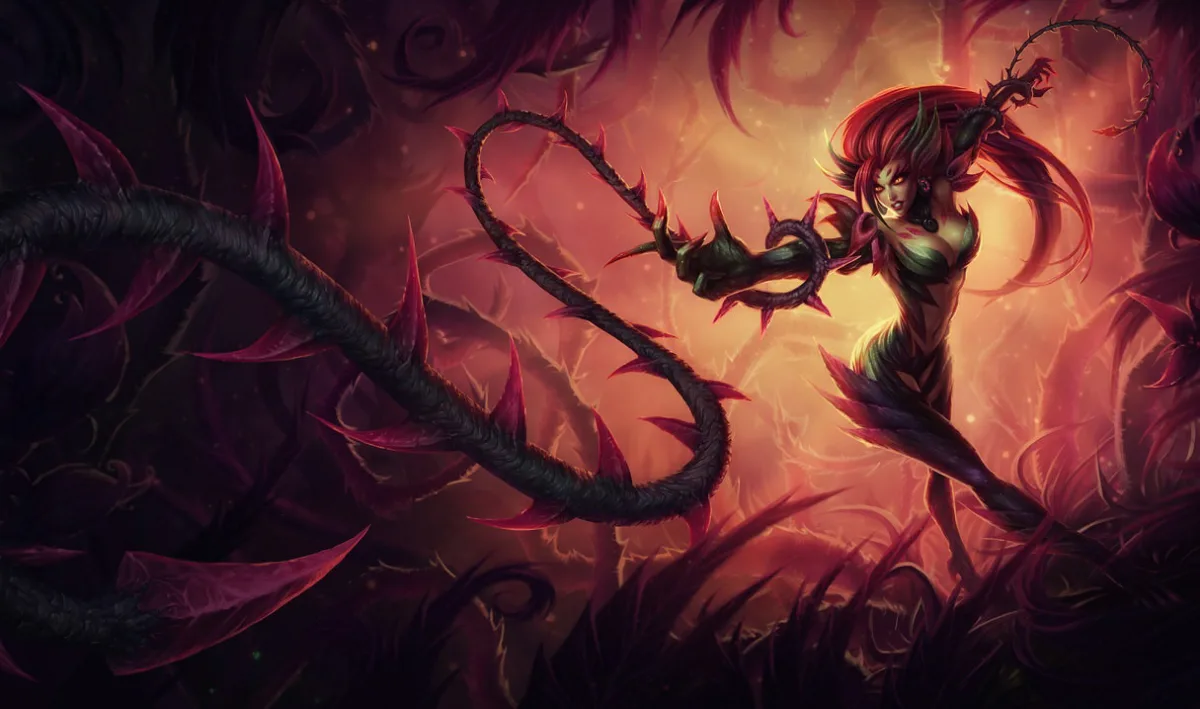
Zyra gets first place because a useful plant keeps threatening its patch of ground while she moves elsewhere. She can put damage beside a wave or on the approach to her ADC, then stay where the next enemy cannot simply walk up to her.
Deadly Spines, Q, grows Thorn Spitters from nearby seeds. Thorn Spitters have 575 attack range; the Vine Lashers created by Grasping Roots, E, have 400. Lashers also slow with their attacks. E itself sends a piercing line of roots through enemies, so a minion is not the same barrier it is for Brand’s Q.
Choose the plant for the ground you want it to influence. A Thorn Spitter can threaten an opponent from farther away; a Lasher near an approach makes that close approach slower. Placing seeds somewhere the enemy has no reason to enter gives you a plant with little to do. Rampant Growth, W, lets you place seeds rather than relying only on where the passive spawns them.
Opponents can leave the plant’s range or destroy it. A seed beside the wrong part of the wave may only tempt you to push when your ADC wants to keep the minions close. You can leave that seed alone.
A root behind the wave is not an instruction to chase
Suppose Ashe is your ADC, a large enemy wave is coming in, and you root the opposing carry beyond it. Ashe’s attacks slow targets, which can help keep someone near your plants once she is already attacking. But the root does not move Ashe into range, and the wave still needs collecting.
If the opposing Leona is beside the wave with Zenith Blade available, advancing can give her the engage she wanted. Her E crosses enemies in a line, then dashes her to the last champion hit; her Q stuns with the next attack. A root on the carry does not prevent Leona from acting.
Let the plants take what damage they can and help Ashe keep collecting the wave. A longer trade makes more sense when Ashe is already close enough to attack safely, the wave is manageable and Leona’s entry spell is unavailable.
Ashe’s slow can also make the first root easier to aim when she has reached the target safely. That is a practical partnership, not a guaranteed combo or a claim that this duo wins every lane. For other ways to play the lane, the Ashe support guide compares engage, defensive and poke-oriented partners.
Use the ultimate where the fight will still be happening
Stranglethorns damages an area, then knocks enemies up after two seconds. Rank-one E roots for one second. If you cast R after that root lands, the target can regain movement before the knockup. The two spells do not form a guaranteed uninterrupted chain.
Place R across ground the opponent still needs to cross, or follow control that gives the delayed effect a better chance to connect. Against someone already leaving the edge, casting it at their old position can spend your ultimate on ground they have abandoned. R also resets the duration of plants inside its area and increases their health and attack damage. Include plants that can reach the fight; empowering one behind you does little against an enemy already moving away.
Your ADC is backing away from a river entrance and an enemy is following. Put a seed on that approach, use E through the pursuer and seed if you have the line, then keep moving out. If E misses, retreat anyway; do not wait beside the plant to force the damage. R can occupy the route the attacker must follow if the chase continues, but you still need to leave before they reach you.
If the pursuer turns back and your ADC gets out, leave with them. Zyra is less appealing when that carry needs a targeted shield or health boost immediately. Her protection asks the enemy to stay in a controllable position.
Lux can take the catch without walking up for every passive

Lux gives this list a different balance of range and protection. Light Binding roots the first two enemy units it hits. Lucent Singularity slows and reveals an area, then damages it when detonated. Prismatic Barrier shields allies its wand passes through, including another application when it returns.
Count the units in the binding’s path. One minion can leave the champion as Q’s second target. Two minions use both hits. Wait for one to die or move to a safe side angle; the cast that worked through one caster does not work through an entire row.
Use E’s slowing zone to help line up Q. Put it across the opponent’s route, then look for a clear binding. You may keep the zone briefly rather than detonating immediately for damage. That can help an ally approach or keep a retreating opponent moving slowly, but it gives them time to change direction too. It is a zone to work with, not an automatic binding.
At level six, Final Spark adds damage along a long line. It also consumes existing Illumination marks and refreshes them, so you can trigger the mark with R after a distant catch without entering basic-attack range. Check your ally’s position and whether the target still has a way out; Q and R do not guarantee a kill at any health total.
Lux’s damaging abilities leave Illumination on the target. A basic attack consumes the mark for extra magic damage, so there is a reason to step closer. There is also a reason to leave it: if the other support is waiting to engage, that extra attack brings you to them. Take the spell damage you already landed and keep your distance.
Imagine your binding catches one enemy while their partner is moving toward your ADC. You can point W through the ADC and use E to slow the approaching opponent instead of making your next action a passive attack on the caught target. Aim the shield along your ally’s retreat so the outward pass reaches them. Watch their movement and the wand’s return path rather than turning to chase the rooted target. Do not step back into the attacker just to line up the second shield.
Pick Lux when you want a shielding button separate from your main catch spell. W can absorb damage, but it cannot stop the attacker from reaching or controlling your ADC. When Q misses, give ground until another useful response is available. For river checks, use E’s reveal from a place you can leave, then wait for help before walking beyond what you can see.
Brand needs a burning target and somewhere for Q to go

Brand suits opponents who stay near each other long enough for his spells to spread. Blaze burns targets over four seconds and stacks up to three times. A champion or large monster with three stacks detonates after two seconds, damaging the area around them. Blaze’s health-based damage is still magic damage, not true damage that ignores magic resistance. Once the burn is applied, you can move while it ticks; staying beside the target is not a requirement.
Sear, Q, stuns only when it hits a target that is already Ablaze. It also stops at the first enemy it hits. Those two requirements matter more than memorizing a fixed spell order. E on a nearby champion can apply the burn before Q; W can do it at an area if the opponent stays there for the hit. Neither method makes the follow-up fireball pass through a minion.
Conflagration, E, spreads from its target to nearby enemies, with double spread range if the target is already burning. You can use a burning minion to threaten an opponent nearby. They must be close enough for the spread, and hitting them that way still does not clear the Q line. It also damages the wave, so agree that pushing is useful before making the minions part of every trade.
That E costs 90 mana in the current Riot data. A tempting spreading hit is not free because you did not have to land a projectile on the champion. Brand’s mana return requires him to kill an enemy that is burning; your ADC taking the last hit does not provide that same return. Do not start taking the farm to fund a poke routine your lane cannot afford.
When an opponent is preparing to walk in, keep Q. If you have already thrown it away and then hit E, you have applied a burn with no Sear ready to stun that target. Back off while Q is unavailable. Brand cannot shield his ADC to cover the mistake.
Pyroclasm can bounce between enemies and Brand himself; its bounces prioritize building Blaze on champions. This can punish a carry and support who remain together, but it does not promise that one isolated target will take every hit. Spacing changes the available path. Walking closer just to offer another bounce is a bad bargain if it lets the opponent kill you. Take the bounces your position supports.
Brand asks the most of a team that needs its support to keep an attacker off the carry. Choose him when the fight gives you targets and your teammates can support that damage plan. If they need a dependable defensive response instead, consider the draft below.
When the team wants a different kind of support
Your team has Kennen top, Lillia jungle, Viktor mid and Jinx bot. Kennen’s storm, Lillia’s spells and Viktor’s ray and storm already give the composition substantial magic damage. Adding Brand can make those fights even more threatening, but another damage spell may not be the missing tool. Lillia’s outer Q also deals true damage; this is not a claim that every point of team damage is magic.
The enemy has Hecarim, and Jinx cannot keep attacking when he gets to her. His ultimate ends with an area fear; his empowered E attack knocks its target back. More burn damage on him does not give Jinx those lost attacks back.
Lulu is worth choosing instead. She can shield Jinx, use enemy W to polymorph an attacker, and use Wild Growth for bonus health and a nearby knockup. These are different tools from another mage’s damage rotation. They still need range, available cooldowns and an able-to-cast Lulu; do not assume she can act while controlled or cancel every stage of Hecarim’s charge.
Lulu has AP scaling, but you are choosing her here to help Jinx keep firing. That is a different reason to pick a support from adding another mage’s rotation. The draft already has damage; check whether it has someone who will stay with Jinx.
Before choosing Brand in that draft, decide which spell will still be available when Hecarim reaches Jinx. If your answer assumes the burn kills him before he does anything, consider the shield and polymorph instead.