

Four completed items do not help much when a flank forces you out of every fight before your second attack. The best scaling ADCs need more than a large damage number. They need a way to keep delivering it while both teams still have their important abilities.
Jinx is our first choice for late-game teamfights because rocket range, splash damage, and her takedown reset work together. Kog’Maw is the specialist for sustained damage into a frontline when allies can protect him. Vayne is the choice for repeatedly cutting through one high-health target, but that does not automatically make her the strongest five-on-five carry.
Reviewed for modern PC Summoner’s Rift Patch 26.18 on September 10, 2026. Zeri’s W damage ratios are lower. Her ultimate contact condition and the other seven carries’ scaling tools remain the basis of this editorial order.
Which kind of late-game carry do you need?
Front-to-back fighting means working through the enemies you can safely reach while your team protects your position. Tank killing is a damage property. The two overlap, but a champion can excel at one without being the best at the other.
The order favors a useful five-on-five plan over the highest possible damage against a stationary target. Move Vayne up for a game decided by duels against a health-stacking frontline. Move Twitch up when your team can hold enemies in a narrow approach. Neither adjustment requires pretending the other champions stopped scaling.
For attack-based carries, damage per hit and the number of hits work together. Attack damage, attack speed, and critical strike investment can reinforce one another; on-hit champions also gain more chances to apply their effects as they attack faster. Range and area damage determine how much of that investment reaches real opponents. That is why a short-range tank killer and a long-range splash carry can scale well for different reasons.
1. Jinx: the best general late-game teamfight pick
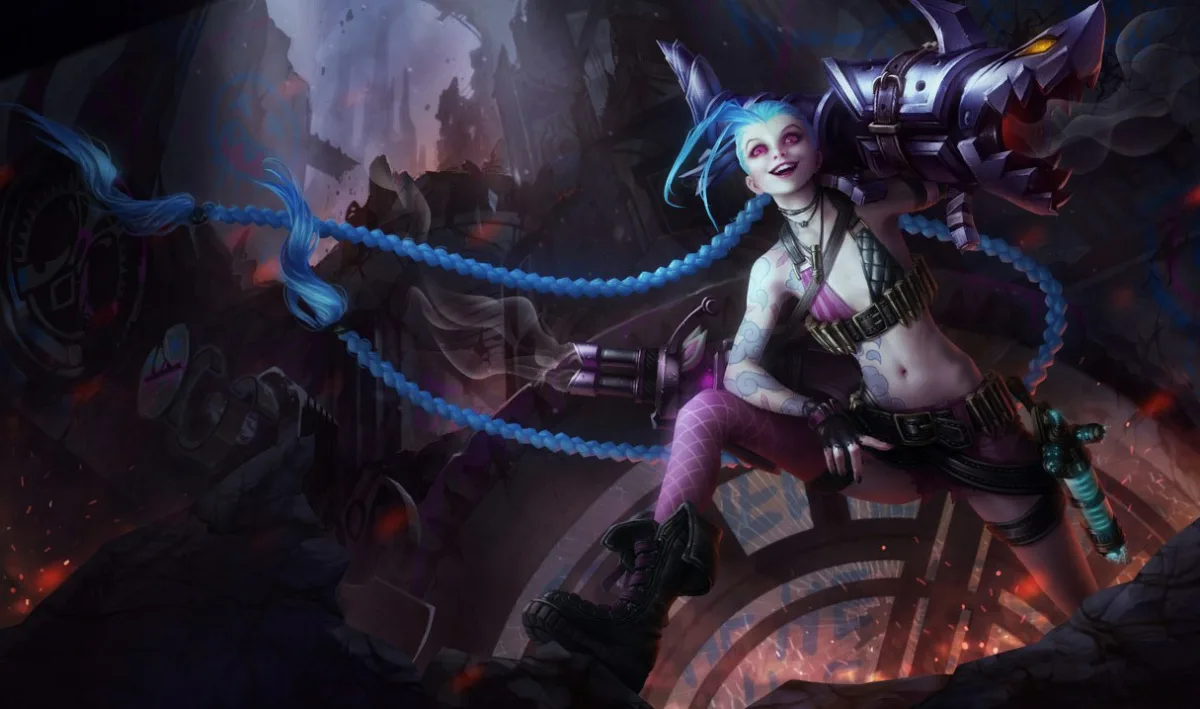
Jinx takes first place because her opening damage and cleanup damage belong to the same plan. Fishbones gives her longer-range physical attacks that splash around the target. Get Excited! then adds a burst of attack speed and movement speed after she helps bring down a qualifying enemy or objective.
At maximum Q rank, rockets give her 725 attack range, compared with 525 in minigun form. That extra reach helps her start attacking without immediately entering the same space as a shorter-range carry. Rockets still deal physical damage, though. Splash does not ignore armor or turn her into an innate maximum-health damage specialist. Riot’s current Jinx data describes the two weapon modes and reset; the Switcheroo! reference supplies the rank-based range values.
Your first job is to help create the first takedown. Attack the reachable frontline, use splash when enemies stand together, and let allies force the opponent to spend their engage. If the enemy carry becomes exposed within safe reach, change targets. You are not obligated to finish the tank first.
Switch to the minigun for its stacking attack speed when the closer position is already safe. Walking forward solely to use it can trade an entire fight of rocket attacks for a few dangerous shots. Likewise, place Flame Chompers along an approaching diver’s route before that champion is on top of you; do not treat them as an instant shield.
Jinx falls short when nobody can protect the opening. A reset is powerful after a takedown, not before it. Our Jinx support pairings distinguish allies that help her survive that opening from those that primarily help start fights.
2. Kog’Maw: punish a frontline that has to approach

Kog’Maw belongs near the top when your team can keep a fight in front of him. Bio-Arcane Barrage adds attack range and maximum-health magic damage to his attacks. His ordinary attack damage remains physical, and Caustic Spittle can reduce a target’s armor and magic resistance.
That combination matters against opponents who expect armor alone to solve the ADC problem. It does not make Kog’Maw’s attacks true damage: magic resistance still reduces W’s magic portion. The distinction is explicit in Riot’s current ability descriptions.
W is a window, not his permanent attack profile. It lasts eight seconds and reaches 710 total attack range at maximum rank. Activate it when you can begin attacking, not while chasing a retreating enemy through a river entrance. When it ends, reassess your distance instead of trying to keep attacking from the same spot. Those duration and range values are documented in the Bio-Arcane Barrage reference.
The ideal team has someone who will stay close enough to stop a diver. A lineup with several engage champions can still leave Kog’Maw unprotected if all of them charge forward. Before an objective fight, identify which ally is actually keeping a defensive ability for you.
Avoid replacing safe attacks with repeated artillery casts just because R reaches farther. Artillery helps pressure or finish an enemy, but its increasing mana cost can leave you short of resources for the fight you were waiting for. Kog’Maw is excellent when enemies must cross his firing area; he is far less comfortable having to cross theirs.
3. Twitch: win with the firing angle
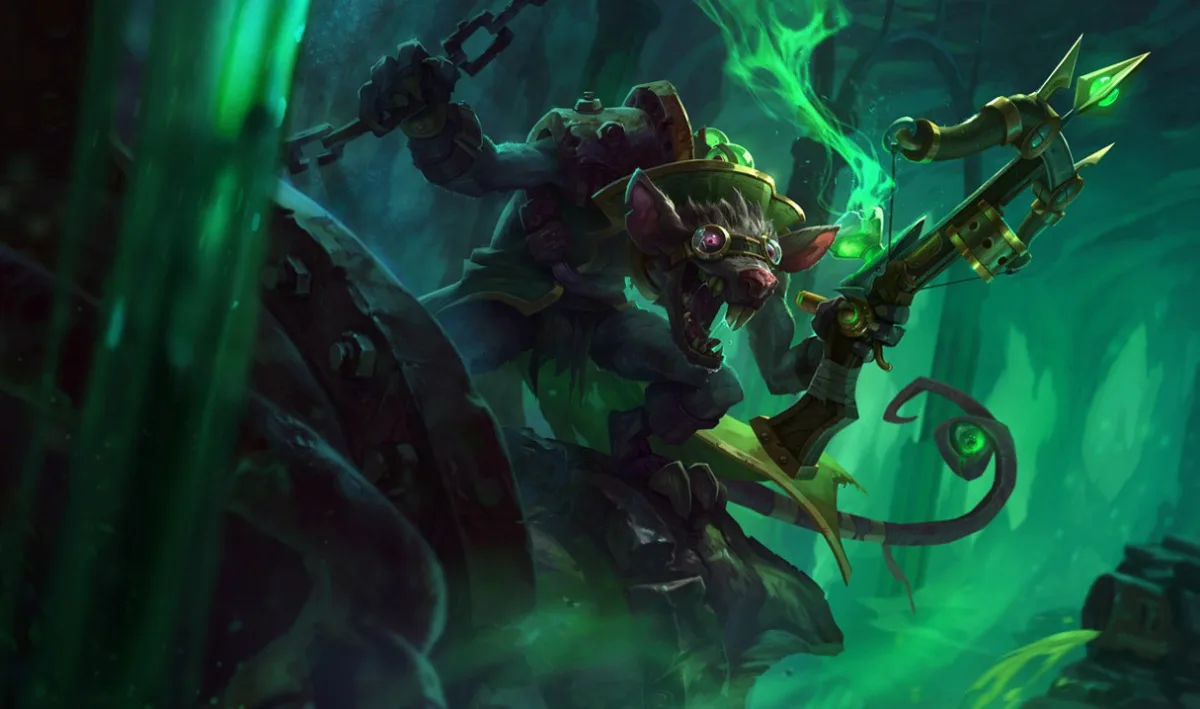
Spray and Pray lets Twitch threaten a team through its frontline. His ultimate extends his attacks and turns them into piercing bolts that can critically strike, while leaving Ambush gives him attack speed. A good opening can damage the frontliner and the carries standing behind that champion with the same attacks.
The range distinction is worth getting right. Twitch has 550 normal attack range and gains 300 from R, for 850 attack range during the ultimate. The bolts travel farther than that; their travel distance is not extra range for selecting an attack target. They also lose damage as they pass through additional enemies. See the Spray and Pray mechanics.
Use camouflage to choose a position before revealing. A side angle behind your own frontline is often enough to line up several opponents. You do not need to sneak behind the entire enemy team, where one turn toward you removes your escape route and your support’s help.
Wait for a reason enemies must stay in the firing lane: an ally’s crowd control, a committed engage, or a contested choke. Activating R while they can simply move away spends its six-second window on walking. Once revealed, prioritize attacks from the angle you prepared over a long detour toward a lower-health target.
Deadly Venom deals true damage, but the piercing attack itself deals physical damage. An armor-heavy frontline can still take time to kill. Twitch’s advantage is threatening enemies behind it during those attacks. The Twitch support guide can help match that opening to an ally’s setup or protection.
4. Aphelios: prepare the weapons before the fight starts
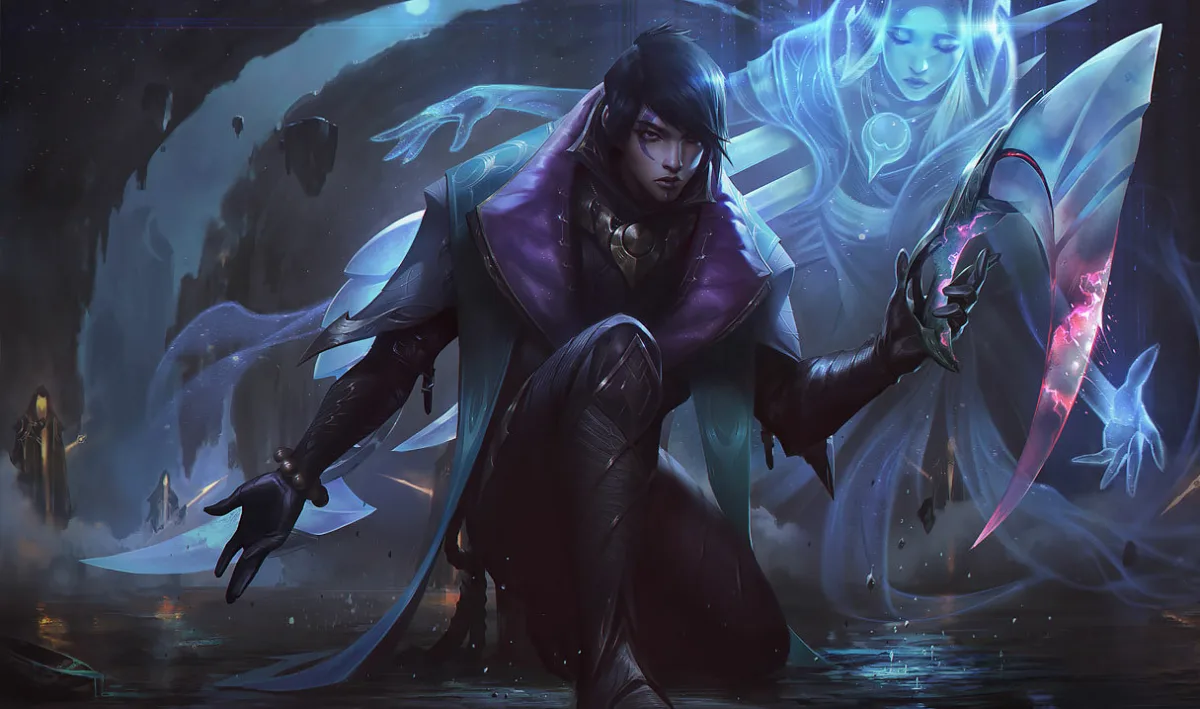
Aphelios can fit several late-game situations, but the right tool has to be in his hands. Infernum rewards grouped enemies, Calibrum provides additional reach, and Crescendum can produce strong close-range damage. Critical strikes widen Infernum’s attack spread and can amplify Crescendum’s bonus chakram damage, as detailed in his weapon mechanics. Gravitum gives him another option: controlling enemies so his team can hit them.
That flexibility is not a menu you can open on demand. He holds a main-hand and off-hand weapon; spending a weapon’s ammunition moves it to the back of the queue and brings out the next one. His ultimate also changes with his main-hand weapon. These rules are confirmed in Riot’s current Aphelios data.
Check your pair and the next weapon before your team enters the objective area. If you want to change the pair, spend ammunition on a safe wave or another available target early enough to arrive with the weapons you planned around. Announcing your current pair is more useful than pinging your item count and assuming everyone knows what you can do.
The correct pair depends on how enemies can reach you. A close-range Crescendum fight looks attractive against someone you can hold in place. It looks much worse when getting that close exposes you to several champions’ crowd control. Infernum’s grouped damage also loses value when opponents approach from separate directions.
There is a limit to preparation: do not abandon an immediately contestable objective while endlessly chasing a preferred combination. Use the pair you have intelligently, and communicate its limitations. Aphelios ranks below the first three because his flexibility takes planning and weapon knowledge to convert into dependable late-game damage.
5. Yunara: turn an empowered window into a committed fight

Yunara earns her place through repeated attacks that gain more than one kind of damage. Her critical strikes add magic damage through Vow of the First Lands. Cultivation of Spirit supplies magic on-hit damage, then its active adds attack speed, further on-hit damage, and physical damage that spreads to nearby enemies.
The result suits fights where enemies remain close enough for her to keep attacking and spread damage. It is a mixed-damage threat, not a claim that all of her damage bypasses armor. Unlike Kog’Maw’s W, this is not a built-in maximum-health on-hit effect.
Her ability state changes how you should position. Outside Transcend One’s Self, E gives movement speed and lets her move through units. During her ultimate, E becomes a dash, and Q activates for the transcendent window. Riot’s Yunara ability descriptions explicitly distinguish those states. Treating her as though the dash is always available is an easy way to commit too far forward.
Before a fight, use safe attacks to build Q’s resource when possible. If the enemy commits while it is not ready, R can provide the empowered attack window. The important question is whether targets will stay in reach, not whether pressing R makes your damage look more impressive immediately.
Use the dash to maintain a firing position or escape the threat that would end your attacks. Spending it toward the enemy backline can separate you from protection while the opposing frontline turns around. Yunara becomes a less attractive pick when opponents can repeatedly disengage her ultimate, then return while she is back in her ordinary state.
6. Smolder: stacks change his tools, not his obligations

Smolder scales partly through something other than gold. Dragon Practice stacks come from hitting champions with abilities and killing enemies with Q. Those stacks improve his basic abilities and unlock upgrades to Super Scorcher Breath.
The important Q milestones are 25, 125, and 225 stacks: area damage around the target, additional explosions beyond it, then a maximum-health true-damage burn and an execute. The current Super Scorcher Breath reference documents those thresholds. Do not confuse the last upgrade with his whole kit turning into true damage. Riot’s current Smolder data separates Q’s physical damage, bonus magic damage, and later true-damage burn.
His late-game plan is repeated casts from a position he can maintain. A reachable frontliner can give Q a target while its area effects threaten nearby enemies. Trying to walk directly into range of the enemy carry may accomplish less than casting safely several times on the target already in front of you.
The 225-stack milestone is not a victory condition by itself. A Smolder who arrives underfarmed, at low health, or without a retreat route can die with the upgrade unused. Additional stacks keep adding damage; they do not remove range limits or make his execute threshold grow forever.
Farm toward the next upgrade while tracking the next actual fight. If your team can contest an important objective together, another isolated wave is not automatically worth arriving late. Keep Flap, Flap, Flap available when crossing terrain is your only exit. Flying forward to add damage spends that escape before you know whether the enemy has committed to you.
7. Vayne: the tank killer is not always the teamfight winner

Silver Bolts makes Vayne a clear answer to a specific problem: a durable enemy who stays within her reach. Every third consecutive qualifying hit on the same target triggers maximum-health true damage. That portion bypasses armor, so buying more armor alone does not remove the threat.
At maximum rank, W’s percentage component is 10% of the target’s maximum health on the proc. Patch 26.17 reduced the earlier ranks and lowered its minimum damage, so older descriptions of her early W are stale. The fully ranked percentage stayed at 10%; that is not the same as saying every part of her late-game kit was unchanged. Riot’s 26.17 notes document the changes.
The limitation is delivery. Vayne has 550 attack range and generally wants repeat access to one target. Switching your attacks to another champion breaks the existing Silver Bolts sequence. That makes a fight with several threats entering and leaving range less comfortable than a duel against one advancing tank.
Final Hour and Tumble help her reposition and briefly disappear, but crowd control can still prevent the attacks she needs. Use Condemn to create space when a diver reaches you; a knockback that keeps you alive can be more useful than holding it indefinitely for a wall stun.
Do not tumble toward a dangerous target just to finish a third hit. The true-damage proc is valuable because you can keep producing it, not because one proc justifies dying. Vayne rises in priority when she can isolate a frontline opponent or play around a teammate’s protection. She falls when the game demands wide-area damage while several enemy threats arrive together.
8. Zeri: scale through movement and continued contact

Zeri’s late-game ceiling depends on movement as much as damage. Lightning Crash can give her an attack-speed and movement-speed state that she extends by continuing to hit enemy champions. Critical strikes add more Overcharge stacks, and her empowered Q chains physical damage to nearby enemies. Her 26.18 nerf affects Ultrashock Laser instead: W uses a 100% total-AD ratio, or 150% through a wall. It does not change the ultimate contact condition used for this recommendation.
There is an important starting condition: the initial ultimate must hit an enemy champion to grant that state. Casting it outside contact range is not a free pre-fight steroid. Riot’s current Zeri tooltip states the requirement and the continued-hit condition.
Her sustained attacks also work differently from a conventional marksman’s. Burst Fire is an aimed attack-like Q that hits the first enemy in its path. Spark Surge temporarily lets it pierce, with reduced damage beyond the first target. A frontliner or minion can otherwise interfere with your intended target; do not assume your crosshair guarantees damage to the champion behind it.
Choose a fight with space to move between shots and an escape route you can actually use. Keep hitting the available champion while repositioning, then change targets when the line opens. Dashing deep across terrain may leave your allies unable to follow and the enemy free to surround your landing point.
Zeri sits eighth because she asks for consistent aim, movement, and state management at once. She can be excellent in a long, moving fight and disappointing in a short one where she gets controlled immediately. Enemies can also disengage instead of giving her uninterrupted contact. Pick her because that style fits your execution, not because a long game guarantees she reaches an unstoppable speed.
Make the late-game advantage usable
Before the next objective, answer three practical questions. Your champion choice should make the answers easier, not replace them.
Who can I damage before the enemy commits?
Identify a target and a place to attack from. Jinx and Kog’Maw can use their extended range; Twitch needs a useful firing angle; Vayne needs repeated access at shorter range. If reaching any target means entering an unwarded entrance first, wait for teammates to establish vision instead of testing the route with your health bar.
Front-to-back is not a command to attack the tank through every situation. Hit an exposed carry when it is safe. When a projectile-blocking ability covers your firing lane, change your angle, wait for it to end, or use another available target. More items do not make a blocked attack connect.
Which enemy ability forces me to stop attacking?
Name the engage or crowd-control threat that can reach your position. Then decide what answers it: your Flash, your movement ability, an ally’s peel, or enough distance that it cannot connect. Do not spend that answer chasing a low-health opponent while the main threat still has its cooldown.
A defensive purchase can be the right damage decision if it lets you survive a fight you otherwise cannot play. Conversely, extra durability is not permission to stand inside every enemy ability. Match the purchase to the actual threat rather than following an unchanged six-item screenshot.
Is my damage window ready when the team needs it?
Check Kog’Maw’s W, Twitch’s R, Aphelios’ weapons, Yunara’s state, and Smolder’s next upgrade before committing to an objective. For Jinx, think about the first takedown; for Vayne, the first repeatable target; for Zeri, the first champion she can hit with R and keep attacking afterward.
Buy before the fight and arrive with your team. Gold you have not spent cannot improve the next exchange, and a perfect theoretical build does nothing while its owner is collecting a distant wave. The strongest scaling ADC for your game is the one whose damage plan you and your teammates can actually execute.