

With Sona, a successful heal does not prove your shield reached the same ally. Her W can find someone well outside its shielding aura. If you keep healing from the back and wonder why trades still hurt, distance is one of the first things to check.
Sona is our first recommendation among the easiest supports for learning the role. Her basic spells handle targeting for you, so you can watch the lane instead of aiming every cast. Choose Leona if you want a short, clear engage sequence, or Soraka if you want to pick exactly which teammate receives your main heal.
The order reflects simple inputs and readable mistakes, not win rates. It assumes you are learning support beside a farming bot laner and controlling your own movement. Sona’s position, Leona’s commitment and Soraka’s health budget still demand decisions; none is an effortless way to win.
Reviewed for modern PC Summoner’s Rift Patch 26.18 on September 10, 2026. The three starter-support kits retain the healing, shielding and engage conditions described here. The order measures readable inputs and mistakes, not results.
What the easiest supports take off your hands
Start with Sona when you lose track of the lane while aiming. Try Leona if you would rather get close and stop somebody than support through auras. Soraka gives you direct control of the heal recipient, provided you can keep track of your own health too.
Your ADC normally takes the lane’s farm. Help finish a push when you both want to leave, but do not turn every area spell into an accidental wave clear. If your partner is collecting minions under the turret, an easy combo can still start a fight they cannot join. The beginner champion guide covers starting picks in the other roles too.
1. Sona chooses the basic-spell targets for you

Sona’s Hymn of Valor, Q, hits two nearby enemies and prioritizes champions. Aria of Perseverance, W, heals Sona and a nearby allied champion, favoring the most wounded. Song of Celerity, E, gives movement speed. These basic spells create different auras around Sona, which can give allies extra damage on their next attack, a shield or movement speed. You choose the spell and your position rather than a point on the ground.
With those casts handled, watch the opposing support and your partner’s next step. You still control which units are nearby: Q can hit the wave when champions are unavailable. And once a jungler or another teammate joins you, W may choose a more wounded ally than the one you had in mind.
The most useful distinction is between the W heal and shield. The heal can reach an ally within 1,000 range, but the aura that gives the shield has 400 range. An ally receiving healing is not proof that the shield reached them too. Each shield lasts 1.5 seconds, so applying it long before the enemy attacks can waste that protection.
One W, two possible lane decisions
You are supporting Jinx against Caitlyn and Blitzcrank. Jinx is slightly hurt, with no damage coming in at the moment. From your position behind her, W can reach her with the heal but not the shield aura. You can press it there, but you will be buying a heal, not protection for her next step forward.
With one point in W, each cast costs 80 mana. Healing alone may be worth that cost, especially when your partner is hurt enough to lose access to the wave. In this case, Jinx only has a small amount of health missing. Topping her off immediately can spend the cooldown before either of you needs its shield.
Watch the minion Jinx wants to last-hit. If she steps up and Caitlyn moves to attack her, a timely W with Jinx inside the aura can heal her and shield the incoming attack. Get into that supporting position before the exchange if the route is safe. Running after her once Blitzcrank has an open hook line is a different decision, and usually a worse one.
His Rocket Grab pulls the first enemy it hits, so an intact line of your minions can obstruct that particular hook. If he moves around the line, or the blocking minion is about to die, your safe position changes. Do not walk through the open hook path to put Jinx inside your aura. Ping the danger and give her room to back away with you.
Already used W too early? If the opponents now move in for a trade you cannot cover, give ground while it recovers. An extra Q and attack will not bring the shield back. If Jinx retreats to collect the wave near your turret, stay with that plan rather than trying to win back pressure alone.
After the exchange, check whether W supplied a needed heal or absorbed an attack. If it only healed a scratch and the shield went unused, look at your timing and distance before the next cast. The number of times you pressed W tells you much less.
The next lesson is one empowered attack
Power Chord charges after three basic ability casts. Its extra effect depends on the last basic spell: Q adds more damage, W reduces the target’s physical and magic damage, and E slows. The W version can help against an enemy who is already attacking your carry, but you must land the empowered attack on that damage source. Hitting the enemy support does not reduce the damage their ADC deals beside them.
Watch the ready indicator and the last spell you cast. If delivering the attack would put you in danger, keep moving away instead. E can help with that retreat. Crescendo, R, is the aimed part of Sona’s kit: a line stun you can save for someone approaching your team. You do not have to become the first person into a fight because your ultimate is ready.
Sona also gains basic-ability haste through qualifying spell uses; after the cap, those uses reduce her ultimate’s remaining cooldown instead. Damaging a champion with Q or healing an injured ally with W can advance that progression. Casting into empty space cannot replace that contact, so spend mana where the spell will do something useful now.
Move to Leona if you want to take responsibility for getting close and controlling someone. Choose Soraka if being unable to select W’s heal recipient bothers you more than managing a second resource bar.
2. Leona gives you a simple sequence, not a safe landing
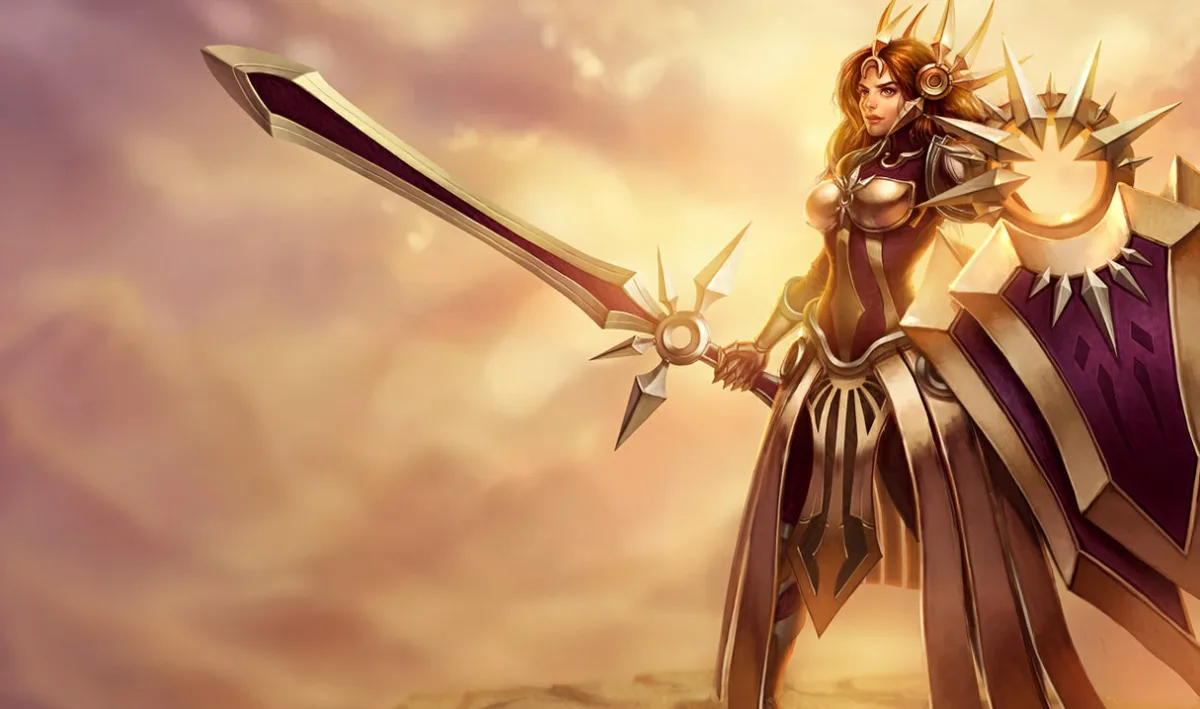
Leona offers the clearest change of pace from Sona. Zenith Blade, E, crosses a line and brings her to the last enemy champion it hits. Once you are close, Shield of Daybreak, Q, makes your next attack stun. You have one entry skillshot followed by a direct attack, rather than a long sequence of differently aimed spells. E can pass through minions, which removes one obstruction you have to solve with a conventional hook.
Leona is here for that short sequence, not because a bad engage is cheap. If E crosses two enemy champions, it takes you to the last one hit. Look beyond the nearer opponent before casting. You can land the skillshot and end up taking damage from both enemies while your ADC is still walking toward the fight.
Start with a nearby opponent whom your ADC is already able to damage. Activate Eclipse, W, when you expect to take the return damage, land E if you need the gap closer, and use Q’s attack when you can reach the target. W grants Leona damage reduction and resistances. It does not put a protective shield on her ADC, and it does not force enemies to attack Leona.
Her passive, Sunlight, adds another reason to coordinate: other allied champions consume the marks from her abilities by damaging those enemies. Leona cannot supply that allied follow-up by herself. A farther target may look vulnerable but still leave the pair contributing less together than a nearer one would.
When the opposing support walks up to your ADC, the close target may be the right one. You can stay beside your partner, activate Q and attack that opponent instead of using E to chase the distant carry. This is peel: controlling an enemy so your teammate can attack or get away. Some of Leona’s clearest useful plays start with an enemy walking into her reach.
Solar Flare, R, adds a ranged area spell. The center stuns; enemies outside the center are slowed. It can help an ally reach a target or stop someone already coming toward them, but an outer hit is not the same control as a center hit. You still have to aim and judge whether the opponent will remain there.
An ADC with little health or mana may need you to keep the enemy back, not start another exchange. Hold E if it would leave them alone with the other opponent. If you miss it, do not chase on foot to rescue the attempt. Leona cannot heal away repeated bad trades; sometimes you need to stop contesting space and recall with your partner.
Choose her over Sona when you want to learn a clear close-range control job and your team has damage ready to use it. If you dislike judging whether an ally can join you, Leona’s short combo will not solve that frustration. The broader support champion guide compares more specialized engage and protective picks once those choices become familiar.
3. Soraka lets you choose the heal, then charges you for it
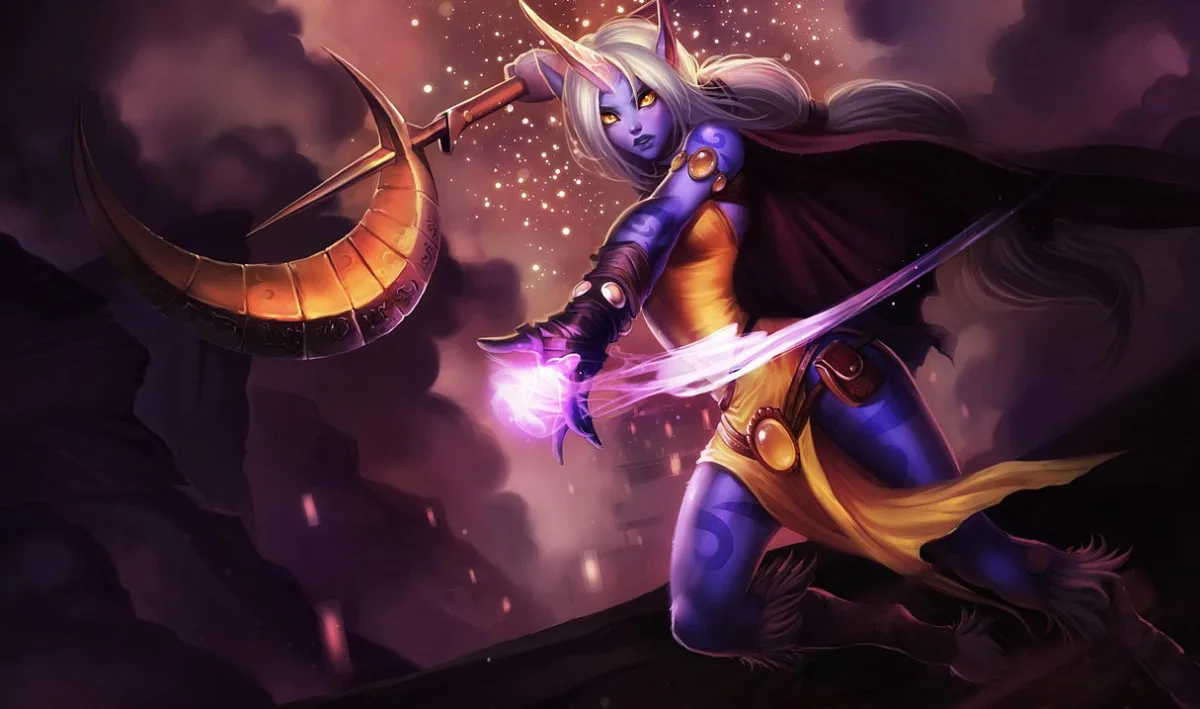
Soraka’s Astral Infusion, W, heals the allied champion you click. You choose who needs it, unlike Sona’s automatic selection. There is no healing projectile to aim across their path. That gives Soraka a straightforward job, though staying safe enough to repeat it takes practice.
W spends mana and normally costs 10% of Soraka’s maximum health. It cannot target Soraka herself. Your ADC can look healthier after several casts while you become the enemy’s easier target. Check both bars before agreeing to another trade.
Starcall, Q, gives you a way to manage that problem. It damages and slows an area. Hitting an enemy champion gives Soraka Rejuvenation, which heals her over time and grants movement speed. While she has Rejuvenation, W costs less health and gives the effect to its recipient too. With one point in W, that health-cost reduction is 80%: you spend 2% of maximum health instead of 10%, while still paying mana. Hitting only minions does not provide that champion-hit reward.
Aim Q where an opponent is stopping to last-hit or passing through a narrow gap. When it connects and you have Rejuvenation, W becomes cheaper in health and shares the recovery. That makes a successful Q useful to both of you. Still heal immediately if the ally needs W to survive; earning a discount is not worth watching them die or chasing into a losing trade.
Missing Q does not forbid the next W. Pay the full health cost for a necessary heal, or delay a minor one while you back away together. If you are low yourself, signal that you need to recall. Stop offering another trade while you look for a safe chance to leave.
Equinox, E, creates a field that silences enemies inside. It lasts 1.5 seconds, then roots champions still inside when it ends. Use it on a place the attacker needs to occupy while you move out; do not assume pressing E instantly stops their movement. Spending it for incidental damage can leave you without that zone when the next enemy approaches.
Wish, R, heals allied champions anywhere on the map, with more healing on targets below 40% health. Check allied health bars between actions in your own lane. A teammate fighting elsewhere can be worth an ultimate even when your ADC is healthy. Use it before an imminent burst kills them rather than waiting for the low-health bonus, and do not wait for several injured teammates when one needs the heal now. Check from a safe position so watching another lane does not get you caught.
Soraka is the better choice when direct healing and tracking health are the parts of support you enjoy. She is a poor escape from positioning work. If enemies repeatedly reach you before you can cast, another heal button will not fix where you are standing.
Why Yuumi is not the starting recommendation here
Yuumi reduces movement inputs while attached: she follows her ally’s movement and is untargetable except by towers. That is a genuine reduction in mechanical work. It also means those moments do not ask you to choose your own walking position beside the ADC.
If shared movement is part of the appeal, you may prefer Yuumi. Sona gets the recommendation here because you practice walking beside your ADC as well as choosing spells. That does not mean Yuumi has no decisions or that you cannot learn anything while attached.
Give the next lane one thing to check
With Sona, check whether your partner actually received W’s shield when you meant to protect them. With Leona, look at the place E will leave you before you cast. With Soraka, look at your own health before the next heal as well as the recipient’s. These are small enough to notice during a lane, not just afterward on a defeat screen.
When your lane can finish a push and leave together, help your ADC do it. If the next task is vision, start from ground you can reach safely and wait for company before entering dangerous fog. On the way back to lane, choose one of the checks above. Keep that same question through the next exchange instead of trying to learn every support habit at once.