
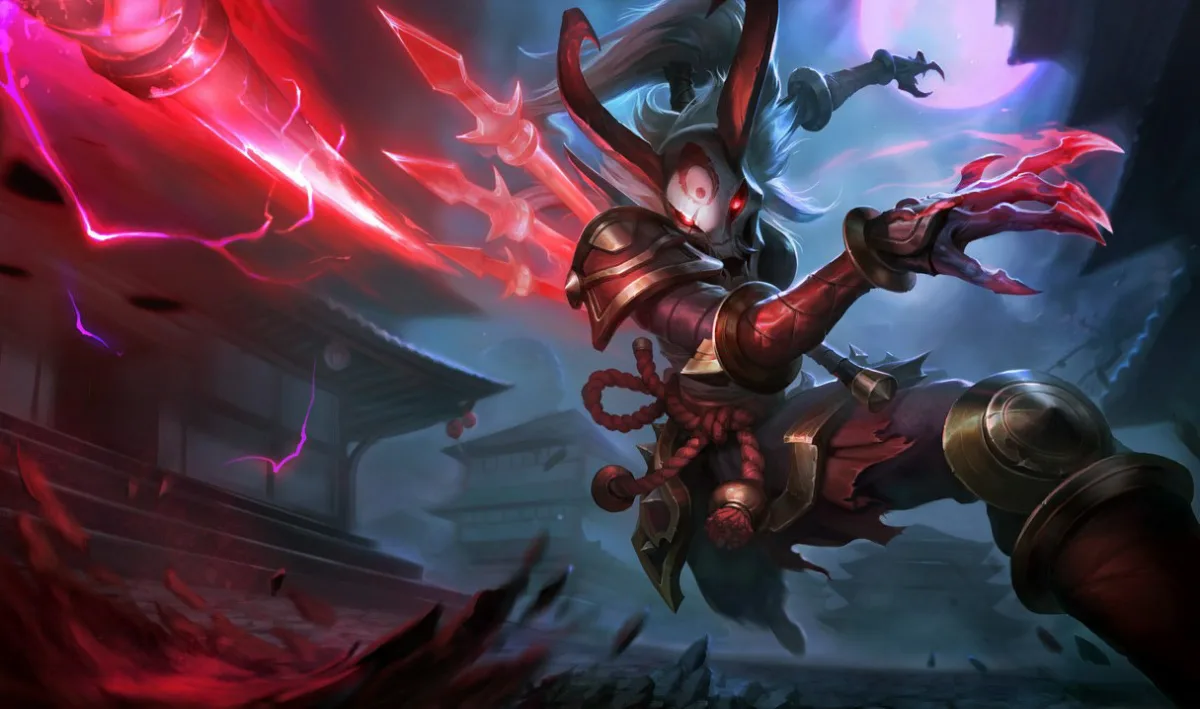
Kalista is our pick for the hardest ADC overall. She asks you to choose a landing with each attack, track which targets Rend can kill and coordinate an ultimate that another player launches. Aphelios is the harder champion to understand before the fight: knowing what your current weapons do is only the beginning of knowing what you should do next.
Draven wants you to catch an axe where an enemy hook may be waiting. Zeri needs a clean firing line as well as accurate aim. Samira can have her ultimate ready before it is safe to use. Those are the demands behind this five-champion order: our editorial judgment about execution and decisions, not a measured difficulty score or a ranking of current strength.
Reviewed for modern PC Summoner’s Rift Patch 26.18 on September 10, 2026. Zeri’s W damage falls and Nautilus deals less damage. Neither change removes the Q-aiming demands or the unused crowd control in the Samira example.
The hardest ADC depends on the mistake you keep making
| Champion | Main burden | Useful recovery when it goes wrong |
|---|---|---|
| 1. Kalista | Repeated landing decisions plus Oathsworn coordination | Stop extending a trade when Rend cannot reset |
| 2. Aphelios | Planning around two weapons and the next replacement | Use the held pair and tell allies when the root is gone |
| 3. Draven | Catch routes compete with safe positioning | Let an unsafe axe fall and preserve the next wave |
| 4. Zeri | Aimed Q attacks, blockers and a committed terrain route | Restore a clear firing line without chasing blindly |
| 5. Samira | Build Style while judging whether close range is safe | Keep attacking at range rather than spend S on a bad entry |
A complicated kit eventually becomes familiar. Choosing where to land while somebody tries to kill you stays difficult, which puts Kalista above Aphelios in our overall order. Reverse them if weapon planning takes more of your attention than constant movement. Your hardest champion may be different from ours.
1. Kalista makes the next landing part of the attack

Martial Poise lets Kalista hop when you issue a movement command during an attack or Pierce windup. Her attacks cannot be canceled, so start thinking about the landing as you take the shot. Her default attack range is 525. Those repeated hops do not keep her outside every opponent’s reach. Kalista’s current spell summaries and range, normal passive’s extended tooltip binding, current English text.
You are attacking the opposing ADC when their support approaches from the river side. Hopping forward keeps you on the ADC but may put the support beside you. A sideways or backward landing can cost an attack and leave a way out. Kalista asks you to make that choice while the target you want to hit is still pulling your attention forward.
Rend adds a second decision to that movement. Kalista’s attacks leave spears for four seconds. E pulls the nearby spears out for damage and a slow, and a kill on at least one target refreshes its cooldown and refunds mana. A nonlethal E does not receive that reset.
Suppose you have spears in an enemy champion and a nearby low-health minion. If Rend kills the minion, you can slow and damage the champion while refreshing E. If your support kills that minion first, the same cast may no longer reset. The trade you planned has changed even though the enemy ADC still has spears in them. Track the living reset target, not only the enemy’s health bar.
When that minion dies early, shorten the trade. A nonlethal Rend slow can still help you disengage, but now you have spent E without refreshing it. Chasing for another few attacks leaves you waiting for the second slow or finish you expected to have ready. Even a successful reset only refunds a specified amount of mana; repeated casts are not automatically free.
Pierce has a related trap. Q continues through a target only if it kills that target, carrying its Rend stacks onward. A healthy minion can block the spear you intended for the champion behind it. Softening the minion helps only if the eventual Q actually kills it; a spear through the wave is conditional, not automatic.
Then there is the teammate. Fate’s Call draws Kalista’s Oathsworn, her bound ally, into stasis for up to four seconds. The ally chooses the launch; Kalista cannot select the landing for them. Agree whether R is a rescue or an engage before treating an aggressive cast as the start of a certain combo. A rescued ally who launches back into danger can turn a successful save into another fight.
Kalista is worth the effort if choosing those landings is what appeals to you. Review a lost exchange at the first hop that cut off your escape. The killing blow may come much later. Practicing faster inputs helps little if you keep sending yourself toward the same unsafe space.
2. Aphelios can arrive prepared for the wrong fight

Aphelios has five weapons but holds two at a time: a main-hand weapon and an off-hand weapon. W swaps those two; it does not select freely from the full set. Ammunition use eventually empties a weapon, sends it to the back of the queue and brings in the next one. That makes your remaining ammunition part of your preparation for the next fight.
You still use a small set of controls. Q changes with the main-hand weapon, while R adds a weapon-specific effect. Q unlocks at level two, so a level-one trade must work without Q to finish it. The E display tells you about the next weapon rather than giving you a third active spell. What takes work is knowing which tool to use now and which one the next few attacks will take away.
Gravitum is the clearest example. Its attacks slow, and its Q roots enemies slowed by Gravitum. A teammate’s slow does not satisfy that condition by itself. You need Gravitum available and its slow on the target, not simply an enemy whose movement looks impaired. Current normal weapon records, Gravitum’s current root condition.
Before a river fight, suppose you are holding Gravitum and Infernum. The cannon gives you a way to slow and root a reachable opponent; the flamethrower offers attacks that damage enemies behind the first target. Its Q hits a cone and follows with off-hand attacks against the enemies hit. That is a catch-and-area-damage plan. A Crescendum and Severum pair instead offers returning chakram attacks and healing from Severum, with no Gravitum root to promise your team.
Now spend the last of Gravitum’s ammunition on the approaching wave. Once the cannon leaves your held pair, W cannot bring it back. Tell your teammates the root is gone before they start the fight expecting it. Work from the weapons you have; moving closer will not repair a plan that depended on a missing gun.
Holding useful ammunition for an imminent fight can be worth it. Holding it while an important wave dies beside you has a price. If no contest is happening yet, collect the wave and tell the team which change is coming. The counter is there to help you prepare, not to make every last hit feel like damage to a perfect weapon order.
Crescendum rewards getting closer, which is easy advice to take too far. Its attack returns to Aphelios, and he can attack again as soon as he catches it; a closer target shortens that return. The enemy still gets to fight back. Walking into a healthy frontline to make the chakram return faster can get you killed before those extra attacks matter.
Aphelios rewards the player who likes thinking ahead. A useful first checkpoint is being able to name your held pair, what Q does now and the next replacement without stopping to puzzle it out. That knowledge already lets you warn the team about losing Gravitum. An elaborate rotation you cannot keep track of during the fight offers less help.
3. Draven’s hardest catch is the one you should refuse

Draven’s axes do not land independently of his movement. Riot’s own tips explain that moving after an attack leads the axe in that direction; standing still keeps its landing near the current position. You are influencing the next catch while also choosing where to stand for the current fight. Catching prepares another empowered attack, and Draven can hold two Spinning Axes.
Attack while walking forward to pressure a last hit, and you may send the next catch toward the opponents. Their support steps into that space. You can let the axe fall, or follow the marker into a clear hook line. The first choice costs damage; the second can cost your health, the next wave and some of the Adoration you were trying to protect.
Blood Rush can help reach a catch, and catching an axe refreshes its cooldown. That is not a mana refund. Recasting W every time it becomes available can leave you short of resources even when the catches look clean. Use the movement for a reason, especially when the next wave is arriving and no kill is available.
Keep the two kinds of loss separate. Missing one axe does not delete your banked Adoration. Death currently removes half the stacks; a champion kill cashes out for bonus gold. An assist does not satisfy that champion-kill condition. Those stakes can make a risky chase feel urgent, but the passive offers no guarantee that chasing will produce the kill.
Let the forward axe fall. Stand Aside’s knockback and slow may help you return toward your minions, leaving the next wave available to farm. You have lost a catch, not necessarily the lane. On the next trade, influence the landing earlier rather than trying to salvage another marker beside the enemy support.
The revealing Draven test is an axe you deliberately leave behind. Maintaining two against an uncontested target proves you can catch them. Refusing the dangerous one shows you can keep looking at the opponents while doing it.
4. Zeri must keep finding a shot, not just a target

Zeri’s current attack pattern needs a careful distinction. Burst Fire, her Q, fires seven rounds toward the first enemy hit and is treated as an attack. Her right-click attack deals magic damage and is treated as an ability; moving and casting Q charge it. Repeatedly right-clicking the enemy is not a substitute for landing her aimed physical-damage bursts. Zeri’s current normal passive and Q, current attack classifications.
Suppose the enemy ADC moves behind a healthy minion as you fire. Without a piercing effect active, the minion can intercept the burst. You may be close enough to the champion and still lack a clean shot. Move sideways if that angle is safe, damage the blocker if clearing it helps, or attack a different reachable target. Walking forward into the support’s range just to preserve the original aim is not the only answer.
Spark Surge creates a real exception to those blockers. E dashes and can vault terrain it touches; for the next five seconds, Q pierces enemies. At lower E ranks, the piercing damage is reduced after the first target.
The piercing window is tempting even when you do not need to dash. Spend E for that damage and you have also spent the cast you might need to reach a wall. Touching terrain has its own cost: you take the extended route. Check the far side. Crossing away from teammates into waiting opponents can make a bad position worse.
Lightning Crash has its own entry condition: the initial nova must hit an enemy champion to grant the combat buff. Further champion hits can extend it; uncharged right-click attacks do not refresh it. Casting R too far away, then chasing in the hope of becoming overcharged afterward, misses the condition that starts the sequence.
Zeri is a good challenge if you enjoy aiming while moving. When you review a burst that failed to reach the carry, check what happened to it. A miss calls for better aim; a minion intercept calls for a different firing line or better use of E. Repeating the same shot more confidently will not remove the minion.
5. Samira can earn S before she earns an opening

Samira’s Style rises when she damages champions with an attack or ability different from the previous damaging hit. She is not searching for six different buttons. Alternating attacks and ability hits can advance the grade; attacking minions does not build that champion-damage sequence. At S, Inferno Trigger becomes available and consumes all Style to fire its two-second sequence around her.
The temptation is to enter as soon as R is ready. If Nautilus is beside the target with his anchor and ultimate available, a forward dash puts Samira near a champion with both a catch and a targeted knockup. He has spent neither while she was building Style. That is the problem, even if her sequence of inputs was flawless.
Keep attacking from range while a teammate draws that attention. If Nautilus commits his control to that teammate, reassess the entry before dashing in. If no opening appears and Style falls away, let it go. Scattered teammates make that patience harder: nobody is clearly taking the first response, yet the full meter keeps inviting you forward.
Samira can approach an immobilized enemy through her passive attack, but the extra knockup duration requires the target to be airborne already. An allied root does not automatically become an airborne target. Check what your support actually landed before expecting that extra time in the air.
Wild Rush also narrows the recovery. E targets enemies, including structures, not an ally waiting behind you. It resets when an enemy champion dies within three seconds of Samira damaging them. A teammate can finish that recently damaged target and still give Samira the reset, unlike Draven’s personal-kill cashout. An enemy surviving the dive can leave her without a second dash.
Before entering, look for an exit that does not depend entirely on getting a kill. Blade Whirl destroys enemy missiles entering its area; it is not invulnerability against every threat around you. If the first victim survives and E has not reset, you may have to walk back toward teammates. Leave room for that retreat instead of assuming a second dash will carry you out.
Samira is the pick for learning when to turn ranged pressure into a close-range commitment. Ask who can punish the dash before you use it. Finding the answer from inside the enemy team is much more expensive than spending another moment attacking from outside it.
Choose the mistake you are willing to review
A demanding ADC is a worthwhile main when its particular problem interests you even after a bad game. Enjoy planning equipment for the next fight? Aphelios gives that preparation a direct payoff. Want movement to stay involved in almost every attack? Kalista, Draven and Zeri each do it differently. Samira asks for the most deliberate switch from ranged pressure into the middle of a fight among these five.
If you already lose track of the wave and nearby opponents, adding another mechanic can make that harder to fix. There is no obligation to choose the most demanding kit. Look for the first avoidable decision in your failed play, then ask whether you want to spend time getting that particular decision right. If the answer is no, choose a different ADC.