

Buying damage based on an enemy’s health does not let you ignore their armor. Blade of the Ruined King adds current-health physical damage. Kog’Maw’s W adds maximum-health magic damage, while Vayne’s Silver Bolts deal maximum-health true damage. All three punish a large health bar. The damage type determines whether armor or MR can reduce the effect.
Vayne and Kog’Maw lead our best anti-tank ADCs shortlist, for different fights. Vayne is the specialist for repeatedly damaging one durable target through its resistances. Kog’Maw offers longer-range attacks during W when allies can protect him. Varus adds a spell-and-attack sequence with healing reduction, while Kai’Sa is the more conditional choice for mixed damage and finishing a target that is already hurt.
The focus is farming bot lane and fighting through attacks, rather than top-lane Vayne or AP artillery. Each recommendation weighs damage against the difficulty of staying close enough to deliver it. The linked bot pages are places to inspect builds and filters; their previous-patch records do not establish current results or set this order.
Reviewed for modern PC Summoner’s Rift Patch 26.18 on September 10, 2026. Rageblade stacks now last four seconds. That extends the repeat-attack window without changing the damage-type limits or guaranteeing an uninterrupted fight.
Which defense is stopping your damage?
Armor reduces physical damage. Magic resistance reduces magic damage. A health ratio changes how an effect calculates its damage before that resistance matters; it does not change the damage type. Buying armor can reduce Blade of the Ruined King’s on-hit damage. Buying MR can reduce Kog’Maw’s W damage even though the number grows with the target’s maximum health.
Vayne’s true-damage proc bypasses those two resistances. It does not make her entire attack true damage, and it does not erase every other defense. A normal shield can still absorb true damage, as the current shield mechanics reference explains. Healing restores health between hits. A tank who stops you attacking can deny the next proc altogether.
Look at why the health bar is staying full. Armor may call for penetration alongside physical on-hit damage. Repeated healing calls for a way to reduce recovery. A shield needs damage removed from it, or time to expire; anti-heal does not strip it away. Those are different problems to solve before spending more gold on attack speed.
| ADC | Tank-damage route | What you must solve |
|---|---|---|
| Vayne | Third-hit maximum-health true damage | Consecutive hits on one target at 550 attack range |
| Kog’Maw | Repeated maximum-health magic damage during W | A usable eight-second attack window and protection afterward |
| Varus | Blight stacks detonated for maximum-health magic damage | Attacks and spell hits, not just distant physical Q poke |
| Kai’Sa | Mixed damage and a missing-health Plasma finish | Reaching the target without landing inside its whole team |
A conventional critical-strike carry can still kill tanks with gold, penetration, and enough attacks. This shortlist concentrates on four kits with health-based damage. Seeing defensive items on the other team is not, by itself, a reason to abandon an ADC you can already play well.
Vayne: earn the third hit without giving away the fight
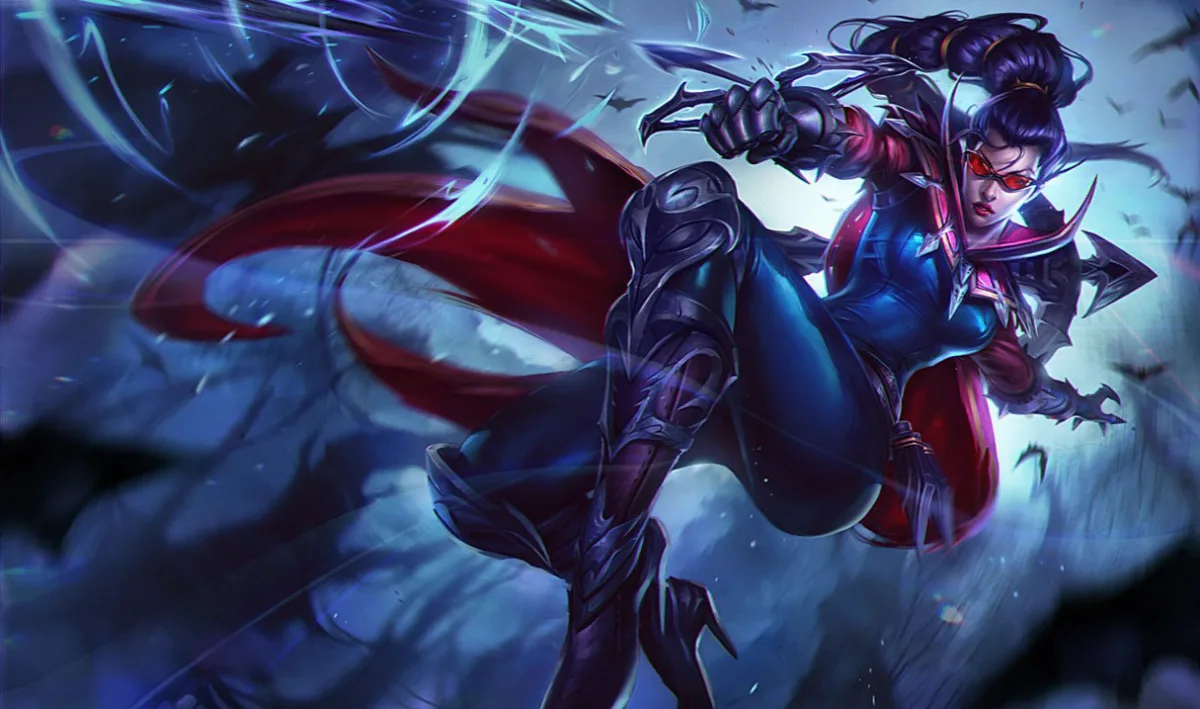
Vayne fires from midair with her red cape trailing behind her.
Silver Bolts rewards consecutive hits against the same enemy. Every third qualifying attack or ability adds true damage based on that target’s maximum health. Armor and MR cannot reduce this portion, so an opponent cannot answer it simply by choosing the resistance that matches the rest of your team. Her ordinary attacks and Tumble’s bonus damage remain physical.
That is the reason to consider Vayne against a durable frontline, but her early W is weaker than older guides may suggest. In modern 26.17, Silver Bolts deals 4 / 5.5 / 7 / 8.5 / 10% maximum-health true damage, with a minimum of 40 / 55 / 70 / 85 / 100. Riot’s 26.17 patch notes and normal W record agree. Ten percent is the rank-five value, not the damage Vayne brings to the first bot-lane trade.
Silver Bolts also asks you to commit your hits. A nearly finished sequence on one opponent does not follow you to the next target. Keep shooting the first enemy while you can reach them safely. Once they retreat behind their support, decide whether those remaining marks are worth following.
Vayne’s 550 attack range puts her close enough for the tank to threaten a reply. Tumble changes the angle between shots. Rolling straight forward can also hand the opponent the distance needed for a control spell, so leave yourself a sideways or backward option when they turn.
Condemn helps preserve that space. It pushes a target away and stuns if the target collides with terrain. Use a wall when the angle is there; against an enemy who can be displaced, the push alone can interrupt an approach. There is a tradeoff if your team has already pinned down a wounded frontliner: pushing that champion away can make everyone’s next hit harder to reach. Condemn should solve an immediate problem, not be an automatic addition to every damage sequence.
Final Hour adds attack damage, strengthens Night Hunter’s movement bonus, and gives Tumble brief invisibility with a shorter cooldown. Use the hidden movement to choose your next shot or break contact. R does not make an attack into the middle of the enemy group safe; the next place Vayne appears still matters.
Vayne suits fights where she can stay on one durable enemy. A bot matchup that keeps her off farm, or a team that can approach from several sides, makes that much harder. Pick for the fight you expect to reach, including the lane Vayne has to survive first.
Kog’Maw: make the enemy spend time inside W range
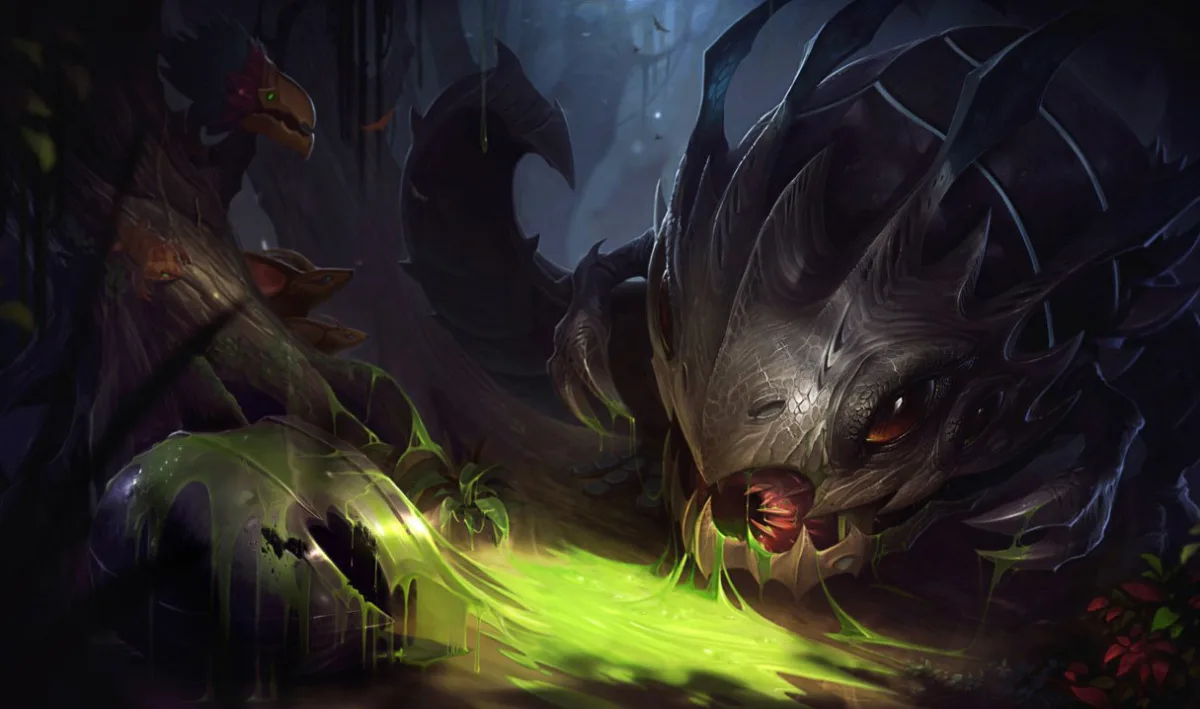
Kog’Maw crouches among dark trees as green acid spills from his mouth.
Give Kog’Maw a protected firing position and he is the pick to start with. Bio-Arcane Barrage adds range and maximum-health magic damage to his attacks. A high-health frontliner pays for each extra shot it lets him take. That makes staying in the fight useful, provided the enemy has to stay within reach too.
The duration and cooldown are different numbers: W lasts eight seconds and has a 17-second base cooldown. Its bonus range is 130 at rank one and 210 at rank five. With Kog’Maw’s base 500 range, that means 630 or 710 before other modifiers. The ordinary Bio-Arcane Barrage values supply all three figures. Ability haste can affect the cooldown; it does not turn the printed eight-second duration into permanent range.
Have a first target in mind before pressing W. The frontliner coming toward your team is an opening; the opponent already leaving your extended range may only tempt you into following. Every second spent trying to arrive is a second of the buff without an attack.
Caustic Spittle helps against both resistances. Its projectile deals magic damage and reduces armor and MR on the first enemy hit. The armor reduction helps physical attacks; the MR reduction helps the W damage alongside them. A minion or another unit can intercept Q before it reaches the intended champion, so line up the shot instead of treating resistance reduction as permanently attached to all your attacks. Q’s passive supplies attack speed; W supplies range and damage, not its own attack-speed buff.
MR purchases still reduce the magic part of Kog’Maw’s damage. Against a tank building for him and a magic-heavy team, W needs more than its health ratio to finish the job. His physical attacks and magic additions give the opponent two damage types to defend against, rather than making either resistance useless.
Kog’Maw has no dash. Void Ooze can slow the ground an approaching enemy has to cross, and allies can help keep a diver from reaching him. Before W ends, look at whether your current spot is still usable at 500 range. Stepping back early can preserve the next window; discovering that you are stranded after taking the last extended-range shot can end the fight.
Living Artillery can reach farther, but repeated attacks are why Kog’Maw is on this list. His passive’s true-damage explosion happens after death, when he has already lost those attacks. Trading his life for that explosion gives up the much more useful reason to pick him against a frontline.
Varus: put Blight on the tank, then spend it

Varus stands with his bow amid shadowed ruins and turquoise light.
Varus is the option for players who want control and spell use inside the attack pattern. Blighted Quiver adds magic damage to attacks and places Blight on the enemy, up to three stacks. His other abilities detonate those stacks for maximum-health magic damage. A long physical Piercing Arrow into an unmarked tank does not produce the same result as a Q that also consumes stacked Blight.
Attack the reachable tank, detonate the marks with a spell, then start loading the next set. A champion detonation also refunds some of Varus’s basic-ability cooldowns, helping him repeat the sequence. Blight lasts six seconds, so marks from a brief exchange are not a permanent promise of damage when the enemy returns. If Varus casts everything before applying Blight, he has spent the spells that could have converted those attacks into more damage. The normal Q and W records give the duration and refund.
Charging Q increases both its physical damage and the Blight detonation, while slowing Varus himself. Watch the tank’s approach as you draw the bow. Releasing a shorter shot before the enemy reaches you can preserve the next attack sequence; holding for maximum charge may let the enemy end it.
There are two different health ratios in W. The passive Blight detonation uses maximum health. Activating W empowers the next Q with extra missing-health magic damage, which makes that part more useful once someone is hurt. Both are magic damage, not true damage. Blight stops at three marks. The separate jungle-monster damage cap is 120 per stack in the normal W values; the full W tooltip restricts that cap to monsters, not enemy champions.
Chain of Corruption can start the sequence by rooting the first champion hit and adding Blight during that root. The stacks arrive over time, so look at the marks before firing the detonation. Against a tank already coming onto Varus, take the opportunity to move back if you need it. A landed R does not oblige you to keep drawing the bow from the same spot.
Hail of Arrows gives Varus a way to reduce the healing that keeps a tank alive. Its ground zone slows enemies and applies 40% Grievous Wounds, reducing healing and regeneration rather than destroying shields. Place the zone where the enemy is fighting or recovering. If the tank leaves it, your team may need another way to keep the healing reduction applied.
Varus has 575 base attack range, but no dash to rescue a poor firing position. Choose him when your team can help turn his control into attacks and detonations. If you plan to stay far away and fire Q, judge that poke build on its own damage. The attack-and-Blight plan requires getting close enough to use the bow’s ordinary shots too.
Kai’Sa: the conditional pick for finishing through mixed damage

Kai’Sa faces a creature among dark rock and violet light.
Kai’Sa belongs fourth because she can threaten a durable target without being as direct a maximum-health specialist as Vayne or Kog’Maw. Second Skin adds magic damage and Plasma stacks to her attacks. Starting from no marks and using attacks alone, four hits build Plasma and the fifth consumes it for missing-health magic damage. Nearby allies’ immobilizing effects can add stacks too. Her normal passive record distinguishes the stacking from the consumption.
Missing-health damage rewards the work already done to the target. Kai’Sa’s proc grows as the enemy loses health, and MR reduces its magic damage. She fits a team that can help wound and control the frontliner. If you need the same resistance-independent chunk against a healthy target each time, Vayne is the closer fit.
Icathian Rain adds physical damage, but its missiles divide among nearby enemies. Against a lone target, more of the volley can reach that one champion. Against a tank standing in a minion wave or among teammates, other units share the missiles. If allied damage is about to clear the nearby minions and Kai’Sa can afford to wait, that clear can put more of Q into the tank. Riot’s current Q record also reduces subsequent missile damage on the same champion or monster. A more concentrated volley helps; it still does not deal full first-missile damage on every hit.
Kai’Sa attacks from 525 base range. Killer Instinct moves her near a Plasma-marked champion and grants a shield, letting her change the angle around that target. Look at which side you will land on. Repositioning toward your team can let the attacks continue; jumping beyond the tank can leave its teammates between you and your support. Use the mark only when you can name a safe place beside it.
Supercharge adds movement speed while charging and attack speed afterward. Its invisibility belongs to the evolved version. Plan the reposition before the attacks you want to deliver, instead of treating every E as an invisible dash. Evolutions depend on the required stats; an item sequence aimed at a different evolution can change when a particular tool becomes available.
Kog’Maw’s W is the better fit when the team needs repeated hits on a healthy tank from longer range. Kai’Sa earns her place when allies can help prepare a target and she needs another angle to finish it. Her mobility matters most when it leads to a position she can keep attacking from.
The item has to answer the right defense too
Blade of the Ruined King’s Mist’s Edge adds current-health physical damage to attacks. A healthier target gives that effect a larger starting number; armor still reduces it, and the current-health portion falls as the target loses health. It is not penetration or an automatic finishing execute. The current ordinary item catalog, item 3153, is explicit about the damage type and which health total it uses.
Guinsoo’s Rageblade supports repeated on-hit attacks. Its current Seething Strike needs four stacks; while fully stacked, every third attack applies on-hit effects twice. That is not a promise to double every damaging spell or every part of an attack. It also does not turn physical or magic on-hit damage into true damage. This rewards a fight with repeated attacks more than a brief visit to attack range followed by a long retreat. Check whether your team can give you that kind of contact before treating the item’s best case as your normal damage. Patch 26.18 extends Seething Strike stacks from three to four seconds. The extra second makes a brief gap between attacks more forgiving, but it does not keep the stacks through a long disengage.
For a crit-oriented physical-damage build, Lord Dominik’s Regards currently has 35% armor penetration and Giant Slayer, which reaches 15% bonus damage at 1,500 enemy bonus health. Riot reintroduced that bonus-health version in Patch 26.1; the current item description agrees. It does not compare the enemy’s maximum health with yours. An older guide saying Giant Slayer is gone, or describing that old relative-health formula, is not describing this version.
If healing is what keeps undoing the damage, Mortal Reminder supplies armor penetration and applies 40% Grievous Wounds for three seconds through physical damage. That trade is about reducing recovery. It is not a second Giant Slayer or a shield-breaking passive. Varus already has a conditional way to apply Wounds with E, so consider whether your team can keep the healing reduction on the intended target before automatically duplicating the purchase.
These are explanations of item jobs, not a four-item shopping order for every champion above. A lethality purchase has another purpose: it reduces a flat amount of armor for your physical damage. Our lethality guide covers that distinction. Against a heavily armored target, do not mistake a little flat penetration for a percentage of its entire armor total.
When the tank is the correct target
The tank your team has controlled may be the correct target. Walking past it to reach the ADC can abandon both that opening and your protection. Use your health-based damage on that frontliner while your allies can help keep it in place.
Change plans when the fight changes. If the marked tank retreats and another enemy reaches you, turn your attention to that threat or move away. If a carry becomes exposed within safe reach, take the better target. Leave an unfinished stack sequence behind when completing it would put you beyond your team’s help.