
Nautilus leads the best supports for Kai’Sa when the draft needs a dependable way into a fight. Dredge Line starts the catch, Staggering Blow keeps the target in place, and Depth Charge can create a Plasma-marked route from much farther away. Alistar is the better answer into teams that must dive toward you. Blitzcrank gives Kai’Sa the cleanest isolated target, Rell offers the strongest coordinated cluster, Nami repairs difficult lanes, and Amumu is the volatile all-in option.
That is a more useful answer than saying Kai’Sa likes crowd control. Nearly every marksman likes a stunned opponent. Kai’Sa has a mechanical relationship with allied immobilization: nearby allied effects help stack Plasma, and a recently affected enemy can become the anchor for Killer Instinct. The support is not merely holding someone still. They are opening a door, keeping the doorway clear, and deciding whether Kai’Sa can survive on the other side.

Kai’Sa does not need a support who starts every fight. She needs one whose first stop leads to a playable second action.
Kai’Sa benefits from allied immobilization only if she can reach the marked opponent. Nautilus keeps that setup in 26.18 while losing damage from attacks and later ranks of Q. Pick for target access and a safe follow-up, without treating the earlier statistical sample as proof of current dominance. Riot's 26.18 notes.
The first Plasma stack changes the lane
Kai’Sa’s basic attacks and Void Seeker apply Plasma. Nearby allied immobilizing effects also add a stack against enemy champions. The fifth stack consumes the mark for missing-health magic damage, while Void Seeker supplies two stacks before its evolution and three afterward. This makes the first allied stop unusually valuable, but only if Kai’Sa can continue the sequence.
There are three distinct handoffs.
- Access: the support makes a target reachable. A hook, knockup, stun, or root adds Plasma and interrupts movement.
- Isolation: Kai’Sa needs Icathian Rain to land on as few units as possible when the lane is looking for burst. Pulling an opponent away from a wave can matter more than adding one theoretical stack.
- Destination: Killer Instinct moves Kai’Sa near a champion recently affected by Plasma and grants a shield. It does not make the landing safe. The support still needs control, space, or a second body between Kai’Sa and the enemy team.
Those handoffs explain why a famous engage champion can be a mediocre Kai’Sa partner in one draft and excellent in another. If the support lands beyond Kai’Sa’s range, Plasma begins to expire while she walks. If the support drags a tank into six enemy minions, Icathian Rain scatters. If the entire control budget disappears before Kai’Sa uses R, the ultimate becomes a delivery service for the opposing team.
The best pairings keep at least two stages connected.
Six partners, six different handoffs
| Support | What opens the target | What Kai’Sa gains | The failure to avoid |
|---|---|---|---|
| Nautilus | Hook, passive root, or tracking R | Repeated access and a clear R anchor | Hooking farther than Kai’Sa can walk |
| Alistar | Knockback, knockup, or Trample stun | Peel that can become a counter-all-in | Spending both displacement tools too early |
| Blitzcrank | Pull followed by Power Fist | Isolation from the wave and focused Q | Grabbing the enemy front line for free |
| Rell | Crash Down, Shattering Strike, or R | Multi-target Plasma routes and fight shape | Diving before the duo names one first target |
| Nami | Aqua Prison or Tidal Wave | A functional lane plus occasional access | Treating Tidecaller’s slow as immobilization |
| Amumu | Two Bandage Toss charges and his R | A forgiving all-in chain in crowded fights | Using both bandages without an exit plan |
Nautilus turns one catch into a route

Nautilus gives Kai’Sa several separate control moments, which is more useful than one long animation with no follow-up.
Nautilus is the default because his kit can reopen the same target. Dredge Line pulls Nautilus and an enemy together. His first attack against that target triggers Staggering Blow and roots them. At level six, Depth Charge chases a chosen opponent, knocks up enemies along its path, then knocks up and stuns the target. Kai’Sa does not have to manufacture every Plasma stack herself while also finding an attack angle.
The clean lane sequence begins before the hook. Kai’Sa wants the wave thin enough that Icathian Rain will not divide itself across a full pack of minions. Nautilus wants brush or lateral space so Dredge Line does not collide with the same wave. When both conditions exist, the hook does three jobs at once: it moves the opponent, applies allied immobilization, and creates a shorter line for Kai’Sa’s follow-up.
The common error is treating hook impact as permission to press every button. Kai’Sa should first ask whether she can reach without using Killer Instinct. Walking into attack range preserves R as a second reposition, a shield, or a way to follow Flash. Nautilus should use the passive root after the pull rather than wandering around the target for an ideal angle that lets the first Plasma stack age out.
Depth Charge changes the geometry later. Its tracking path can affect more than the selected champion, but the pair still needs one declared target. If Nautilus ults the back line while Kai’Sa is occupied with the front line, the marks create two unfinished fights. If both players follow the same target, Kai’Sa can use the new Plasma access to choose a landing point around that opponent rather than dashing blindly to the center.
Pick Nautilus when Kai’Sa can move with the catch and the team needs repeated immobilization. His 26.18 base-AD reduction, from 61 to 58, and lower Q damage after rank one make the follow-up damage more important. Clear the wave enough for Kai’Sa’s Q and check her position before committing; a Plasma mark on an unreachable target still accomplishes little.
Alistar is best when the enemy comes to you

Alistar can start the relay, but his better Kai’Sa drafts often let the enemy deliver the target first.
Alistar looks like another engage tank until the lane turns around. Pulverize knocks nearby enemies into the air. Headbutt pushes one away. Trample can prepare a later stunning attack. His ultimate strips current crowd control from him, then cuts the physical and magic damage he takes, allowing him to remain between Kai’Sa and the next threat.
That kit makes him the strongest featured answer into dive. When an assassin, bruiser, or engage support crosses toward Kai’Sa, Alistar can use Pulverize first and decide afterward whether Headbutt should remove the threat or carry it toward his team. Kai’Sa receives a nearby immobilization stack without having to cross the lane for it. Her Q is more likely to focus because the diver has already left the minion line. Killer Instinct can then become a short lateral shield reposition instead of a long chase.
The famous Headbutt into Pulverize combo is still useful, but it spends two displacement tools to begin the exchange. Into a lane that can immediately counter-engage, that may leave Kai’Sa standing beside an enemy who has recovered while Alistar waits for cooldowns. The better question is not whether the combo lands. It is whether Trample, Kai’Sa’s attacks, and the remaining allied formation can finish the Plasma sequence before the opponent’s second champion takes over.
Choose Alistar when the enemy composition has already volunteered to close the distance. He is less convincing into two ranged champions who can stand behind a thick wave and chip the lane without entering Pulverize range.
Blitzcrank clears the minion problem in one pull
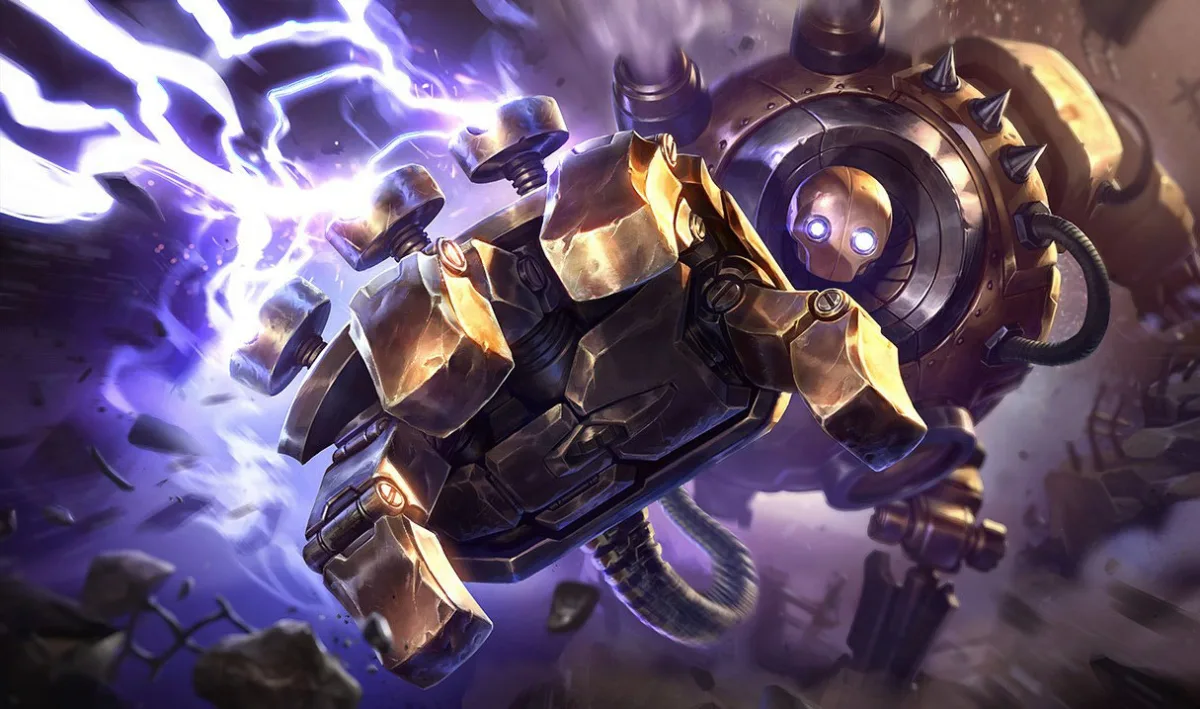
Rocket Grab does more than catch: it removes one enemy from the units that would otherwise absorb Kai’Sa’s missiles.
Blitzcrank offers the most literal solution to Kai’Sa’s isolation problem. Rocket Grab drags the first opponent hit back to Blitzcrank. Power Fist then knocks that target up. A successful pull can leave the victim away from the minion wave, away from their partner, and inside the exact radius where Icathian Rain sends multiple missiles into one champion.
That is why the pair can win an exchange before Plasma ruptures. Allied immobilization adds access, but isolation increases the value of Kai’Sa’s Q immediately. Void Seeker can add its own stacks while the target travels or after Power Fist. The opponent has to solve movement, damage concentration, and a growing mark at the same time.
Kai’Sa still has a job at hook impact. Standing too far behind the wave turns Rocket Grab into a solo adventure for Blitzcrank. Standing directly on top of him makes both champions vulnerable to the same return control. The useful formation is a diagonal: Blitzcrank threatens the side of the wave, while Kai’Sa occupies a line that lets her step into Q and attack range without crossing every hostile spell.
Not every grab is a gift. Pulling a durable engage champion can place the enemy’s ideal starter beside Kai’Sa and remove the distance that kept her safe. Static Field can strip nearby shields and briefly silence, but it does not undo a bad target choice. Against a heavy front line, Blitzcrank should sometimes preserve the hook as a threat and use Power Fist on whoever enters first.
Blitzcrank gives Kai’Sa a direct shared target when a useful hook lands. She can act immediately if the victim is reachable and Q is not split across the wave. If her spells are unavailable, take only the damage she can safely deliver. A pulled tank may be a reason to retreat together.
Rell rewards a duo that names the target
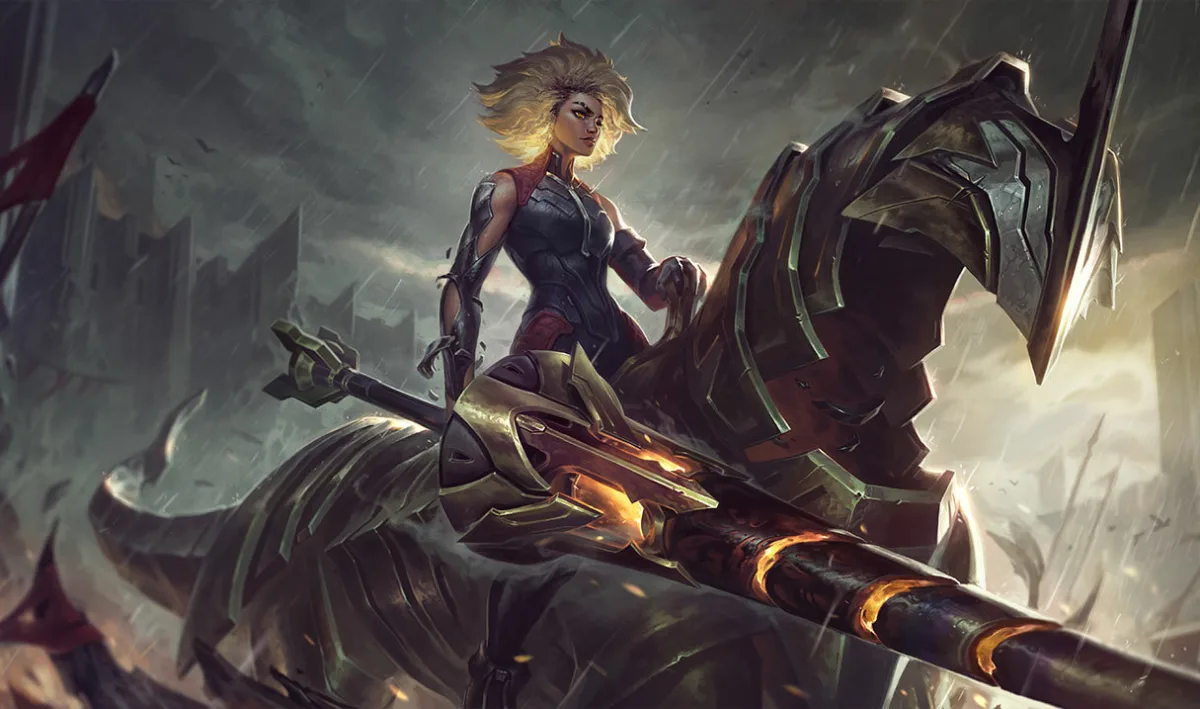
Rell can give Kai’Sa several marked enemies, but more possible destinations make target discipline more important.
Rell creates the most ambitious teamfight. Shattering Strike damages in a line, breaks shields, and stuns. Ferromancy: Crash Down knocks enemies up when she dismounts, while the mounted return can knock up the next enemy she attacks. Magnet Storm pulls nearby opponents inward and continues dragging them around her.
For Kai’Sa, that can produce a spectacular map of Plasma access. Several enemies may be affected by allied immobilization, Rell may have compressed them for Icathian Rain, and Killer Instinct may offer multiple landing circles. The abundance is also the trap. Kai’Sa’s Q still divides among nearby targets. A three-person cluster is excellent for team damage but may be worse for deleting the one champion whose missing health would make a Plasma rupture decisive.
The duo needs a target call before Rell commits. It can be as simple as "front first" or a champion name. Kai’Sa then knows whether to attack the nearest controlled target, send Void Seeker through the cluster, or hold R until Rell’s initial pull has revealed the enemy response. Rell, in turn, knows whether the second control event should continue the engage or turn back toward Kai’Sa.
Rell asks the duo to name one target inside a larger engage. Crash Down commits her position, and Magnet Storm can mark several opponents without deciding which Kai’Sa can safely attack. Choose her when both players can identify the same follow-up; several marks are not several finished fights.
Take Rell when the team wants a clustered fight and already has damage that benefits from her grouping. Avoid treating her as a universal answer into lanes that can deny the first approach and punish her dismounted recovery.
Nami wins the lane without pretending every slow is Plasma

Nami supplies health, speed, and connected trades. Only her actual immobilization should be counted as allied Plasma help.
Nami is the best alternative when reaching the target is not the lane’s first problem. Ebb and Flow lets the duo trade health instead of wagering the entire lane on one engage. With Tidecaller’s Blessing active, Kai’Sa’s next attacks or spells carry extra magic damage and slow their target. Surging Tides grants movement speed when Nami’s abilities hit allied champions. These tools help Kai’Sa step into 525 attack range and continue a trade after Supercharge.
The precision matters: a slow is not an immobilizing effect. Tidecaller’s Blessing does not hand Kai’Sa a Plasma stack merely because the target moves more slowly. Aqua Prison’s stun and Tidal Wave’s knockup can create allied stacks. The rest of Nami’s kit creates the time and spacing for Kai’Sa to add her own.
That changes how the lane should be played. Nami does not need to throw Aqua Prison at maximum range every time Kai’Sa wants damage. She can use E on Kai’Sa as an attack or spell is about to connect, let the slow support a second attack, and hold the bubble for the opponent’s predictable retreat path. If the bubble lands, it advances an exchange that is already connected instead of asking Kai’Sa to sprint across empty ground.
Tidal Wave is the later bridge. Its knockup can affect champions far enough ahead to create Killer Instinct access, while the wave’s slow and allied movement-speed effect reshape the route behind it. Kai’Sa should still wait to see which enemy is truly isolated. An R landing into three healthy opponents wastes the very spacing Nami created.
Amumu adds a second route into grouped fights
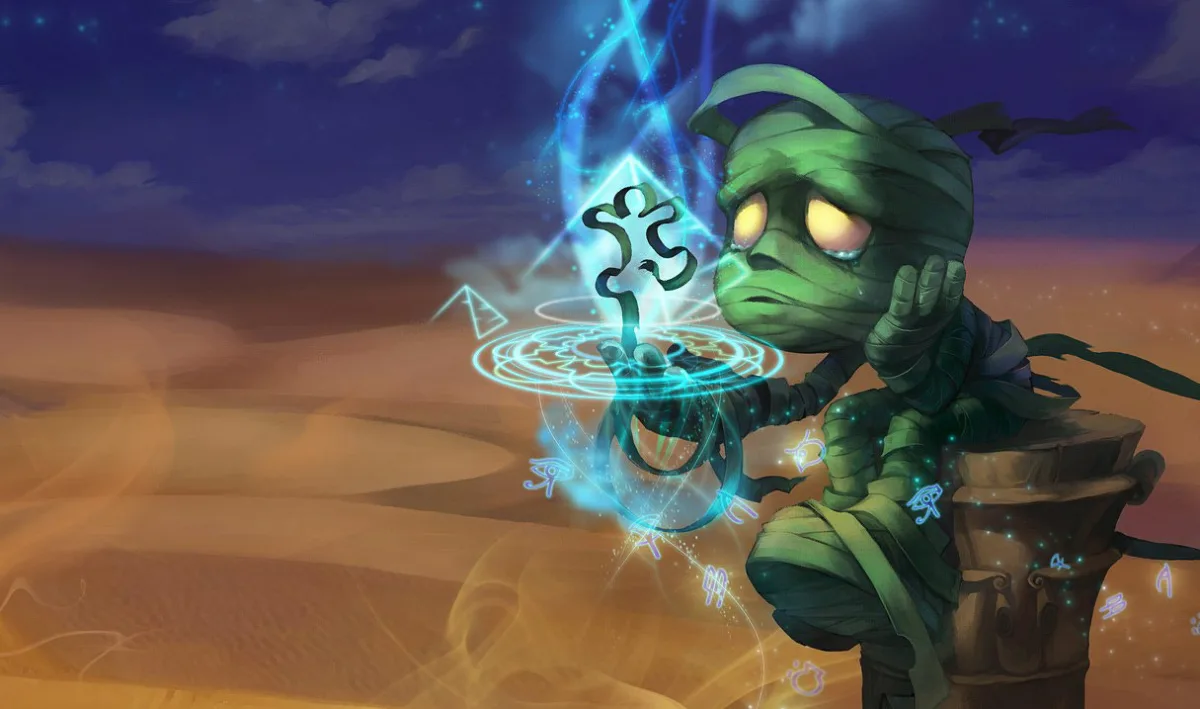
Amumu has two Bandage Toss charges and a wide stun, but every missed bandage spends part of the pair’s escape budget.
Amumu is the option for players who want repeated long-range stuns without the target-selection discipline of Nautilus’s ultimate. Bandage Toss has two charges. Each successful toss stuns the target and pulls Amumu to it. Curse of the Sad Mummy stuns nearby enemies around him. In a river or dragon fight, that can give Kai’Sa several nearby marked champions and enough control time to select one.
The lane is less automatic. Amumu has to thread Bandage Toss through minions, and landing the first charge does not make the second charge free. If he throws both toward an opponent who disengages, the duo may lose its engage, peel, and escape at once. Kai’Sa also needs to thin the wave before the first bandage if she wants concentrated Q damage on arrival.
Amumu’s passive causes enemies hit by his attacks to take bonus true damage from incoming magic damage. Kai’Sa deals mixed damage and Plasma supplies magic damage, so the Curse can contribute to the all-in. It is still secondary to the control chain. Building the lane plan around a small damage interaction while ignoring whether Kai’Sa can attack would reverse the priorities.
Amumu earns a place when the team can use repeated access and an area stun around objectives. Bot lane still needs a clear path through the wave. Pick him for that grouped-fight plan rather than assuming a strong engage will make every lane approachable.
Choose him when the enemy has to enter a narrow area and the team benefits from a second area engage. In a ranged lane with no reliable path through the wave, he may spend more time threatening a bandage than helping Kai’Sa reach the first stack.
Rank changes which mistake gets punished
Lower-rank lanes often leave a pulled or stunned target exposed for longer. That favors Blitzcrank’s obvious hook state, Alistar’s counter-engage, and Amumu’s repeated all-in. It also makes a missed first action expensive because neither player may reset the wave or disengage before trying again.
Higher-rank lanes compress the response window. The support must enter when Kai’Sa can already move, and Kai’Sa must recognize whether the first stack is an attack signal or merely access for R later. Alistar, Blitzcrank, and Rell all show positive directions among the current displayed higher-rank partners. Rell’s reversal from a negative lower-rank direction is the useful warning: a kit with more crowd control does not automatically produce a simpler duo.
For an actual duo, the better skill test is communication. Can both players identify the target before the support commits? Can Kai’Sa say when Q will isolate? Can the support say whether a second control spell is available after R? Those answers travel across rank more reliably than a decimal that changes tomorrow.
Three safety picks often leave Kai’Sa waiting
Yuumi, Milio, and Tahm Kench can protect Kai’Sa, but protection alone does not give her access to a target. Consider them when another teammate supplies initiation or the enemy must come into her range. Otherwise, a support who can immobilize a reachable opponent serves the lane more directly.
- Yuumi can stay with Kai’Sa through movement and strengthen a carry, but the lane gives up a separate body and frequent immobilization. Kai’Sa still has to create most early Plasma access herself.
- Milio extends and protects an attack pattern, but his common lane value does not reliably isolate a target or hold it through Kai’Sa’s close follow-up. The pair can function into short-range opposition, yet it should not be drafted as a Plasma engine.
- Tahm Kench can rescue Kai’Sa after a dangerous position and threaten a knockup, but defensive Devour can also reset the very attack window the duo was trying to finish. He is a counterpick into specific threats, not the default partner.
This is not a permanent blacklist. A favorable matchup, better mastery, or a team composition with abundant engage elsewhere can make any of them correct. The point is to name what the bot lane still lacks before locking a familiar protector.
The engage is not over when Kai’Sa presses R
Killer Instinct is often described as follow-up, but the destination deserves its own plan. Kai’Sa dashes to a chosen point near a visible enemy champion recently affected by Plasma and gains a temporary shield. She is choosing a position, not merely selecting an enemy.
The support should own the space after the landing. Nautilus can preserve Staggering Blow for a second target or place Depth Charge through the retreat. Alistar can hold Headbutt to remove a diver. Blitzcrank can stand between Kai’Sa and the counter-engage after the hook. Rell can turn her second movement back toward Kai’Sa. Nami can send movement speed through the line. Amumu can keep one Bandage Toss charge instead of spending both before the marksman arrives.
Kai’Sa should own the side of the landing. A point behind the target may maximize damage but cut her off from the support. A lateral point can keep the opponent inside Q while leaving an escape line. Sometimes the right choice is not to cast R at all. If the target is already controlled inside attack range, the shield and dash are more valuable after Flash or when a new threat enters.
One short call prevents most disasters: "hold one." It tells the support to keep one control or protection tool for the moment after Kai’Sa crosses the screen. The first stack opens the door. The held spell stops it from slamming shut.
Draft the missing link, not the biggest highlight
Use the enemy lane and your own team to make the final choice.
- Pick Nautilus when the team needs a dependable first target and more than one control moment.
- Pick Alistar when the enemy has to dive toward Kai’Sa and the back line needs a bodyguard who can counter-engage.
- Pick Blitzcrank when one pull can remove a fragile champion from the wave and give Icathian Rain a clean target.
- Pick Rell when the duo can coordinate a named target inside a larger clustered fight.
- Pick Nami when lane health, movement, and connected short trades matter before the all-in.
- Pick Amumu when narrow terrain and a second area engage outweigh a weaker approach through the bot wave.
If the marksman pick is still open, start with the broader ADC selection guide. If the support has to be chosen before Kai’Sa, the support champion guide is the better draft board. Compare this relay with Samira’s entry-permission lane when the team wants an even harder commitment from its ADC.
Nautilus remains the best overall recommendation because his catch can become a route instead of a single test. Alistar and Blitzcrank are cleaner answers to specific movement problems. Rell has the highest coordinated ceiling. Nami keeps bad lanes playable. Amumu can punish teams that volunteer to stand together.
The shared rule is more important than the order: never count crowd control without counting the distance Kai’Sa must cross afterward. The best support for Kai’Sa is the one who makes the first Plasma stack lead somewhere survivable.