
Soraka lands Starcall, heals her ADC, and turns a rough trade into a health advantage. Then her partner dashes 700 units forward, leaves Astral Infusion range, and makes Soraka the closest target. The lane went from winning to split in less than a second.
Ashe is our first choice when Soraka needs ranged setup and a way to start fights. Her basic attacks and Volley slow the lane long enough for Soraka to place Starcall, Hawkshot gives a fragile duo information before it pushes, and Enchanted Crystal Arrow creates an obvious Equinox follow-up. Jinx is the best traditional scaling choice. Tristana offers the highest aggressive ceiling, while Zeri, Vayne, Sivir, and Yunara cover longer fights, front-line damage, wave control, and measured scaling.
The order is not a list of carries who enjoy being healed. Every ADC enjoys being healed. The useful question is what happens immediately after Soraka spends her own health on Astral Infusion. A good partner stays inside the 550-unit W tether, uses the new health to finish a trade, and leaves Soraka a path out. A bad fit demands healing and then moves the fight somewhere Soraka cannot safely follow.
That is why this list differs from a broad best ADCs ranking. It also explains why a statistically attractive hypercarry can fall behind an ADC with less raw damage but much better control over Soraka’s next Starcall.
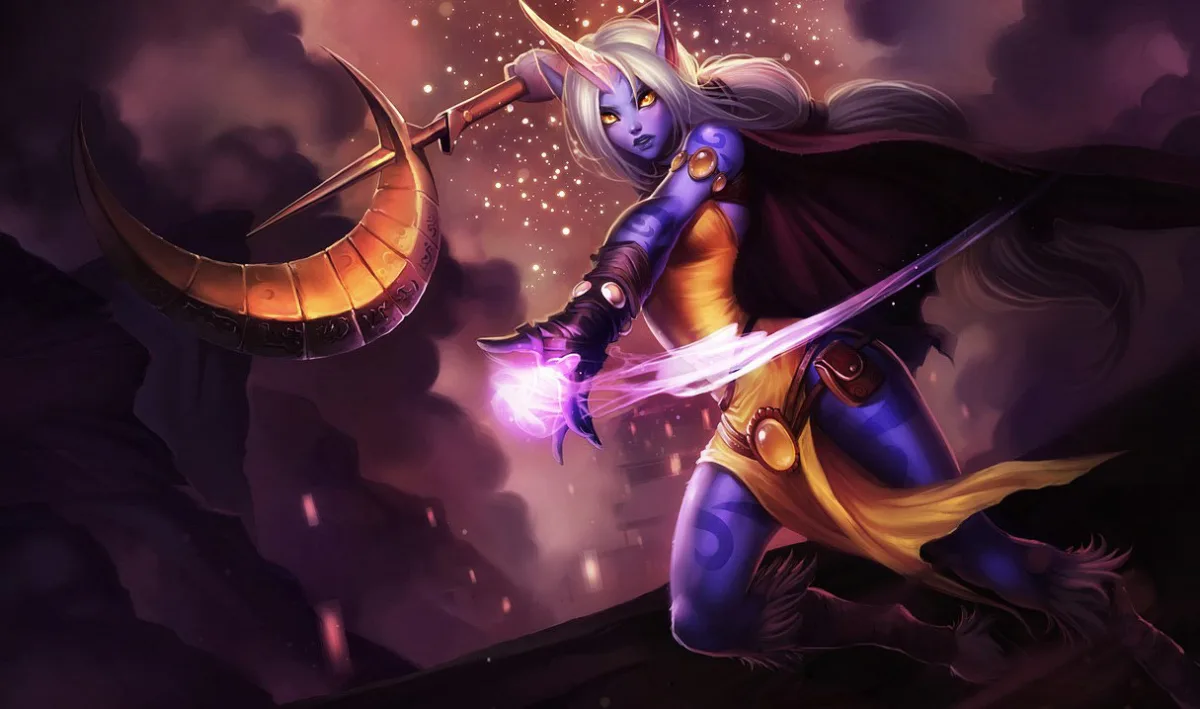
Soraka’s lane runs on a health transfer
Astral Infusion is easy to describe badly. Soraka presses W and an ally gains health. That summary leaves out the part that decides whether the lane works: Soraka pays with her own health, and the spell only reaches 550 units.
Starcall changes the transaction. Hitting an enemy champion gives Soraka Rejuvenation, restoring health and granting decaying movement speed. If she casts Astral Infusion while Rejuvenated, its health cost drops and the ally also receives Rejuvenation. One accurate Q therefore does more than poke. It lets Soraka move, repair her own health, heal her partner more efficiently, and pass the recovery forward.
The clean lane pattern has three beats:
- Soraka hits Starcall while the enemy ADC walks up for a last hit or the support steps into the brush edge.
- Her ADC takes a controlled trade while the slow and Rejuvenation are active.
- Both players leave together before Soraka becomes the low-health target.
The order matters. If the ADC commits before Q connects, Soraka often spends health without receiving the reduced cost or movement speed. If the ADC keeps chasing after W, Soraka must either break the tether or enter the enemy’s engage range. The heal can win the health bars and still lose the next position.
Equinox does not fix every broken trade. It silences enemies inside the zone immediately, but the root comes only when the zone expires and the target is still standing there. An ADC with a slow, stun, knockback, or threat line can make that delayed root more realistic. An ADC who throws the target out of the zone or drags the fight away from it gets much less value.
Wish is global, but the lane should not pretend that global range applies to every Soraka spell. The ultimate can rescue a low-health carry across the map or amplify the turn on a target below 40 percent health. It cannot put Soraka back into W range after a Rocket Jump, Spark Surge, or careless chase.
We judged each ADC on five Soraka-specific questions: Can the ADC help Starcall land? Can the ADC stay inside W range for the useful part of the trade? Does the healed health buy another meaningful damage cycle? Can the ADC reduce pressure on Soraka? Is the eventual scaling worth playing a lane without a conventional engage support?
Choose the fight Soraka can keep healing
Soraka’s partner must keep the next trade within healing reach. Zeri’s W loses AD scaling in 26.18, but still supplies the slowing setup described below. These ADC choices prioritize control, reachable damage, and Soraka’s safety; they are not a new ranking of pair win rates. Riot's 26.18 notes.
The seven picks at a glance
| Rank | ADC | What Soraka gets | Best lane use | Main failure |
|---|---|---|---|---|
| 1 | Ashe | Repeatable slows, vision, and a stun target for Equinox | Controlled poke into a forced level-six catch | Both champions are vulnerable when vision fails |
| 2 | Jinx | Scaling payoff, ranged slow, and trap follow-up | Survive the first trade, then win the second or first reset | Fishbones range can stretch beyond W |
| 3 | Tristana | Explosive Charge conversion and real knockback peel | Punish a Q hit or enemy cooldown with one planned all-in | Rocket Jump can leave Soraka 350 units short |
| 4 | Zeri | Long-fight damage and a slow from Ultrashock Laser | Extend a skirmish while Soraka cycles Q and W | Terrain movement can split the lane instantly |
| 5 | Vayne | Extra Silver Bolts cycles and Condemn self-peel | Front-to-back duels near a usable wall | Short range and expensive early Q trades |
| 6 | Sivir | Wave control, Spell Shield, and shared movement | Deny hooks, manage the wave, and move as one unit | Little setup for Starcall or Equinox on her own |
| 7 | Yunara | A ranged slow and a clear scaling window | Enter Transcendent State with Soraka ready to fund it | Needs time and has mobility Soraka cannot share |
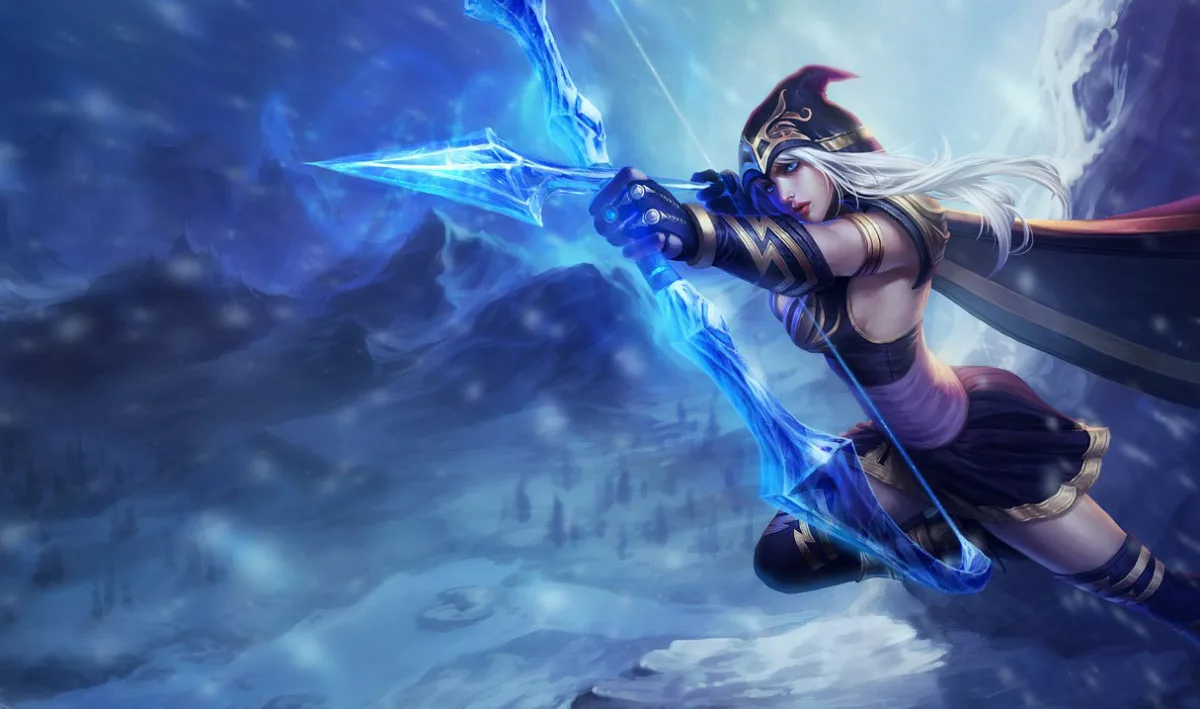
1. Ashe gives Soraka every first step she needs
Ashe does not wait for Soraka to create the lane. Frost Shot starts shaping it on the first basic attack. Volley extends the slow through the minion line, which gives Starcall time to land where an unslowed champion could simply step away. Soraka still has to aim. Ashe just replaces a guess with a much narrower escape path.
The pair can win without forcing a full all-in. Ashe attacks once, Soraka drops Q on the slowed retreat, and both players take one more action before leaving. Sometimes that action is another Ashe attack. Sometimes it is Astral Infusion followed by a step back. The point is that the trade has an agreed end. Soraka does not have to chase an ADC who suddenly crossed the wave.
Hawkshot is the quiet reason Ashe takes first place over Jinx. A Soraka lane with no dash and limited hard crowd control is an inviting gank target. Information about the river, enemy jungle route, or missing camp lets the duo use its pressure without assuming every dark area is safe. Hawkshot is not crowd control, but vision can preserve more health than another heal.
At level six, Enchanted Crystal Arrow gives Equinox a real job. Place the silence beneath the stunned target or across the escape route, then decide whether the delayed root is plausible before spending everything else. Do not drop Equinox behind a target your arrow has already stopped and expect them to walk backward into it.
Ashe also protects Soraka better than the usual scaling marksman. A diver moving through repeated slows spends longer inside Soraka’s silence zone and longer before reaching the support. The weakness is obvious: if both champions push without vision, neither has a short, unconditional dash. Ashe reduces that risk with information. She does not erase it.
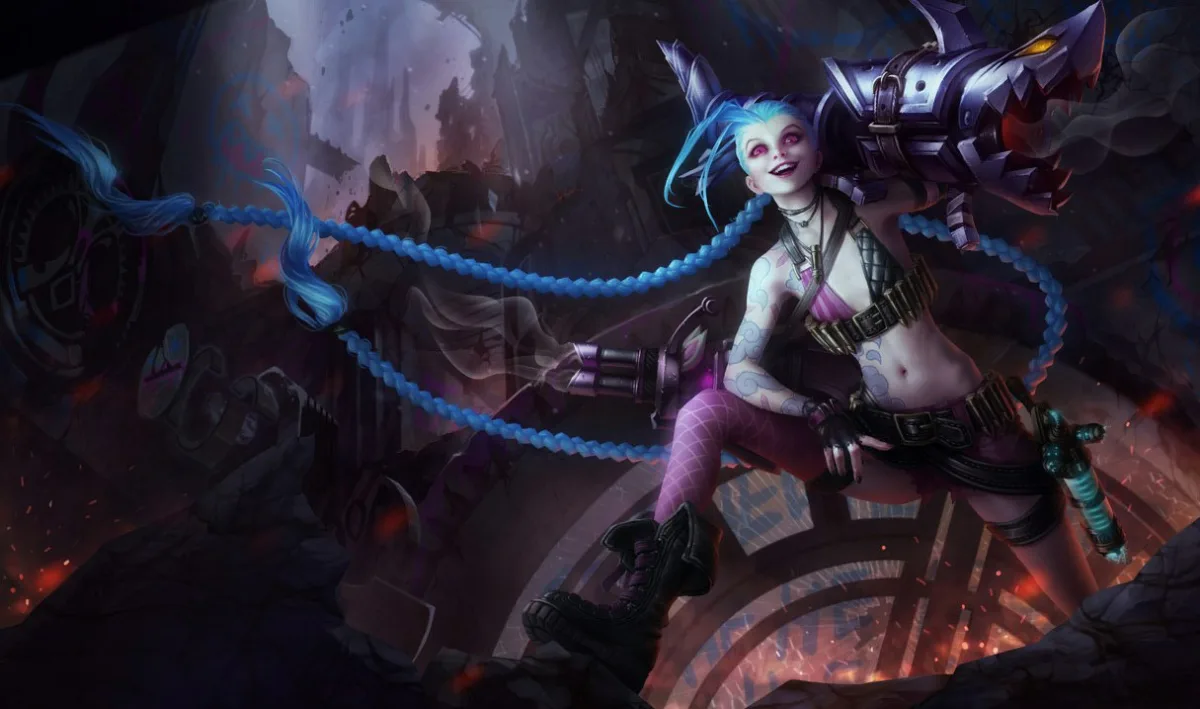
2. Jinx turns Soraka’s extra seconds into a reset
Pow-Pow rewards uninterrupted attacks. Fishbones lets Jinx trade or clear from farther away. Zap slows and reveals the first enemy hit. Flame Chompers root a champion who walks over them. None of those tools provides a free engage, but together they make the second half of a fight much easier to control than the first.
That distinction fits Soraka. She does not need Jinx to manufacture a kill from full health. She needs Jinx to keep a damaged target in the lane after Starcall and Astral Infusion have changed the health bars. Zap can slow the retreat. Chompers can close the path behind a champion already committed to the trade. Once the first takedown triggers Get Excited, the health Soraka invested can turn into a chase the enemy no longer controls.
The common mistake is treating Fishbones range as permission to separate. Jinx can attack from outside Astral Infusion’s 550-unit range, especially later. That is useful when spacing a front line, but costly when the support is being flanked. If Jinx walks forward for one long-range rocket while Soraka backs away from an assassin, the lane has two unrelated plans.
In early lane, keep the wave at a distance where Soraka can threaten Q without standing beside the melee minions. Jinx does not need to hard shove every wave because rockets can. Hold the next minion line when a bounce-back gives Soraka room to walk up. The pair becomes much harder to punish when Jinx saves Chompers for the champion trying to reach Soraka instead of throwing them at every slowed ADC.
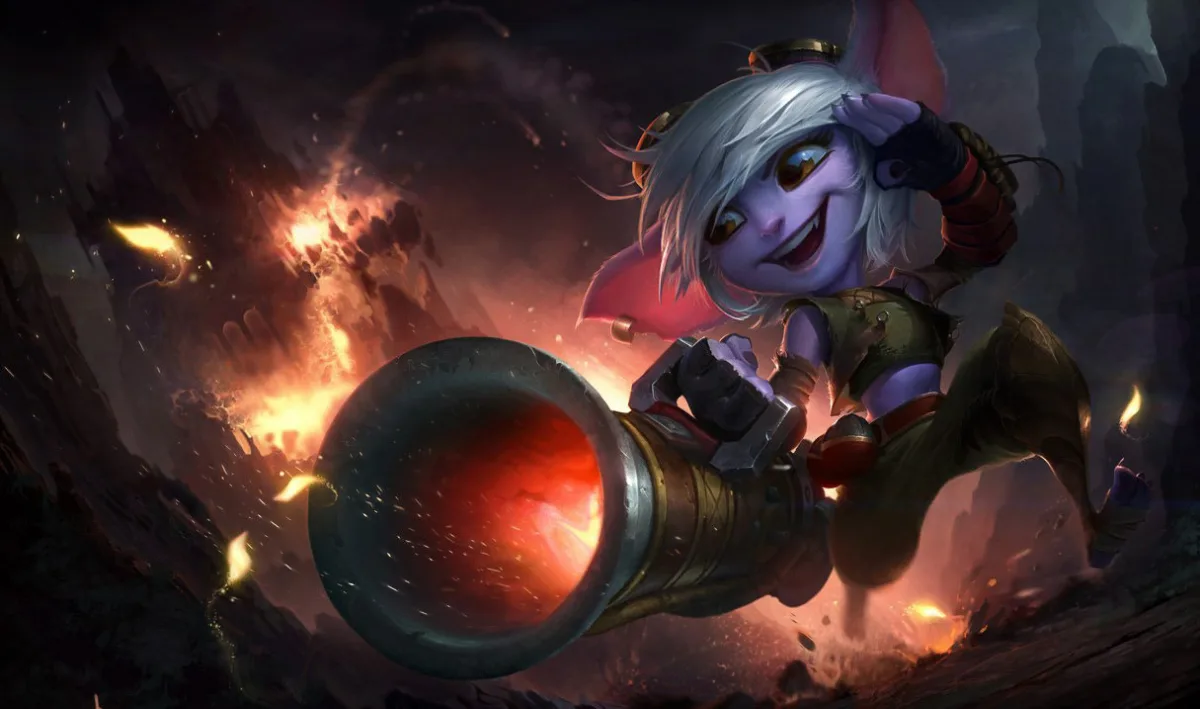
3. Tristana is the best aggressive ADC if the jump comes second
Tristana creates the sharpest difference between a good Soraka duo and a bad one. Her Rocket Jump can travel 900 units. Astral Infusion reaches 550. The geometry is not subtle: a maximum-range jump can put Tristana roughly 350 units beyond the spell that was supposed to keep the all-in alive.
That does not make the pairing bad. It makes the order non-negotiable.
The good sequence starts with contact. Soraka hits Starcall or the enemy support spends the ability that could stop Tristana. Tristana places Explosive Charge, uses Rapid Fire and attacks to build it, then jumps when the target’s escape or the charge timing justifies the commitment. A champion takedown or maximum-stack charge detonation on a champion refreshes Rocket Jump, so the second jump can be the exit instead of the first jump being a prayer.
The bad sequence starts with distance. Tristana jumps from outside the wave, lands beside both enemies, and asks Soraka to walk through the same skill shots Tristana skipped. Soraka either follows and becomes the focus or stays back and watches the ADC die outside W range. Wish may delay the result. It does not repair the formation.
Tristana’s advantage over the other mobile carries is Buster Shot. A knockback can remove the diver who reaches Soraka, break an enemy all-in, or push a damaged target away when the lane no longer has enough health to continue. Be careful with Equinox placement: knocking a target out of the silence zone before its delayed root wastes Soraka’s control.
Pick Tristana when both players agree on what starts the jump: a Starcall hit, an important enemy control spell missing, or a visible jungle arrival. An unused Rocket Jump is not a reason to fight. Choose Ashe or Jinx if the duo cannot keep the landing within Soraka’s reach.
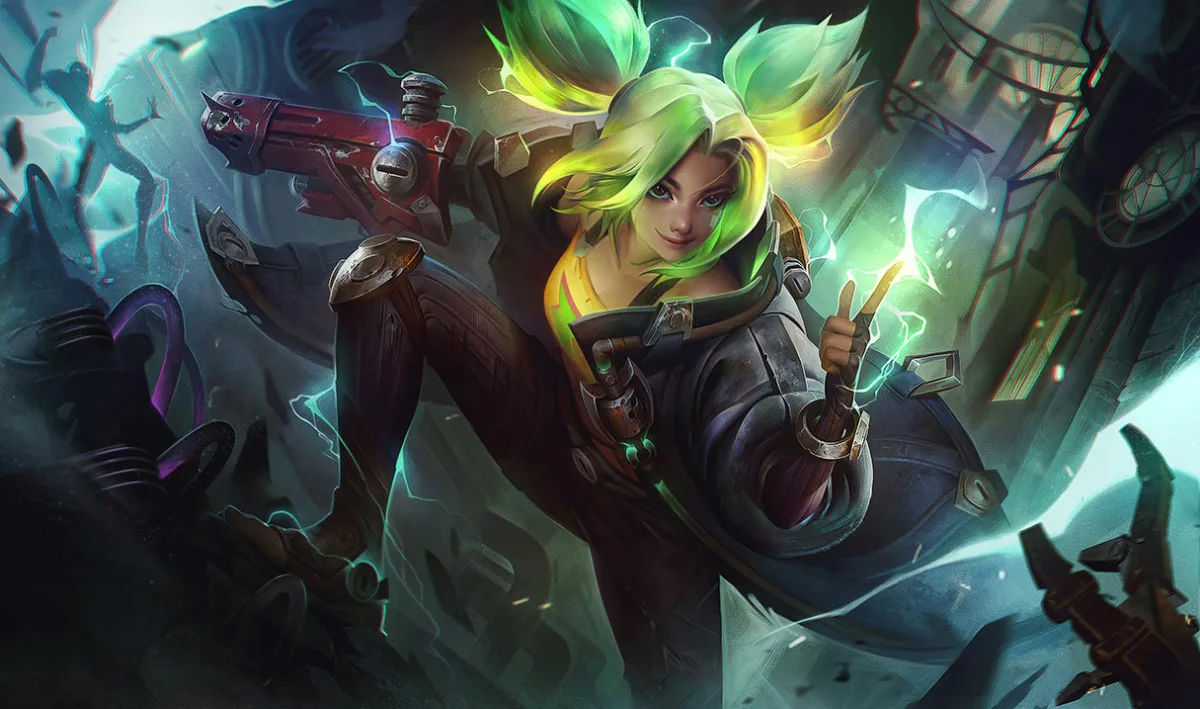
4. Zeri wants Soraka to fund the whole lap
Zeri is built for a fight that refuses to end. Lightning Crash grants attack speed and movement speed after it hits an enemy champion. Continued attacks or abilities against champions extend the duration and add movement-speed stacks. Soraka can keep Zeri healthy through the part of the skirmish where another ADC has to leave.
Ultrashock Laser supplies the initial slow. A wall hit turns it into a wider, long-range line, which can give Soraka a Starcall window without both champions entering the same threat range. Once Lightning Crash begins, Soraka should play the inside track of the fight: close enough to W, far enough that the enemy must cross Zeri’s damage to reach her. In 26.18 its total-AD ratio falls from 120% to 100%, or 180% to 150% after passing through terrain. The slow remains useful; allow for less damage from the opening W before deciding that the chase is affordable.
Spark Surge is the danger. The short dash can become a long terrain vault, and a Zeri moving over a wall may be safe while Soraka remains on the wrong side with no exit. The same play can look brilliant on Zeri’s screen and suicidal on Soraka’s. Before using terrain, ask whether the wall ends the fight or merely relocates it.
Choose Zeri for a longer moving fight that stays within Soraka’s reach. Tristana offers a more immediate commitment, while Vayne is a different answer to frontliners she can attack. Zeri’s ranged W setup is useful, but it does not prove she is universally stronger than either alternative.
The strongest version of this pair does not sprint at every low-health target. It circles the same playable area, lets Soraka hit another Q, and forces the enemy to choose between chasing a faster Zeri or turning onto a support who still has Equinox. Soraka heals the lap. She should not follow Zeri over the wall unless that wall is also her route home.
5. Vayne makes every extra attack cycle hurt
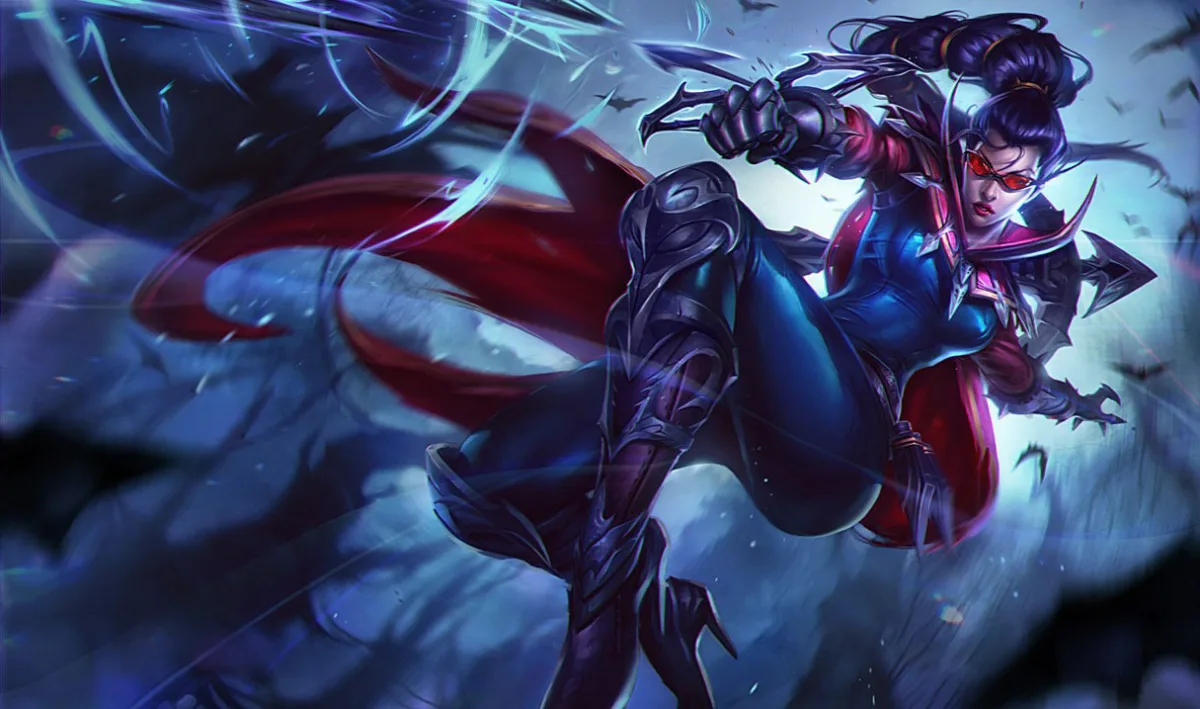
Soraka gives Vayne the resource she lacks most in early lane: time inside attack range. Silver Bolts pays on the third consecutive attack or ability against the same target. If one Astral Infusion lets Vayne survive long enough to complete another cycle, the heal has created damage rather than merely erased poke.
Condemn makes the partnership less helpless against direct engage. The knockback works immediately. The stun only happens when the target collides with terrain, so do not build the plan around a wall that is not there. Equinox can cover the square where a diver wants to return, while Tumble’s 300-unit reposition is usually small enough to preserve the W tether.
The earlier 26.17 changes still shape Vayne’s lane. Riot raised Vayne’s base health and adjusted several growth stats, but also increased early Tumble’s mana cost and cut the early percentage and minimum damage on Silver Bolts. Riot said the package primarily targets top lane, yet bot Vayne still uses the same rank-one Q and W. This is not a clean buff. The lane has more starting health but less forgiving early damage and mana.
Choose Vayne when the enemy composition gives her targets she can attack front to back and terrain she can use without diving past Soraka. Avoid the pairing when the enemy lane can own the wave, threaten a hook through an open minion line, and force Soraka to spend every Q just to approach.
6. Sivir prevents the damage Soraka should not have to heal
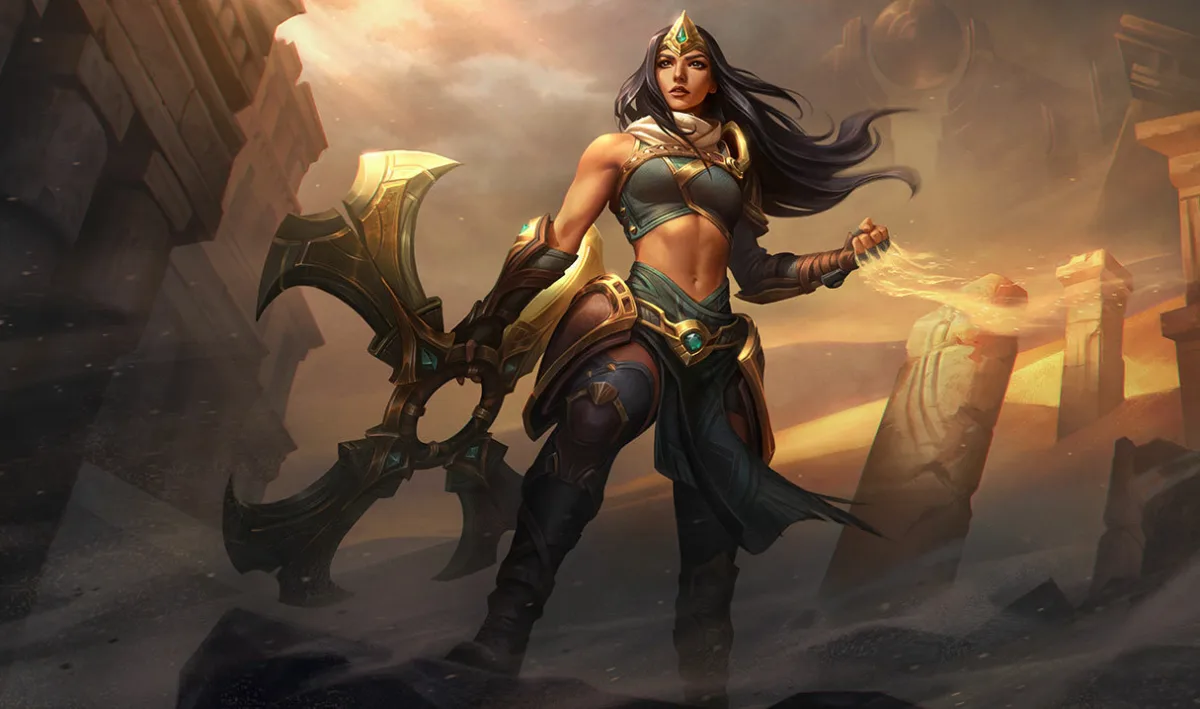
Sivir is the low-drama recommendation. She has no slow or root to donate to Soraka. Her value appears earlier in the damage ledger: Spell Shield can block one enemy ability, heal Sivir, and trigger Fleet of Foot. Every hook, bind, or poke spell that never lands is health Soraka does not have to spend replacing.
That changes Soraka’s lane choices. With less emergency healing, Soraka can keep her own health high enough to contest the brush and look for Starcall. Sivir can use Boomerang Blade to punish a champion who walks into that line, while Ricochet controls a wave that would otherwise trap the duo under turret.
Wave control needs restraint. A permanently shoved wave gives Soraka more room to be ganked and fewer safe angles to land Q. Sivir should push for a purpose: a clean recall, turret pressure with jungle information, a move to an objective, or a level timer. If none exists, letting the wave return can create a longer lane where the enemy must walk through Starcall range.
On the Hunt solves a different tether problem. It grants movement speed to nearby allies, so Sivir and Soraka can enter or leave the same fight together. Use it before the formation breaks. Activating it after Sivir has already sprinted away from Soraka turns a team tool into a personal escape.
7. Yunara is the scaling bet with a visible timer
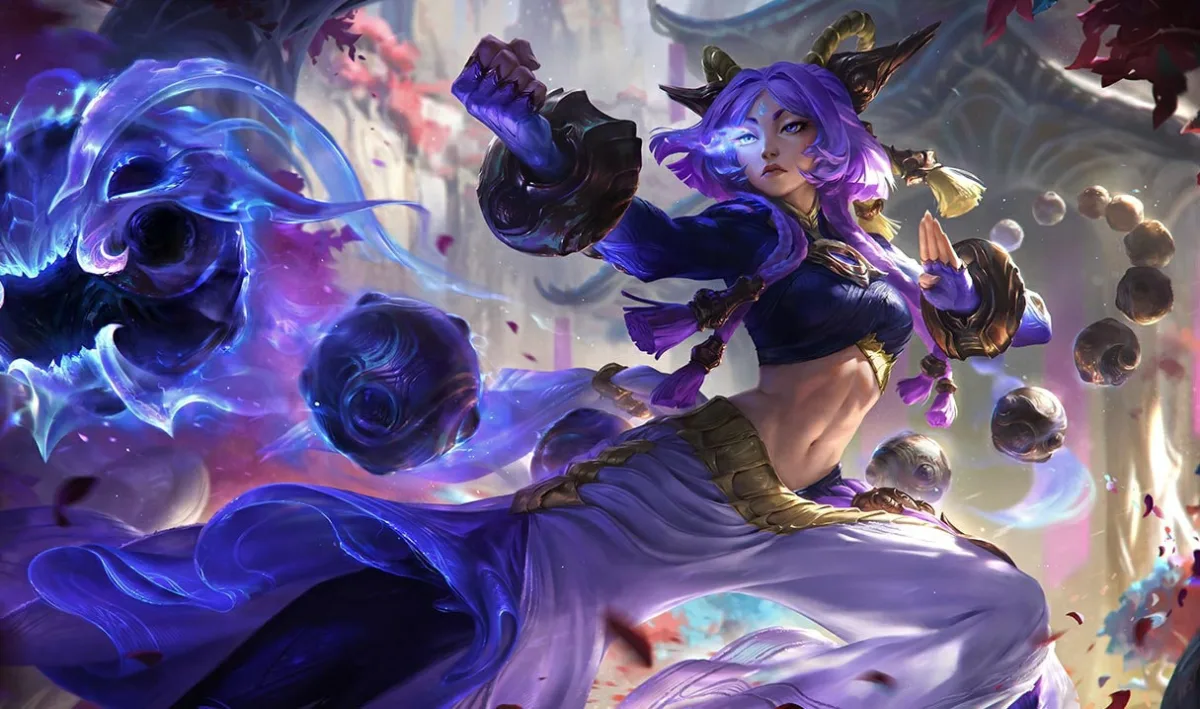
Yunara earns the last slot because her lane has a readable transition from control to commitment. Arc of Judgment slows, giving Soraka a better Starcall target. Cultivation of Spirit converts accumulated Unleash into a defined attack-speed and on-hit window. Transcend One’s Self upgrades the basic abilities and tells both players that the next seconds matter more than the last ones.
Soraka should enter that window with health available to spend. Healing Yunara after she activates her strongest state is useful only if Soraka can stay close enough to continue the trade. Normal Kanmei’s Steps grants Yunara movement speed and ghosting. It becomes a dash only in Transcendent State. Neither version moves Soraka, so the ADC still owns the tether decision.
Yunara’s slow can help Soraka land Q, and Soraka’s sustain gives the pair time to wait for a useful upgraded window. They should preserve wave access and health while waiting, rather than force an all-in whenever a spell becomes available.
Pick Yunara when the team can give the bot lane time and another role supplies reliable engage. If the draft needs the ADC to start fights, scout the jungle, or stabilize a chaotic level two, Ashe and Tristana solve those jobs more directly.
Why Kog’Maw, Nilah, Mel, and Ezreal miss the seven
Kog’Maw is an alternative when the team can protect a firing position. Bio-Arcane Barrage rewards repeated attacks, and Void Ooze can slow for Starcall. His extended range can also carry him beyond Soraka’s heal, so both players need a shared position and help against divers.
Nilah enhances nearby allied healing and shielding, and can share attack-dodge protection with Soraka. Her short range and dash can nevertheless move the trade into a place Soraka cannot safely enter. Pick for an approach both players can survive, not for healing amplification alone.
Mage bot carries such as Mel and Syndra require a different wave and damage plan from the marksmen considered here. They are outside this shortlist; Soraka’s sustain alone is not a reason to substitute an unfamiliar mage for a farming ADC.
Ezreal can avoid damage with Arcane Shift or collect some farm from range. Neither action necessarily helps Soraka land Starcall or protects her when he leaves. Choose him when the duo needs that farm access and can agree on an escape route both players can use.
Samira and Draven have another problem. They want early control that Soraka does not supply reliably. Samira benefits from immobilizing effects, while Equinox only roots after its delay if the target remains inside. Draven wants to cash an early lead and contest the lane around axe catches. Soraka can preserve both champions through a trade, but sustain is not the same as a dependable engage trigger.
The omissions are not bans. They are conditions. Kog’Maw needs protection elsewhere. Nilah needs a player who respects the tether despite her short range. Mage bots need role comfort. Ezreal needs the duo to use his safety for wave control rather than two separate lanes.
Pick the ADC for the enemy support
Against a hook lane, Ashe and Sivir are the safest recommendations for different reasons. Ashe can slow the enemy support before the angle opens and use Hawkshot to remove jungle uncertainty. Sivir can block one decisive spell and avoid spending Soraka’s health on a mistake. Jinx works when she can keep Flame Chompers for the hook support’s follow-up path rather than throwing them for poke.
Against heavy ranged poke, Jinx and Sivir manage the wave best, while Ashe can answer range with Volley. Soraka must still hit Q. If she only stands behind the ADC and presses W, the lane eventually converts her health bar into the enemy’s mana advantage. Choose a partner who can hold the wave somewhere Soraka is allowed to contest.
Against a short-range scaling lane, Tristana becomes more attractive. The enemy has fewer tools to punish her charge sequence, and Soraka can turn one good Q into a committed trade. Vayne also improves when she can reach the same target for repeated Silver Bolts without crossing a wall of crowd control.
Against dive after lane, Zeri and Vayne offer the best personal repositioning, but the team still needs someone to protect Soraka. Sivir can move the formation. Ashe can slow the entry and start a fight before the diver chooses the angle. Jinx can trap a return path. No ADC on this list makes an unprotected Soraka safe by default.
If your own team already has engage, prefer Jinx, Zeri, Vayne, or Yunara and let Soraka invest in the carry window. If the team has damage but no start button, Ashe should move even farther ahead of the field. Tristana can force a lane kill, but she is not a substitute for reliable front-line engage in a five-on-five fight.
Three calls keep the Soraka lane connected
"Q first" is the simplest call. It means the ADC threatens a trade but does not spend the dash, charge, or longest cooldown until Starcall hits. Soraka gets Rejuvenation, the W transaction becomes cheaper, and the enemy’s slowed movement makes the next attack easier to place. If Q misses, the duo loses a spell, not both health bars.
"One more, then out" defines the end of the trade. The ADC takes one more attack or ability after Astral Infusion, then both players leave. Jinx can finish the current Pow-Pow stack. Vayne can complete Silver Bolts. Tristana can detonate a nearly full charge. The phrase stops a small health win from turning into a chase Soraka cannot support.
"Hold my square" tells the ADC where Soraka needs the fight to remain. That square is inside W range, outside the enemy’s easiest engage, and close enough to the minion or terrain line that makes Starcall hittable. Zeri can circle it. Sivir can move it with On the Hunt. Ashe can slow enemies before they cross it. Tristana should know exactly when she is choosing to leave it.
These calls matter more than a theoretical duo tier when the players have never laned together. Soraka’s spells reward a partner who communicates the beginning and end of a trade. Silence between two mechanically good champions still produces a broken tether.
The lock-in rule
Pick Ashe when Soraka needs repeatable Starcall setup and the team needs ranged initiation. Her vision and slows help both players choose a safe approach, while her arrow gives Equinox a follow-up. If the team already has enough control, choose the carry whose damage can stay within Soraka’s healing reach.
Pick Jinx for the strongest scaling payoff, Tristana for a planned aggressive lane, Zeri for long skirmishes, Vayne into attackable front lines, Sivir into pick and wave pressure, or Yunara when the draft can wait for a defined carry window.
The final check takes three seconds in champion select: after Soraka hits Q and presses W, where does this ADC go? If the answer is "just outside her reach," choose a different partner or agree on a different trade before the loading screen.