
Morgana throws Dark Binding through the wave. It clips a melee minion. For the next few seconds, the enemy bot lane no longer has to respect the spell that controls the entire lane.
That missed Q is a better test of an ADC partner than the perfect highlight. Almost every marksman can damage a target Morgana has rooted in open ground. The best ADCs for Morgana can convert that catch, then keep the wave playable when the binding misses, gets blocked, or has to be held.
Caitlyn is our first choice for a Morgana lane that wants range and trap follow-up. She turns a root into a Yordle Snap Trap and empowered Headshot, pressures from outside most return trades, and gives the lane a plan that does not depend on Morgana landing every projectile. Jinx ranks second for her reliable follow-up and reset conversion. Aphelios, Senna, Kog’Maw, Xayah, and Twitch fill the remaining places, each for a different draft and a different way of spending Black Shield.
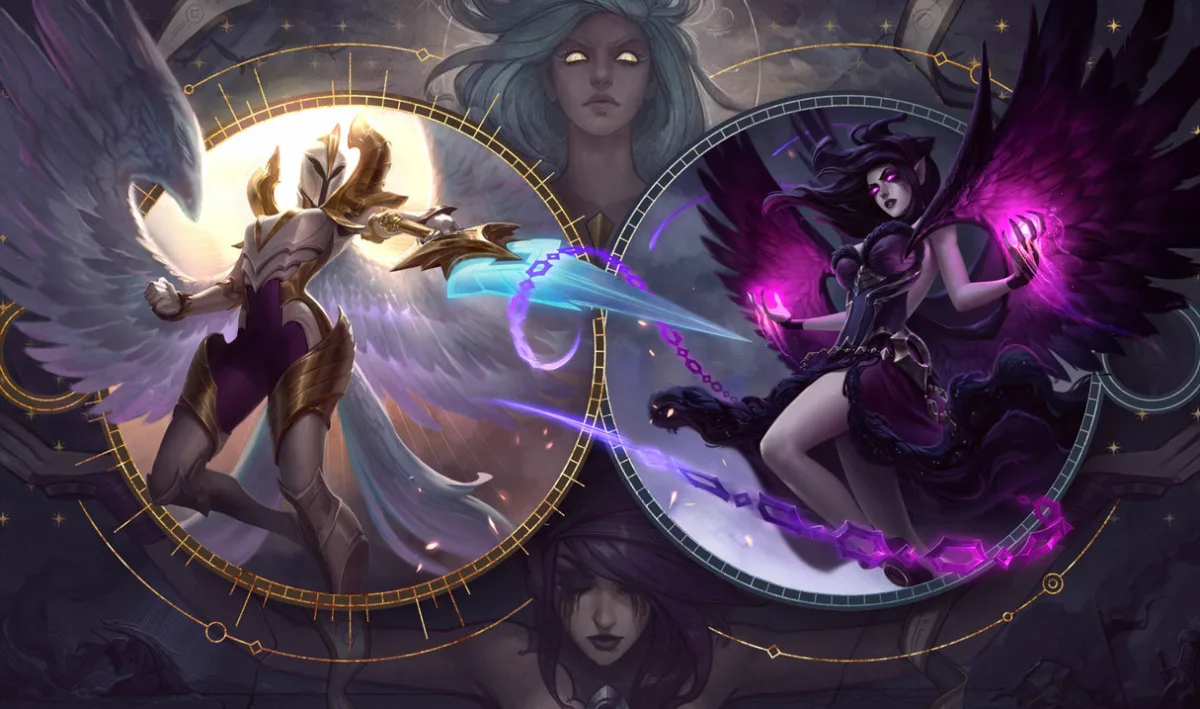
Morgana’s ADC must have a plan after Dark Binding misses. Range, wave access, and the intended use of Black Shield decide the recommendations below. The 26.18 changes do not remove Nautilus’s enemy control threat, and previous-patch rates are not treated as a fresh comparison of these duos. Riot's 26.18 notes.
The short answer
Pick Jinx when your team needs a conventional scaling marksman and can protect one reset. Choose Aphelios if the player understands his weapon cycle. Use Senna for a long-range utility lane with an agreed farm plan. Kog’Maw gets the most obvious value from Black Shield, while Xayah makes the lane hostile to direct engage. Twitch is the specialist choice when the team wants an ambush angle rather than permanent wave control.
| Rank | ADC | Best Morgana connection | Plan after a missed Q | Best Black Shield use | Main warning |
|---|---|---|---|---|---|
| 1 | Caitlyn | Trap under a rooted target | Range, wave pressure, Net spacing | Preserve an aggressive trap or siege position | The duo can push without tracking the gank |
| 2 | Jinx | Chompers extend the catch | Rockets, Zap, and controlled wave clear | Protect the first reset window | No dash if the fight reaches her |
| 3 | Aphelios | Weapon-specific conversion, especially Gravitum | Farm and trade according to the current guns | Cover a short-range weapon commitment | The lane changes every time the weapon pair changes |
| 4 | Senna | Binding and Last Embrace create two catch clocks | Long-range Q trades and sustain | Protect a forward soul or W follow-up | Farm ownership must be clear before lane starts |
| 5 | Kog’Maw | Binding creates uninterrupted W attacks | Farm, poke with E, preserve health | Stop the disabling effect that ends his firing window | Black Shield does not absorb physical damage |
| 6 | Xayah | Root layers and anti-dive space | Feather placement and Bladecaller threat | Keep her attacking before Featherstorm is necessary | Overlapping every defensive tool wastes the pairing |
| 7 | Twitch | Morgana protects the Ambush reveal | Avoid fair trades and change the next angle | Cast as Twitch reveals and commits | Weak early wave access can trap both champions under tower |
Why Morgana needs a two-clock test
Dark Binding has 1250 range in Riot’s current static data, but the distance is only half the spell. Minions stop it. A side step stops it. A patient opponent can stand behind the wave and force Morgana to choose between holding Q and gambling away her lane pressure.
The first clock starts when Binding hits. Morgana can place Tormented Shadow under the target, and her ADC gets a clean window to add damage or another control effect. This is where Caitlyn’s trap, Jinx’s Chompers, Senna’s Last Embrace, and Aphelios’s Gravitum matter. The target should not leave the sequence merely annoyed. A good partner turns Morgana’s one landed projectile into health, a summoner spell, control of the next wave, or a kill.
The second clock starts when Binding misses. Q has a ten-second base cooldown before ability haste. Ten seconds is long enough for the enemy support to enter a brush, take the level-two race, walk at the ADC, or claim the center of the wave. An ADC who supplies no pressure during that window makes Morgana’s misses increasingly expensive. The lane becomes a slot machine where one hit feels wonderful and every miss gives the opponent another turn.
Black Shield changes both clocks, but its job is often misunderstood. The shield absorbs magic damage and prevents disabling effects while it remains intact. It does not absorb physical damage. It also has a much longer early cooldown than Dark Binding. Spending it on harmless poke can leave the ADC exposed when Leona, Nautilus, Rell, or another engage support commits. Holding it forever is no better. A spell that is never cast protects nobody.
The strongest pairings give Black Shield a specific purpose. Caitlyn uses it to remain in range for a trap and Headshot. Jinx uses it to keep firing long enough to trigger Get Excited. Kog’Maw uses it to preserve a Bio-Arcane Barrage window. Twitch uses it at the moment Ambush ends and the enemy can finally target him.
Soul Shackles adds a final question. Morgana has to enter a 625-range area, attach chains, survive, and keep enemies close enough for the delayed stun. An ADC can help by controlling exits, threatening anyone who turns, or using the space to fire safely. The ADC does not need to stand on Morgana’s shoulder. In many fights, the better response is to attack the target forced away from the chain.
A missed Binding changes the support job
The order below favors repeatable lane plans: reachable follow-up, a playable wave after Q misses, and a specific enemy spell for Black Shield to answer. The historical data does not decide which of those jobs your draft needs now.
1. Caitlyn gives Morgana a lane between the bindings
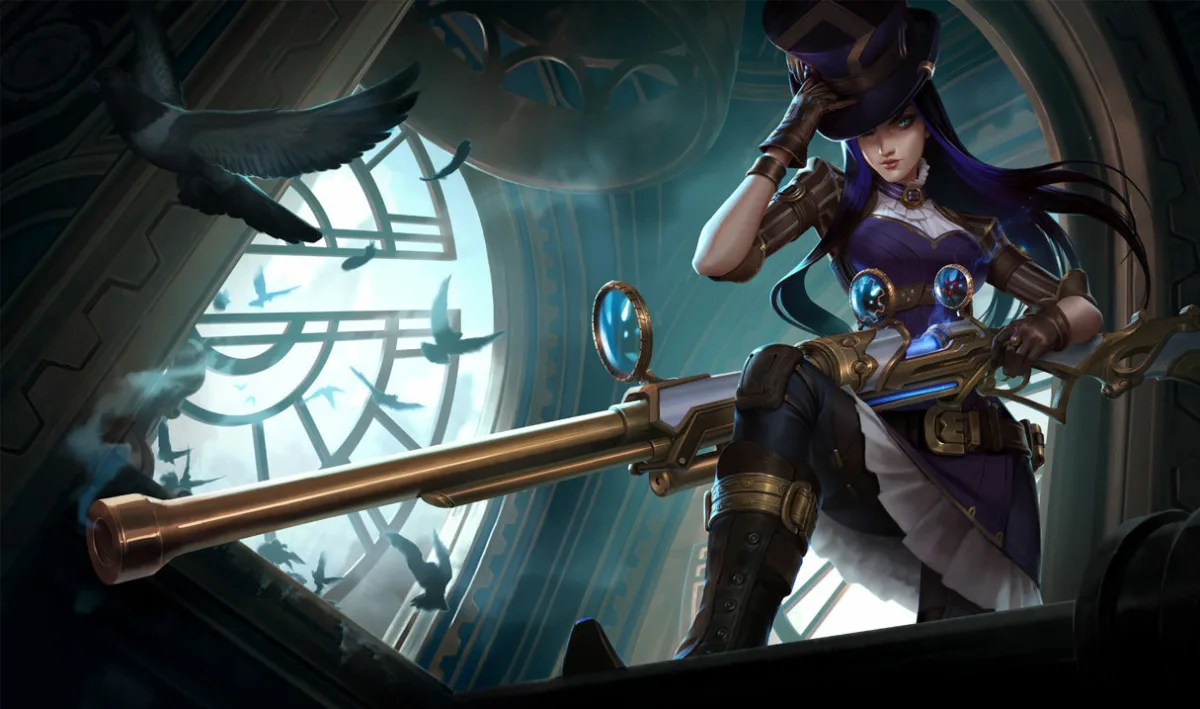
Caitlyn wins because she passes both clocks.
When Dark Binding hits, Caitlyn can place Yordle Snap Trap under the rooted champion. The trap immobilizes for 1.5 seconds and grants an empowered Headshot with doubled attack range. She does not need to guess where a moving target will step. Morgana has already fixed the target in place long enough for the trap to arm under the obvious exit.
The clean sequence is Binding, trap, Tormented Shadow, Headshot, then Piltover Peacemaker. Caitlyn’s current Q loses damage after passing through its first target, but an enemy revealed by Yordle Snap Trap still takes full damage. Caitlyn should not rush the trap at the front edge of Morgana’s root and leave the target room to walk around it. Put it under the model or on the exit the opponent must take. Against an enemy with a dash available, the trap can be more valuable slightly behind the rooted position.
What separates Caitlyn from the usual combo answer is everything that happens before Q lands. Her range lets her pressure last hits without entering every support’s threat zone. Piltover Peacemaker can manage the wave. 90 Caliber Net gives her a personal spacing tool. Morgana can therefore hold Binding while Caitlyn takes small advantages, instead of throwing Q because the lane has no other source of tension.
The lane can still fail
Caitlyn and Morgana naturally push when Peacemaker and Tormented Shadow touch the wave. That pressure feels safe until the river disappears. A missed Binding near the enemy tower creates a long lane behind both champions, exactly when the opposing jungler wants to arrive.
The pair also struggles if Morgana damages the wave without a reason. Caitlyn often wants a deliberate slow push, a crash that buys a recall, or a frozen wave that forces the opponent to leave cover. Random W casts can break those plans. Morgana should ask whether the pool is securing support gold, controlling a rooted target, or preparing a crash. If it does none of the three, it probably does not belong on the minions.
Use Black Shield to keep Caitlyn in the firing position she earned. If the enemy support walks forward with a disabling spell ready, shield late enough to answer the commitment and early enough that Caitlyn does not have to Net away. Do not spend the shield on incidental magic poke, then ask a stationary marksman to keep hitting when the real engage arrives.
2. Jinx turns one catch into the next target
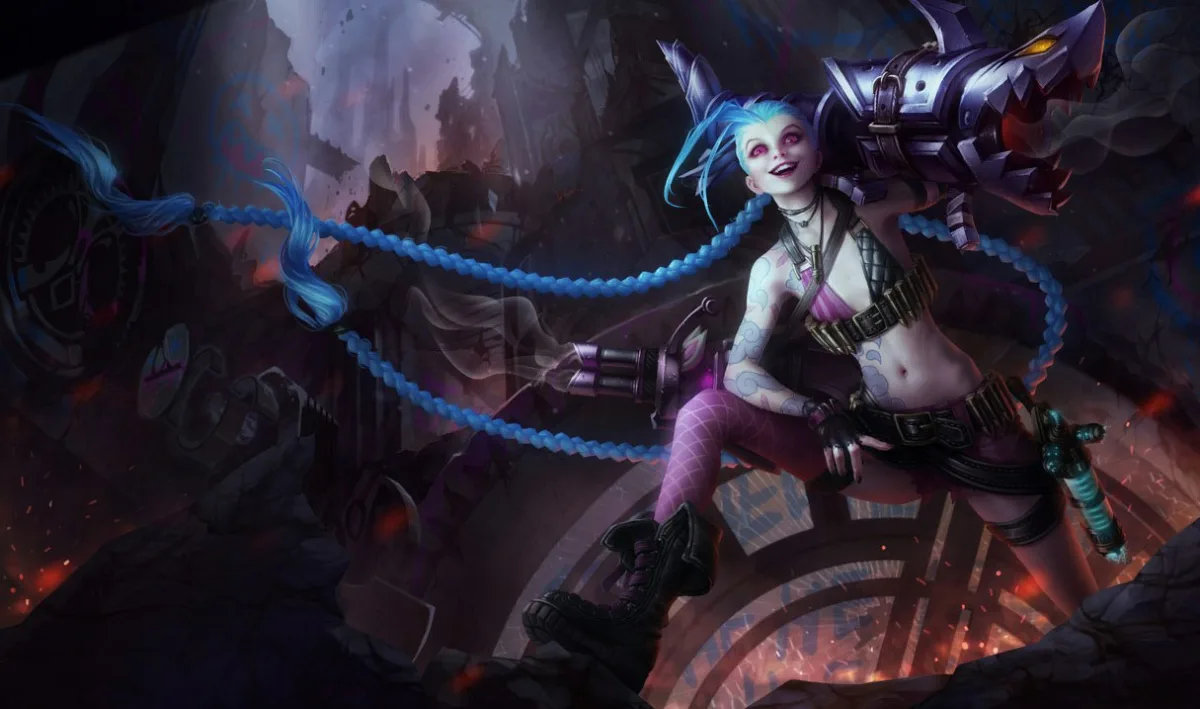
Jinx is the best answer when the team needs Morgana to protect a conventional late-game carry rather than win lane through permanent range.
Flame Chompers give the duo a second line of control. A rooted target cannot casually step around the grenades, and an enemy support trying to rescue that target has to respect the new boundary. Zap has 1450 range in the current static data, so Jinx can contribute to a catch without walking into the same danger as Morgana. Fishbones also lets her add area damage from farther back than Pow-Pow.
The sequence has one common mistake: dropping Chompers directly on Morgana’s feet after the enemy has already turned. They are a zoning tool as much as a root. If Binding catches the ADC, place Chompers across the shortest retreat. If Binding catches the support, use them to separate that support from the carry or block the counter-engage.
Jinx also gives the pair a real payoff after the first takedown. Get Excited grants a large movement and attack-speed burst when she helps kill a champion, epic monster, or structure. Morgana’s job changes at that moment. She no longer needs to force another heroic Q through three bodies. She can shield Jinx, place W under the next controlled target, and use Binding to cut off the escape route.
The weakness is equally clear. Jinx has no dash. Black Shield can deny one disabling sequence, but it cannot absorb a physical burst or relocate her after a bad step. Morgana cannot stand in a flank brush fishing for Q while Jinx farms a dangerous wave alone. Against hard engage, the better formation keeps Morgana close enough to shield, places Binding through the path of the engager, and holds Soul Shackles as a punishment for anyone who stays on Jinx.
When Binding misses, Jinx should not run forward to make the lane feel active. Switch to the weapon that matches the wave state, use Zap only from a safe line, and let Morgana regain Q. The pair scales because it refuses bad ten-second windows, not because it wins every trade.
3. Aphelios changes the answer with every weapon pair
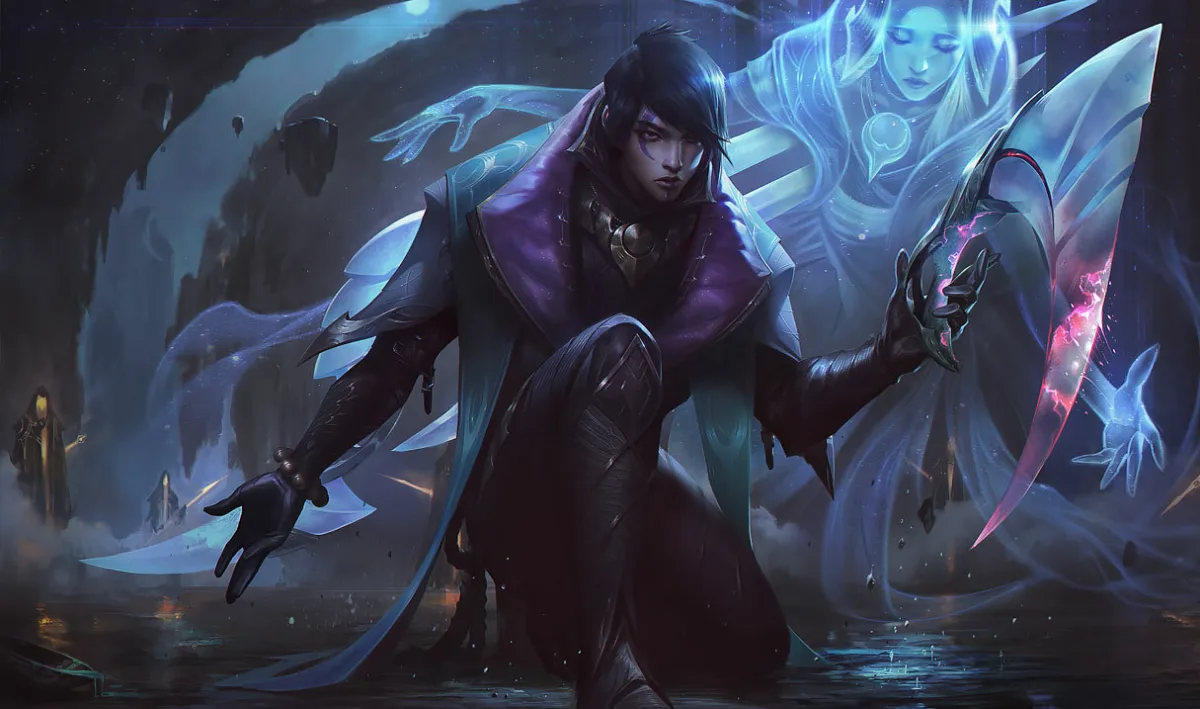
Aphelios is third because his ceiling with Morgana is higher than one fixed combo, while his floor demands more coordination than Caitlyn or Jinx.
His current main-hand weapon determines what a landed Binding means. Calibrum can mark the rooted target for long-range follow-up. Gravitum can root enemies already slowed by the weapon, extending control or catching a second champion after Morgana hits the first. Infernum can punish opponents standing near the rooted target. Crescendum rewards a closer, more dangerous firing position. Severum lets Aphelios move while attacking nearby enemies with both weapons.
Morgana has to read those guns before she commits. A Calibrum and Gravitum pair can play patiently around range and chain control. Severum and Crescendum ask for a tighter fight where Black Shield may be the difference between completing the attack sequence and losing it immediately. Infernum makes a binding inside a stacked wave more valuable, but it can also push the lane faster than the duo intended.
This variability explains why a generic call such as "Q landed, go" is not enough. The Aphelios player should ping or state the current plan before Morgana walks into a side brush. If Gravitum is available, decide who starts the control. If Crescendum is available, decide which enemy spell Black Shield must stop. If the weak weapon transition is approaching, the pair can wait instead of forcing a fight on the last few rounds.
Aphelios also has a useful missed-Q plan. He can manage the wave and trade according to his weapons without relying on Morgana to start every exchange. The problem is that Morgana can accidentally fight against his plan. Walking up for a speculative Binding while he is changing to a weak short-range pair leaves him unable to follow. Dropping Tormented Shadow on the wave can alter the ammo and wave timing he was preparing.
This is a duo for players who communicate weapon state as clearly as cooldowns. "Gravitum next" is more useful than "Q soon." Black Shield should answer the spell that ends the current weapon’s job. That makes Aphelios one of Morgana’s most interesting partners and keeps him below the two marksmen whose plan is visible without a briefing.
4. Senna creates a second delayed catch
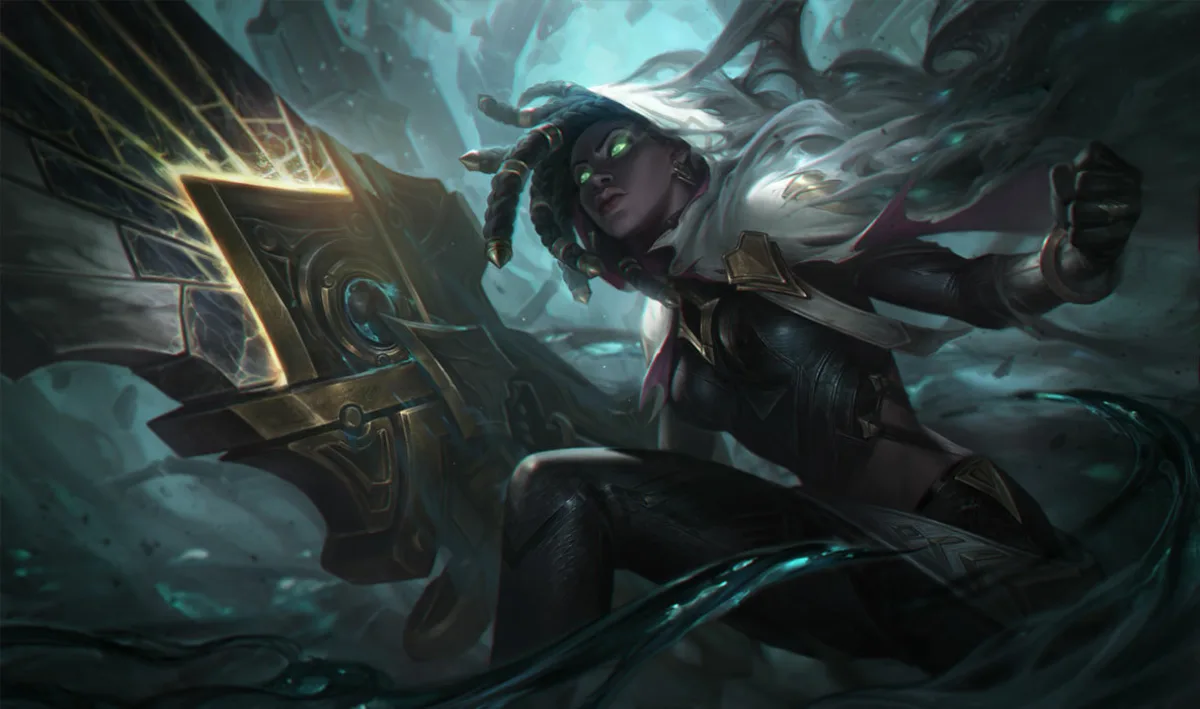
The functional appeal is real. Last Embrace latches onto the first enemy hit and roots that target plus nearby enemies after a delay. Morgana can start with Dark Binding and let Senna place the delayed root on the escape, or Senna can hit W first and give Morgana a target whose route is becoming predictable. Piercing Darkness passes through a target line, so Senna can heal an ally and damage an enemy in the same cast when the geometry cooperates.
Both champions threaten from long range. Both can punish someone who stands away from the minion screen. Senna also supplies sustain that Morgana lacks. A lane that took one bad trade does not have to gamble the next Binding just to recover control.
The strange part is gold. "Senna ADC" can describe more than one lane economy. If Senna intends to farm, Morgana should use a normal support plan and avoid taking the wave with Tormented Shadow. If the duo wants a fasting setup, someone still has to collect the minions efficiently. Morgana support is not automatically a good farming replacement merely because she can place W on a wave. Two players entering lane with support-income assumptions creates a poor economy no statistic can rescue.
Black Shield on Senna is most useful when she steps forward for a soul, a Q line, or a W follow-up and the opponent tries to punish that fixed moment. Senna’s range growth can reduce how often she needs protection later, but the early lane still has vulnerable attack windups. Shield the commitment, not the idea of Senna as a scaling champion.
Senna is an alternative when both players agree that she takes the minion gold and Morgana supports. Their layered catches and ranged trades are useful, but they still need room to farm after Q misses. Caitlyn and Jinx offer more straightforward wave and follow-up plans when the duo cannot coordinate those details.
5. Kog’Maw buys attacks with Black Shield
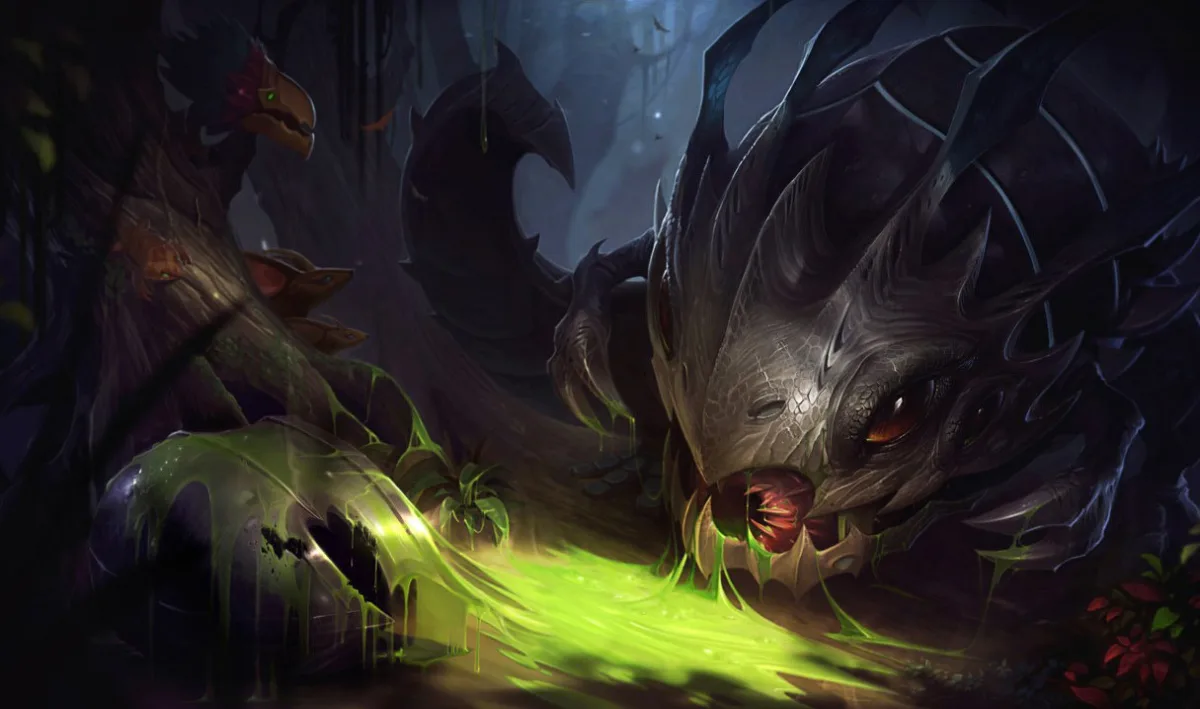
Kog’Maw is the first pick in this ranking whose main connection is protection rather than chain control.
Bio-Arcane Barrage extends his attack range and adds magic damage based on the target’s maximum health. The spell creates a limited firing window. Every second spent stunned, knocked up, feared, or forced away is a second lost from the part of his kit the lane selected him to use. Black Shield can deny the disabling effect that would end that window.
The shield does not make Kog’Maw durable. Physical damage still lands. Repeated magic damage can remove the shield. An assassin can wait for Morgana to cast it too early. The duo succeeds when Black Shield prevents the specific control that would stop Kog’Maw from attacking, while Binding and Soul Shackles occupy the path enemies must cross to reach him.
Kog’Maw contributes more to the catch than players sometimes remember. Void Ooze travels 1200 range and leaves a slowing trail. Caustic Spittle reduces armor and magic resistance for a short time. Living Artillery can reveal a non-stealthed target and punish low health from increasing range at later ranks. None of those spells replaces hard control, but they can make the next Binding easier or keep a damaged opponent from resetting comfortably.
He is still the best specialist into a draft where one blocked disable creates several seconds of uninterrupted damage. Against a lane built on physical poke and repeated movement, Morgana may offer less than an enchanter with regular healing, movement speed, or a shorter defensive cooldown. Choose the pair because the enemy must cross a controlled corridor, not because "immobile ADC plus Black Shield" sounds complete.
After a missed Binding, protect the wave and Kog’Maw’s health. He does not need to walk past the ranged minions to prove the lane has pressure. Use Void Ooze to slow the approach, keep Tormented Shadow from ruining a recoverable wave, and wait for both Q and the next Bio-Arcane window. The discipline is unglamorous and wins more lanes than a second desperate projectile.
6. Xayah makes direct engage expensive
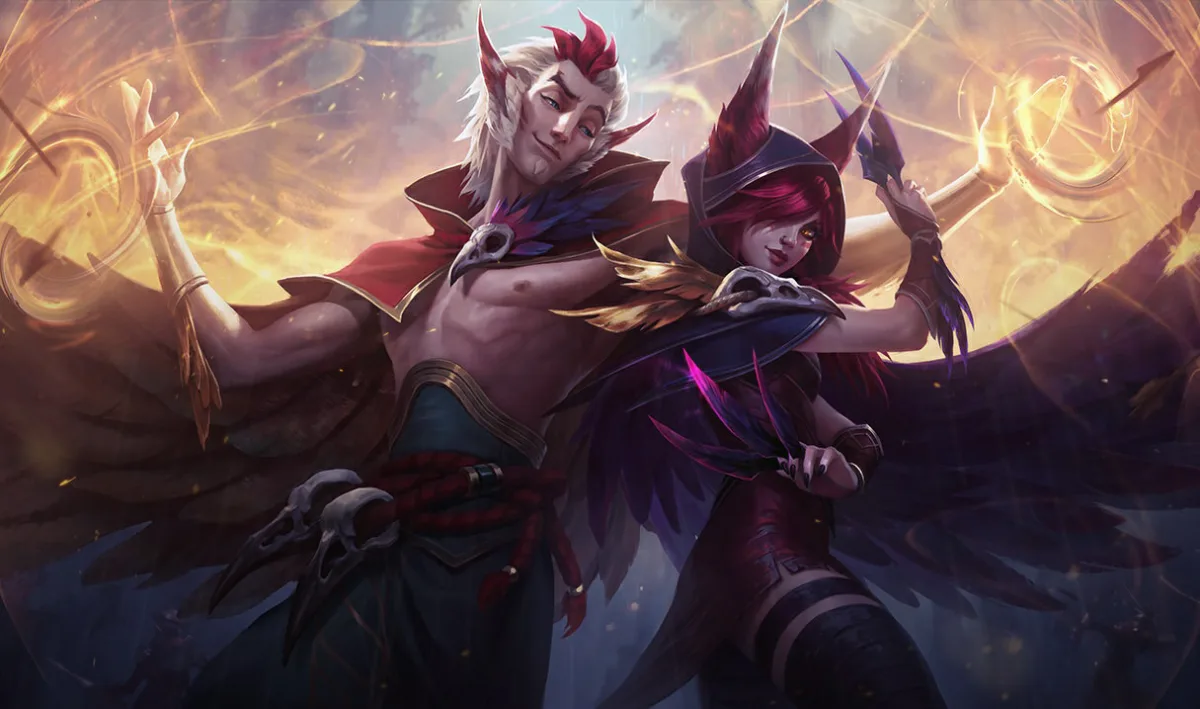
Xayah solves a different Morgana problem. Instead of asking Morgana to supply all the peel, she brings her own untargetability, feather field, and root threat.
Every ability primes Xayah’s next attacks to pass through targets and leave Feathers. Bladecaller recalls those Feathers and roots enemies struck by enough of them. Featherstorm makes Xayah untargetable and drops another fan of Feathers. That gives the duo several layers against a champion who wants to run straight at the ADC.
Morgana can place Binding through the engage path, shield the disabling spell, and start Soul Shackles if enemies remain close. Xayah can keep attacking, then use Featherstorm when the threat becomes lethal rather than at the first animation. Bladecaller punishes opponents who continue through the feather line.
The danger is defensive overlap. Black Shield, Featherstorm, Binding, Bladecaller, and Soul Shackles are not stronger because they all happen in the same half second. If Morgana shields before the enemy commits and Xayah immediately ults, the lane may spend both premium defensive tools on one feint. The next engage arrives into long cooldowns.
The missed-Q plan is better than it looks. Xayah can build a feather field while farming, and the possibility of Bladecaller changes how the opponent enters the wave. Morgana can stand near the line that turns those feathers into peel rather than leaving Xayah to create every angle alone.
Choose Xayah when the enemy composition has to enter. Do not choose her because two roots look attractive on a tooltip. The pair wins by making the same corridor dangerous at several different moments.
7. Twitch changes where the fight starts
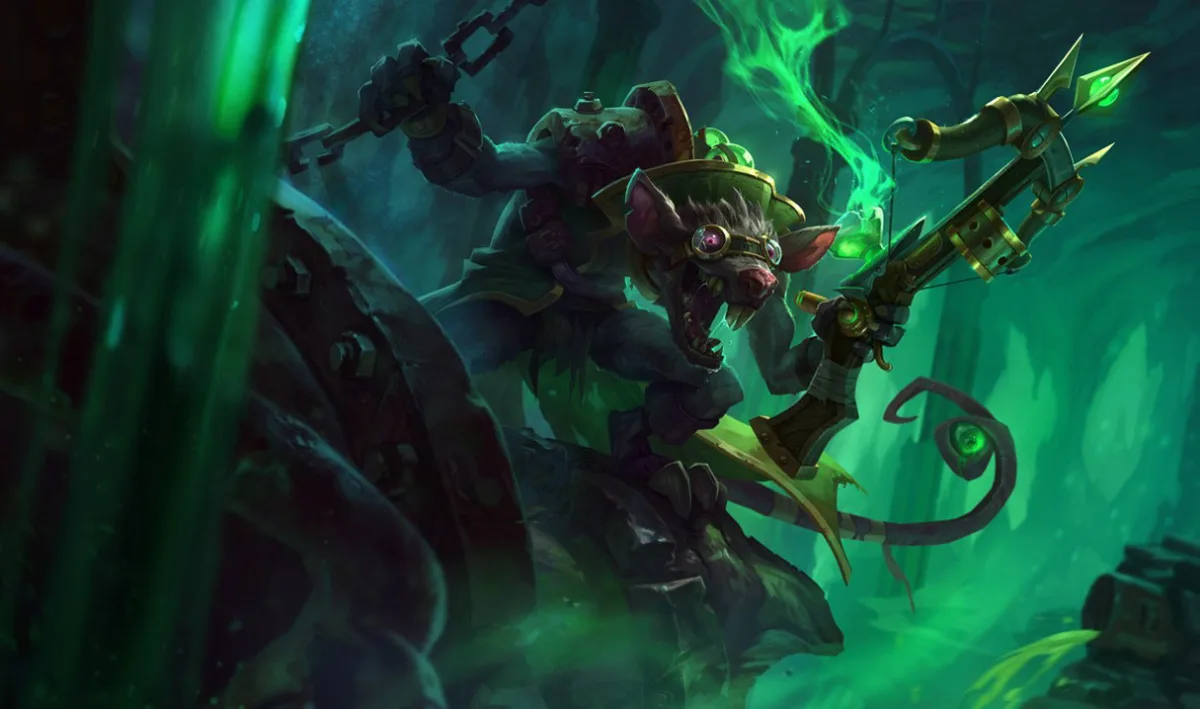
Twitch is the least conventional lane on the list. He does not give Morgana Caitlyn’s permanent range or Xayah’s stable anti-dive field. He gives her uncertainty.
Ambush camouflages Twitch, increases his movement speed, and grants attack speed after he leaves camouflage. Morgana can remain visible and hold the lane’s center while Twitch threatens to return from a side angle. When he reveals, Black Shield can prevent the first disabling answer and give him time to stack Deadly Venom. Venom Cask slows an area and applies poison, which can make a follow-up Binding less speculative. Contaminate converts the stacks before the target escapes.
Spray and Pray changes his attacks into long, piercing bolts. Morgana’s control can hold one champion on that line or discourage others from walking across it. Soul Shackles can also split attention: turn on Morgana and Twitch fires; chase Twitch and the chains may complete.
The pair is also easy to misplay without a shared clock. If Morgana throws Binding before Twitch is in position, the target may simply back away. If Twitch reveals before Morgana can shield, one control spell can end the trade. A short ping on the route and the intended target matters more than an elaborate combo call.
When Q misses, Twitch should not salvage the moment by revealing into two ready opponents. Stay hidden, reset the angle, or let the wave arrive. Morgana’s ten-second downtime and Twitch’s Ambush timing can overlap into one coordinated second attempt. That is the reason he keeps seventh place over a more obvious but less coherent partner.
The famous pairings that miss the top seven
Jhin needs a reachable fourth-shot trade
Morgana Q into Jhin’s Deadly Flourish is one of the most satisfying bot-lane control chains. Curtain Call also appreciates a target already slowed, rooted, or forced through a narrow exit. The mechanics are real.
Jhin can still be a good personal pairing, especially if both players manage the wave and trade around the fourth shot. He misses this seven because the article rewards cross-context reliability. A beautiful control chain does not fix every lane in which Binding is blocked and Jhin cannot safely walk up.
Corki and mage carries need a different lane plan
Corki can follow a Binding with ranged spell damage, but his support choice should account for how he collects the wave and exits an aggressive cast. An available root does not make every forward Valkyrie safe. Choose him for a lane plan the carry already knows.
Mages such as Veigar or Xerath change the team’s damage profile and the way bot lane manages a wave. They are outside this ADC shortlist and require their own draft assessment; a compatible control spell does not make them interchangeable with a practiced marksman.
Lucian and Ashe are not automatic Morgana lanes
Lucian wants ally buffs or control ready before he spends short, repeated attack windows. Morgana’s Binding can supply a trigger, but a blocked Q can leave him waiting while opponents keep their distance. Choose the lane when both players can align that first hit, without assuming Black Shield is available for every trade.
Ashe can slow for Binding and use her arrow for a longer catch. Both champions can still be pushed back by ranged pressure or punished after their control misses. Pick them when the team needs that ranged setup and the lane can earn wave and brush access.
How to choose by enemy lane
Into a hook or telegraphed engage
Caitlyn and Xayah are the cleanest choices. Caitlyn can pressure from range and preserve a Net escape. Xayah makes the engage path cross feathers. Kog’Maw becomes viable if Black Shield can reliably deny the one disable that starts the fight, but he is more vulnerable after the shield falls.
Morgana should stand within Black Shield range, not in a decorative side brush. Identify which enemy spell matters. Against a hook champion, shielding the hook target is useful only if the shield is intact when the disabling effect arrives. Against a physical follow-up, remember that the damage still lands.
Into sustain and long-range poke
Senna supplies the sustain Morgana lacks. Caitlyn can contest range and wave position. Jinx can farm from changing ranges but should avoid spending all her mana to answer every poke spell.
Morgana cannot Black Shield an entire poke pattern. The shield absorbs magic damage, but using a long cooldown for one low-value spell may invite the real engage. The lane needs wave control, brush access, and selective trades. This is where a missed Binding hurts most, because the opponent can answer without entering Morgana’s ultimate range.
Into short-range all-in carries
Xayah’s anti-dive structure rises in value. Jinx can also punish a predictable entry with Chompers if she has room behind her. Aphelios depends on the weapon pair: Gravitum creates control, while a close-range pair may either dominate the brawl or expose him.
Do not open with Soul Shackles merely because two enemies are close. Ask whether they can break the chains, turn and kill Morgana, or force Black Shield onto the wrong target. Sometimes Binding through the ADC’s retreat path is the better spell.
When your own team lacks damage protection
Jinx and Kog’Maw ask the team to protect a firing position. If top, jungle, and mid all dive forward, Morgana may be the only champion left beside them. That can work, but the margin is thin. Xayah brings more self-protection. Caitlyn stays useful through range and objective setup. Senna contributes healing and a global shield.
The right ADC for Morgana is also the right carry for the other three champions. Bot-lane synergy cannot repair a composition with no front line, no side-lane answer, and three champions competing for the same safe space.
Three duo calls worth using
Long combo scripts fail as soon as the opponent flashes. These three calls are short enough to survive an actual game.
- "Root, then zone exit." Morgana announces a landed Binding. Caitlyn traps, Jinx places Chompers, or Senna aims Last Embrace at the retreat. The second control tool blocks the exit instead of stacking blindly on the first frame.
- "Shield on commit." Kog’Maw activates his firing window, Twitch prepares to reveal, or Aphelios moves into a short-range weapon pattern. Morgana waits for the disabling threat, then shields the action the duo already chose.
- "Q missed, hold wave." Nobody tries to rescue the play. The ADC farms from the safe line, Morgana protects brush or river access, and both wait for Binding to return before contesting the next dangerous step.
The third call is the most valuable. It turns a missed skill shot from an invitation to panic into a ten-second lane state both players understand.
Final verdict
Caitlyn is our first choice for a Morgana lane built around range and trap follow-up. A landed Binding becomes a trap and Headshot opportunity; a missed Binding still leaves Peacemaker and Net to help manage the wave and retreat. Choose another carry when the draft needs a different damage or protection plan.
Jinx is the best conventional scaling alternative. Aphelios rewards weapon-aware coordination. Senna creates a patient double-catch lane, provided the players agree on farm. Kog’Maw buys damage time with Black Shield. Xayah punishes direct engage. Twitch changes the attack angle.
The correct choice depends on what happens after Morgana’s Q leaves her hand. If the answer is "we still control the wave, know what Black Shield is for, and can build the next threat," the pairing has a real plan. If the answer is "throw another spell and hope," no famous combo will save it.