
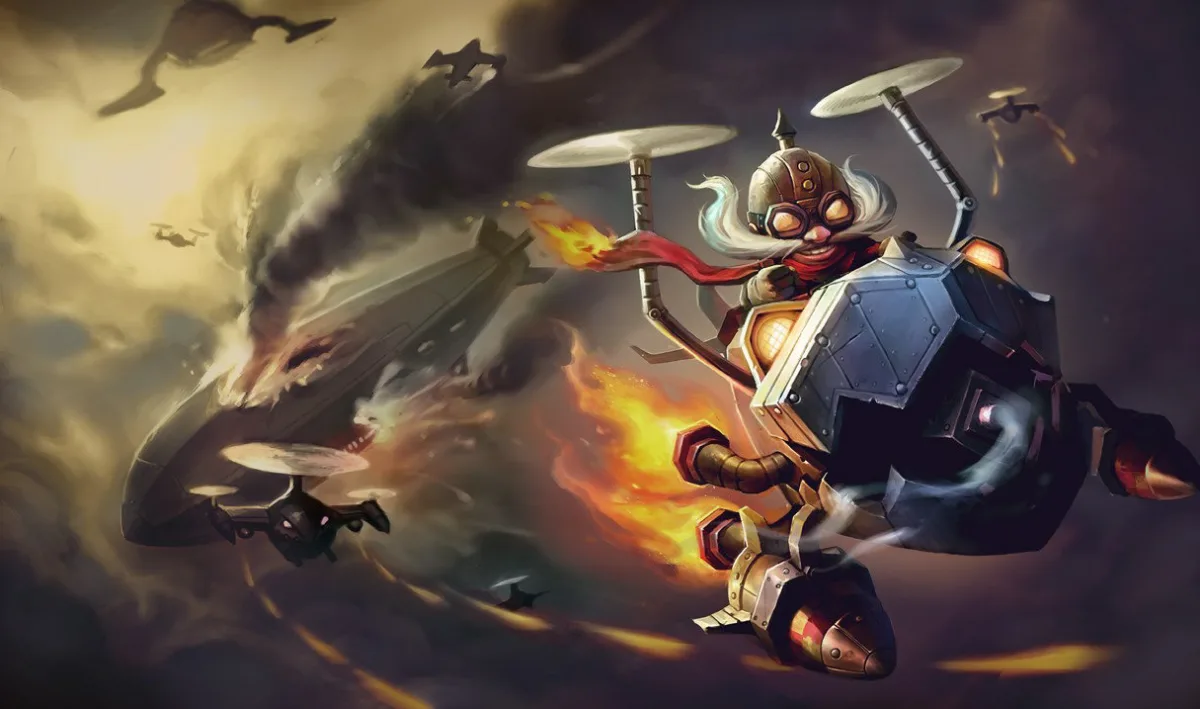
Corki can follow a support a long way. That is not always a good thing. Spend Valkyrie getting into attack range, and the jungler arriving behind you suddenly becomes much harder to escape.
Braum, Nami, Rell and Lulu are our picks for the best supports for Corki. Braum is the starting choice against opponents who want to come close. Nami suits short trades that become longer only when the enemy allows them. Rell provides an initiator, while Lulu keeps Corki attacking through a threat that has already reached him.
This guide is for farming bot-lane Corki with a support, not Corki mid or an old Package setup. The order reflects four useful support jobs, not measured duo win rates. Bot use was checked in the historical 26.17 sample in LoLalytics' Bottom, Global, All Ranks, Ranked Solo/Duo sample on September 6, 2026.
Corki takes the minions in these normal PC bot-lane pairings. The recommendations compare poke, catch, and all-in support jobs; they do not rely on an old Package setup or treat role presence as proof of duo strength. Riot's 26.18 notes.
Choose the support job your draft is missing
| Support | Pick them for | The lane you should not force |
|---|---|---|
| Braum | Turning a close enemy commitment into shared attack stacks | Two opponents who keep poking from outside your reach |
| Nami | Slow-assisted attacks, small trades and recovery | Repeated all-ins that catch either partner before they can respond |
| Rell | Starting grouped fights Corki can join on foot | A deep engage while Corki is pinned behind the wave |
| Lulu | Keeping Corki alive and attacking against a diver | A composition with no one willing or able to initiate |
Start by looking at your team’s other three champions. If they already provide a frontline and a way to begin a fight, Corki may get more from Braum or Lulu than from another support disappearing into the enemy backline. If everyone wants to stand back and deal damage, Rell fills a missing job. Nami sits between those plans: she can help create an opening without making every attempt a full commitment.
The broader support champion guide covers picks beyond this shortlist. Here, the useful question is whether that support’s control happens somewhere Corki can actually attack.
More attacks mean more rockets
Current Corki’s regular attacks deal physical damage with 20% bonus true damage from Hextech Munitions. That bonus true damage also benefits when the attack critically strikes. Q and Valkyrie’s fire deal magic damage, while Gatling Gun and Missile Barrage deal physical damage. He is not the old marksman whose autos were mostly converted to magic damage. Riot removed The Package in patch 14.10.
Gatling Gun fires in front of Corki for four seconds, progressively reducing the enemies’ armor and magic resistance. At rank one it can shred up to 12 of each resistance; at rank five, up to 20. Keeping a target in the cone helps Corki’s own damage and the support’s relevant damage, but the reduction does not make his true-damage portion hit harder. The spell’s current values are recorded in the 16.17 Riot client data mirrored by CommunityDragon.
Missile Barrage holds up to four charges. Every third missile is the stronger Big One, and rockets explode on the first enemy they hit. Minions can therefore change where your shot explodes. A support landing control on the ADC does not remove the minion standing in front of them.
Basic attacks that hit enemy champions also reduce the remaining rocket recharge time. Riot increased that refund to 2-6 seconds based on critical-strike chance in patch 26.14. The refund does not require that particular attack to crit. Thanks to that patch change, keeping Corki in attack range also helps him reload.
Valkyrie remains the commitment to watch. It crosses a short distance and leaves damaging fire, but it is not a second health bar or a cleanse. The current spell cannot be cast while rooted. Saving W only helps if you use it before a catch prevents the cast; holding it until after the root lands is not a reliable escape plan.
Braum: make the enemy walk into the trade
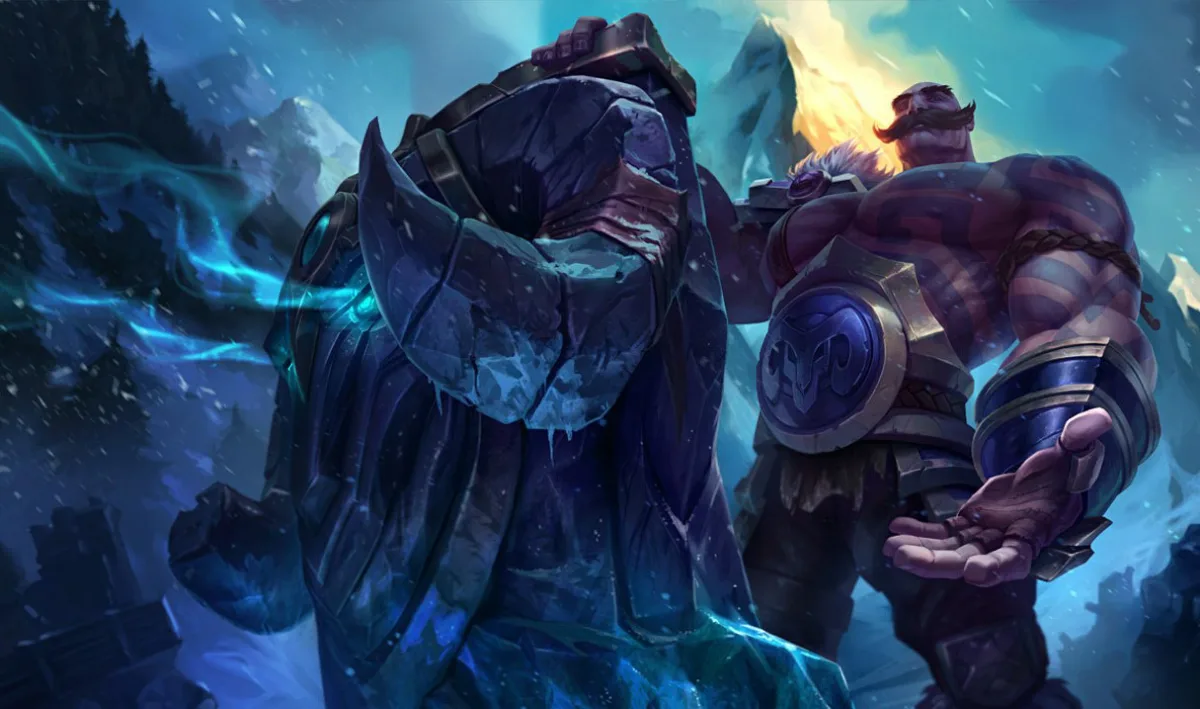
Braum is the most natural starting point when you expect a melee support or diver to enter Corki’s range. He can mark the nearby threat, help Corki absorb return fire and create a reason to attack the same opponent together. You do not need to fly past the frontline to make the pairing do something.
The important limit is that Braum starts Concussive Blows; allied basic attacks can then add stacks. His Q also applies a stack, and the fourth stack stuns. Corki’s attacks help finish that stun. Gatling Gun and rockets are not substitutes for those attacks. Braum’s current kit describes both the shared stacks and Q’s first-enemy collision.
Suppose enemy Rell uses Crash Down into your half of the lane while her ADC stays farther back. Corki avoids the landing, Braum tags Rell, and Corki can already attack from beside his own wave. Turn Gatling Gun toward her and add attacks while Braum faces his shield toward the enemy ADC’s projectiles. If Braum began with one stack, the team needs three more attacks to reach four; his own follow-up can contribute too.
If Rell backs toward her ADC, check how much farther you would have to follow. Let the mark go when finishing it would require Valkyrie into their wave. Three stacks can be irritating to leave unfinished. They are still not a reason to fly into two opponents.
Unbreakable intercepts projectiles from the chosen direction. It is not general immunity for either champion. Braum still needs to put himself between Corki and the shots, and protection from one side does not cover a flank. Stand Behind Me can bring Braum to Corki or an allied minion and grant resistances, but he cannot protect a Corki who has flown far beyond his reach.
Later, use the same partnership against the first reachable threat. Braum can hold Glacial Fissure for the enemy trying to run through him, then Corki attacks that opponent while preserving room to retreat. You may never touch their backline during that exchange. Removing the person who was about to stop your damage is a useful result.
Sustained ranged pressure is the problem. If Braum’s Q keeps meeting minions and Corki loses health every time he approaches the wave, stop fishing for a stun. Conserve enough health to collect the next wave. If Corki clears it and both opponents recall, reset together instead of staying for one more attempted catch. Braum has no repeatable lane heal to repair those failed approaches.
Nami’s first empowered attack should have a destination
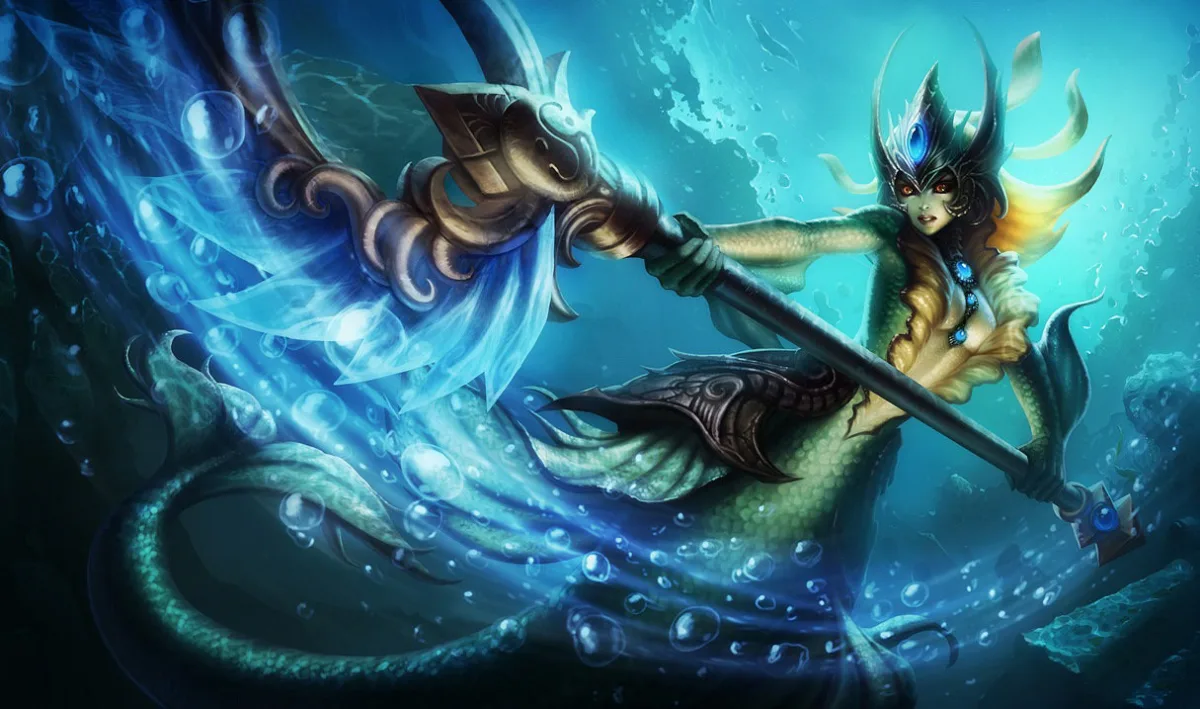
Pick Nami when you want to challenge last hits with short exchanges instead of waiting for a large engage. Tidecaller’s Blessing empowers an ally’s next three attacks and abilities with bonus magic damage and a slow. Her passive adds a brief movement-speed boost when her abilities hit an allied champion. The combination helps Corki walk into a trade and decide whether another attack is available.
Choose the target before Nami casts E. An ADC stepping up for a last hit gives Corki a reason to approach; an ADC already retreating behind their support does not. Land the empowered attack first. Nami then watches the slowed target’s retreat while Corki adds Q or another attack if he can stay safely in range. Aim Aqua Prison along that retreat instead of opening with a hopeful bubble. The target can still dodge it.
Do not treat the six-second E buff as a demand to spend every charge on a champion. If the opponent gives up the last hit and retreats, you have already changed what they can collect. Chasing with Valkyrie simply to finish the buff lets the enemy decide where the rest of the trade happens.
Ebb and Flow gives this lane a recovery option, with conditions. It bounces between allies and enemies, hits each champion only once and reaches up to three targets. It is not three heals for Corki. Heal him directly when that is the priority; a damaging bounce also needs an enemy close enough, and the spell only bounces to visible enemies. These limits come from Nami’s current Riot client record and its English tooltip text, both mirrored by CommunityDragon.
Repeatedly buffing Corki while he is too far away to trade, then healing the return poke, can drain Nami’s mana before either opponent commits. In a losing lane, choose one last hit to contest together rather than spending spells around every minion. Recall before Nami runs out of the resources you are relying on to stay.
At an objective, Tidal Wave can start contact across a narrow approach, slow pursuit or interrupt an enemy’s advance. Send it through Corki when the angle allows: allies it hits get double Surging Tides’ effect. Corki can use that movement to join the next attack instead of immediately using W. If the enemy backs out of reach, take the space they surrendered rather than following beyond the protection of your team.
Reject Nami when the lane repeatedly catches one of you before you can trade back and your composition offers little protection afterward. Bubble and a heal are not an escape guarantee. Braum’s bodyguard role or Lulu’s targeted defensive tools may solve that particular problem more directly.
Rell has to bring Corki with her
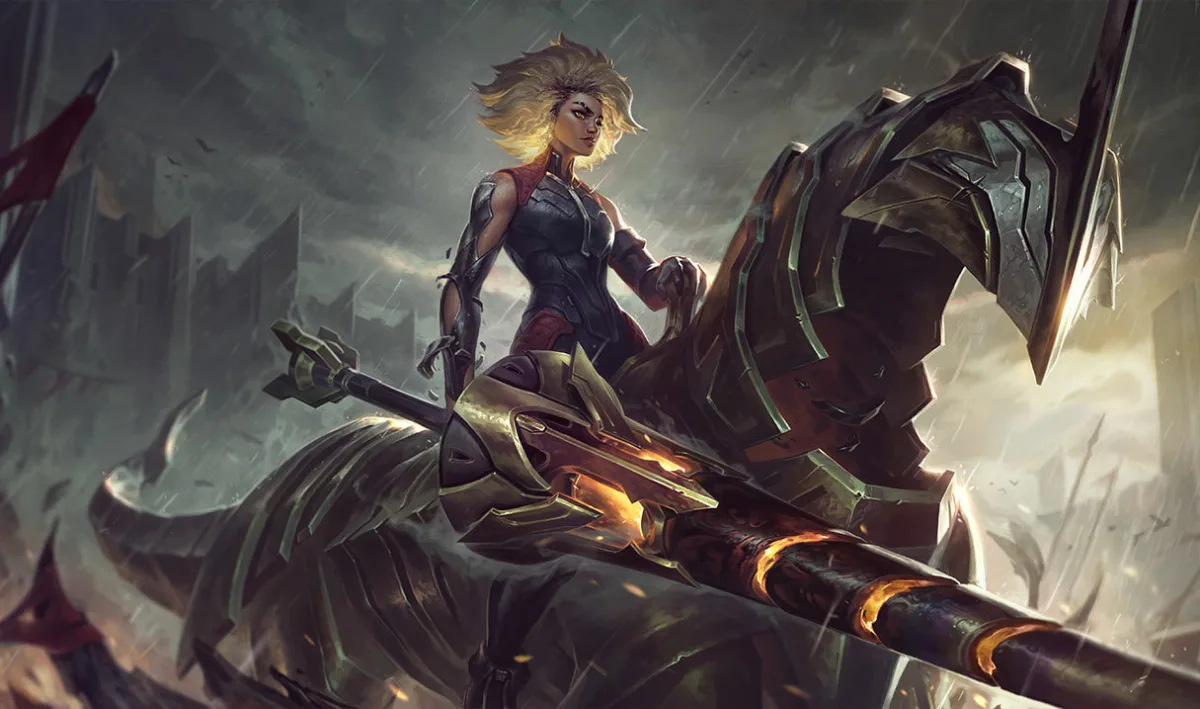
Rell is the choice when your draft needs someone to commit first. Her knockup and pull can group opponents for Corki’s area damage, while Full Tilt helps both partners approach. That movement matters before the engage, when Corki can still follow on foot and save Valkyrie for a retreat.
Start with the wave, not the combo. If Corki is collecting a large enemy wave under his turret, Rell jumping onto the ADC farther up the lane creates two fights: Rell’s all-in and Corki’s attempt to walk through the minions to reach it. She may hit everything and still receive almost no useful damage from him. Wait until he has cleared enough of the wave to move, or threaten the enemy who approaches his turret instead.
If Corki can reach the target on foot, Full Tilt can help the pair move up together. Rell uses Crash Down to commit; Corki follows into attack range and directs Q and Gatling Gun into the controlled area. After six, Magnet Storm’s initial pull and continuing drag can bring several targets together. That makes Corki’s area damage easier to place, but it does not promise that every opponent will stay there for the entire fight.
Rell’s Q also gives you an answer to a shield placed on the target: it destroys shields and stuns. Against Lulu, for example, landing Q after Help, Pix! can remove that protection before Corki’s next damage arrives. It still has to hit. Rell’s passive steals armor and magic resistance, adding another reason to focus the opponent she has reached. Her current ability details support this plan; the value of the overlapping resistance reductions depends on the target and the debuffs applied.
When the initial control ends, Corki gets another decision. If reaching the target now means flying into the other enemy’s range alone, stop pursuing. Deal what damage you safely can to discourage the chase while Rell retreats. You can help her get out without flying past her.
In later fights, fight from the same side of the wall whenever possible. A grouped catch around an objective is valuable only if Corki has a route and a firing angle. Before Rell goes, check whether he has missiles available and can see the area she wants to enter. A pull into darkness with no walkable follow-up is still a bad call, even with a strong combo on paper.
Skip Rell when your lane is repeatedly too injured to commit and your team already has enough initiators. Her engage does not refund the health Corki lost reaching the wave. You may need recovery or peel more than another way to start.
Lulu: decide who gets Whimsy before the diver arrives
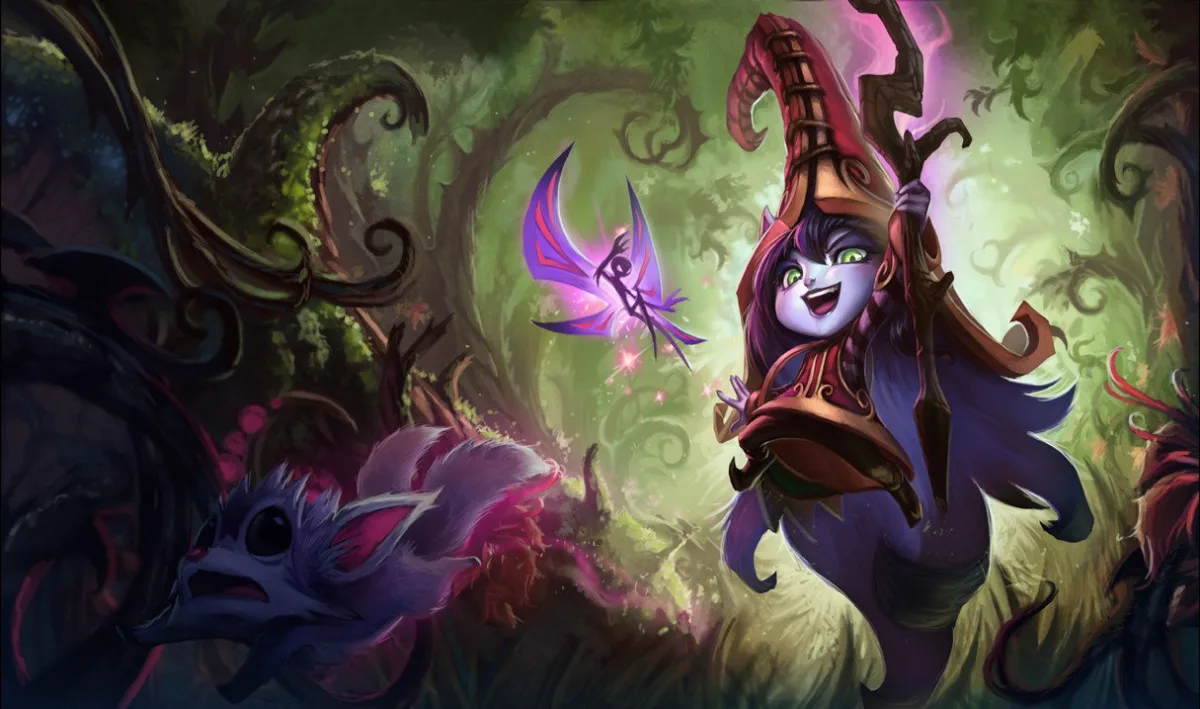
Lulu’s most important choice is often who gets W. Casting Whimsy on Corki grants attack speed and movement speed; casting it on an enemy polymorphs them, preventing attacks and spell casts while slowing them. Spend it on the buff and you give up that immediate answer to the diver. Choose Lulu when your team can already create a fight, but Corki needs help surviving it.
In lane, shield Corki as he steps up for an attack he can actually make. Help, Pix! transfers Pix for six seconds, but the shield lasts only 2.5 seconds. Casting it long before Corki reaches the target can waste the defensive part of the trade. Pix contributes bolts when the followed champion attacks; other units can intercept those bolts, so a crowded minion wave changes the bonus damage that reaches the ADC. Lulu’s current client record, mirrored by CommunityDragon, gives the separate timings; Riot’s kit description explains Pix’s interception.
If the enemy support is about to commit, hold Whimsy for them instead of automatically using it for Corki’s attack speed. Corki can attack while that enemy is polymorphed, then use Valkyrie if the remaining threat still makes staying unsafe. Polymorph slows rather than roots, so do not plan the whole exchange around the opponent remaining in one exact spot.
Wild Growth adds maximum health, knocks up enemies around its target and leaves a slowing aura. It is not a conventional heal. When a diver reaches Corki, casting it on him can interrupt nearby enemies and buy space to attack or move away. Keep close enough to provide the next spell; an ultimate from behind the wall does not mean every shorter-range tool is also available.
The later-fight temptation is giving every offensive buff to Corki as soon as he sees a target. If the real threat is still waiting to enter, that leaves Lulu with less control when it matters. Shield the damage that is arriving, watch the enemy who can reach Corki, and use Whimsy offensively once that danger has passed or is being handled elsewhere.
Lulu does not fix a team that cannot start a fight. If all five allies wait at maximum range, extra attack speed may expire without producing an attack. Choose her to preserve a damage opportunity your team can create, not to replace the initiator you never drafted.
Agree on the stopping point, not just the target
Before an important trade, decide whether you are willing to spend Valkyrie forward. If the answer is no, the support’s job is to make the fight reachable on foot: let the opponent approach Braum, use Nami’s slow, walk up with Rell’s speed or let Lulu answer the diver.
An enemy retreating behind a full wave or a jungler arriving from river can end the trade without anyone dying. Use rockets from farther away while regrouping if that is the only safe damage available. Just do not confuse that fallback with the attack-and-reload pattern you picked the duo to enable.
If you are choosing the carry too, the current ADC guide gives you a wider shortlist. With Corki already locked, agree on a simple call before the next fight: "I can walk up" or "I need to fly in." Your support needs to know which trade they are starting.