

A stolen Malphite ultimate lets Sylas launch himself into the fight. Orianna can leave her Ball in the way and dare someone to start it. Both belong among the most fun mid laners, but they appeal to different players. Our vote goes to Sylas for the variety of his borrowed ultimates. Pick Ahri if you would rather keep changing position, Zoe if you want to set up unusual shots, or Orianna if you enjoy making an approach uncomfortable.
This is a taste-led shortlist, not a strength ranking. We have given the ordinary trades and the failed attempts as much attention as the big ultimates. If you mainly want the strongest current solo queue options, our best mid laners guide answers that question.
Reviewed for modern PC Summoner’s Rift Patch 26.18 on September 10, 2026. The featured mid-lane kits retain the mechanics discussed here. The shortlist compares the actions a player enjoys repeating, not current ladder strength.
Which kind of fun survives a bad game?
Sylas gets our vote, unless you hate studying the enemy

Sylas can have a different job every time the enemy draft changes. Hijack copies an enemy champion’s ultimate using Sylas’s own stats and ultimate rank. His ordinary spells still ask you to fight up close. The borrowed spell might help you get there, give you a way to start from farther out, or make a defensive play possible that your usual kit could not attempt.
With an enemy Malphite, a borrowed Unstoppable Force supplies a dash into an area knockup. It gives you a way to start a fight when your teammates are already close enough to follow. With an enemy Ashe, Enchanted Crystal Arrow lets you threaten a first-champion-hit stun from farther away without sending your own body in with it. Those are two different plans, not interchangeable damage buttons.
An arrow across the map may look ambitious while achieving little if your allies cannot reach the target. A borrowed Malphite R can leave you surrounded if you forget how far behind your teammates are. Ask what you need the spell to do before taking it. Hijack also puts a separate cooldown on stealing from the same enemy; seeing your own R light up does not necessarily let you borrow their ultimate again. Before the next fight, check your other options rather than planning around a copy you cannot take.
You still need to like his ordinary trades. Abilities load Petricite Burst, and attacks spend those charges. E gives you a dash followed by a chain throw that pulls you to the first enemy hit. Use the dash to look around the minions sheltering a mage. If they move behind another blocker, you can let the recast go unused. Firing it because the button is available is how an attempted champion trade becomes a trip into the wave. Against the Ahri described below, also respect her unused Charm: landing your chain does not stop her from threatening the next exchange once she can act.
An open E chain into an empowered attack can start a short exchange, with W held for what comes back. W heals when used against a champion, with more healing at lower health up to its cap. Waiting a little can help; waiting until the next hit will kill you can prevent the heal from happening at all. A minion will not provide that champion heal either. If the opponent leaves W range after you spend E, accept that the trade may be over rather than walking farther into their wave to finish your intended sequence.
Reject Sylas if you want your four buttons to have familiar jobs every game. Understanding the enemy’s ultimate is part of playing him, as is tolerating trades you cannot reach from melee range. That can feel like homework before the enjoyable part. Ahri offers a more consistent kit to learn; if farming and watching the map already take all your attention, start with our easiest mid laners guide.
Ahri makes the second angle as interesting as the first

Ahri gives you another decision after you move in. Spirit Rush starts with three total casts. During its active window, a takedown on a champion she recently damaged lets her passive consume their Essence, adding a recast and extending the window. One catch can lead into another, provided the takedown meets that condition. Spending every dash in anticipation of it is much less forgiving.
Take an opponent standing behind caster minions. Charm hits the first enemy in its path. Dashing straight forward may bring you closer while leaving exactly the same minions in the way. Move sideways to uncover a line, then throw it. If Charm connects, use your damage and look again: does the next dash keep you close enough to finish, or should it move you away from the jungler entering the fight? You do not have to decide that when you use the first cast.
Orb of Deception also gives your positioning a second job: the orb deals magic damage going out and true damage coming back. The target may dodge the returning line even after the outward hit connects. Moving to keep the return path through them gives you something to do beyond pressing the remaining buttons. Fox-Fire’s brief movement speed helps you reposition in smaller trades when committing Spirit Rush would be excessive.
The temptation is a target who looks almost dead. You spend the last dash getting closer, miss Charm, and watch them retreat toward their team. Now you have the same escape problem they did a moment ago. Check what can still hit them, not only how little health they have. If you enjoy finding a better angle after the first one fails, Ahri has plenty to offer. If getting into range feels like it ought to guarantee a kill, she will disappoint you.
The side-lane fight can wait for this wave
You reach level six on Ahri, a wave is hitting your turret, and bot pings two low-health enemies. Spirit Rush is ready. This is an inviting roam, right up until the enemies recall while you are walking downriver. You arrive to an empty lane and get back to mid after your turret has eaten the minions you left behind.
Take the wave first unless there is a nearby, time-sensitive fight you can actually influence. Aim Q through the wave, use attacks to collect the survivors, and look at bot again while clearing. If the enemy duo is still exposed and you have a visible route plus allies able to help, moving may now make sense. If they have backed away, you have kept the gold and experience instead of paying for a gank that disappeared. Clearing under your turret does not automatically let you leave before your opponent: check the next wave and their position before moving.
Your own wave reaching the enemy turret gives you a better starting point, especially if the opponent stays to catch it. Step into the warded side of the river, look for a catch, and return when the opportunity closes. Sometimes making the enemy back away is all you get. Let them retreat rather than following them deep into their jungle. If you did spend Spirit Rush, return to lane knowing that escape is unavailable.
Zoe rewards the setup and punishes the return address
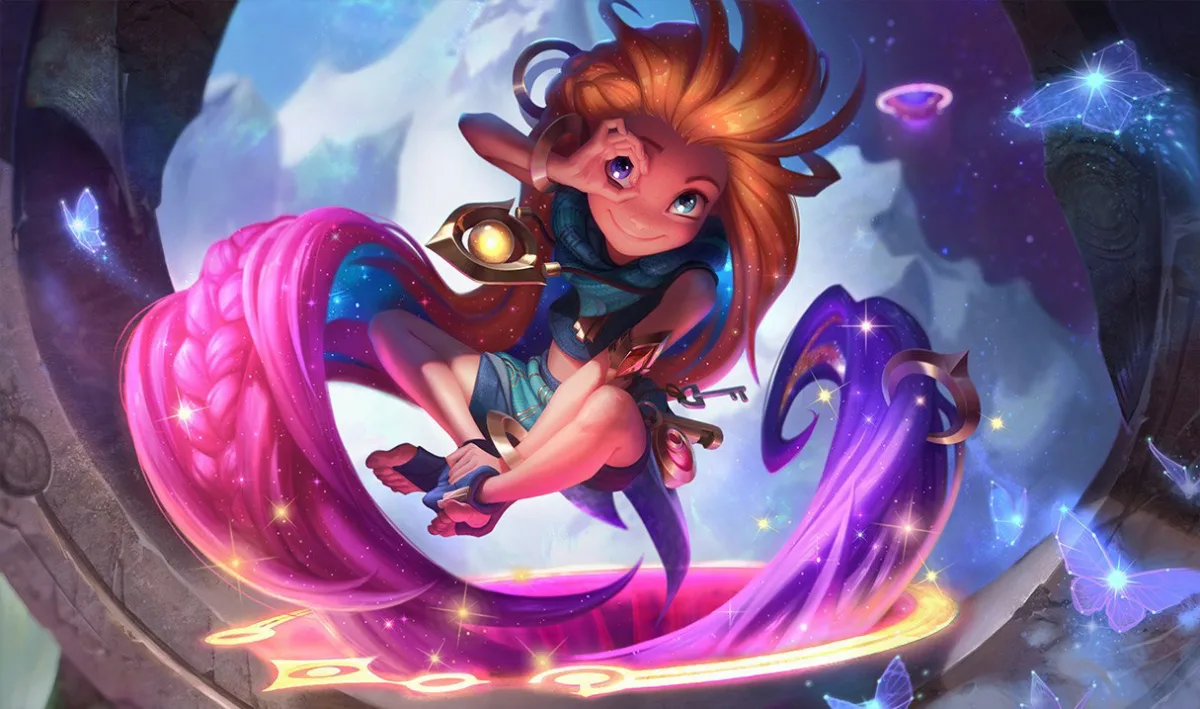
Zoe appeals to the player who would rather line up one difficult shot than stay in a chase. Sleepy Trouble Bubble gains reach through terrain. Paddle Star can change direction and deals more damage after traveling farther. The wall beside mid is useful for more than hiding you: it can give the bubble a route the opponent must account for.
Picture a cleared mid wave and an enemy walking along a visible jungle entrance. From the protected side of a wall, try E through the terrain to intercept their path. A hit makes them drowsy before they fall asleep, so allow for that delay. Then set up the longer Q path and redirect toward the target. Minions or another enemy on the line can intercept the star. Once the target is asleep, a teammate’s attack or ability hit can wake them before your shot arrives. A bubble connecting is preparation, not a guaranteed full-damage Q.
Portal Jump sends Zoe to a nearby point for one second, during which she can cast and attack but cannot walk, then returns her to where she started. The normal Riot client tooltip also specifies that she can see over walls during the teleport. You can use that temporary position to cast from another angle, but not like Ahri’s dash to permanently move your body out of danger. Check who can reach the return point before you cast.
An enemy Sylas walking toward your original position creates an awkward choice. A portal toward his teammate might improve your shot, but it also gives him time to approach the place you will return to. His dash and chain are still a problem when you come back. Start behind allies or useful terrain and stop fishing once an enemy can reach that spot. An available R does not rescue an exposed return point.
Spell Thief adds the occasional detour: a dropped summoner-spell or active-item shard gives you something else to cast. A useful pickup can change the play, but it can also tempt you to walk through a hostile wave. Zoe is for someone who can miss a carefully prepared shot and want to try another angle. If you mainly enjoy staying on a target and attacking, the waiting between attempts may be the part you resent.
Orianna is for players who enjoy making people move

Orianna’s attraction is deciding where the enemy can comfortably stand. Command: Attack leaves the Ball at its destination, and W damages around it while leaving a field that slows enemies and speeds allies. In lane, placing the Ball near a minion the opponent wants to last-hit makes their next step a decision. Watch whether they give up the minion, approach from another side, or commit to walking into your threat. Reposition with that answer instead of throwing Q and W at every available target.
You do not have to press W every time the Ball reaches a useful spot. Q costs 35 mana and rank-one W costs 60: 95 mana before a shield. Starting with 90 mana, that Q leaves you five short of W until you recover more. An early W that misses the champion while hitting the wave may leave you poorer and push the lane farther than you wanted. Leave the Ball there, last-hit, and watch what the opponent does about it. Holding an ability can be the satisfying part if it changes how they approach the wave.
Teamfights expand the same idea. Leave the Ball near the entrance the enemy needs to cross and Shockwave threatens to pull nearby enemies toward it. Or send it with E to a teammate who is about to enter the fight, such as an allied Malphite preparing his ultimate. E shields its carrier and attaches the Ball to them, letting their movement supply a new position for your spells. You must still watch where the Ball is when you use R; selecting the right ally earlier does not guarantee that they will deliver it to the place you want.
A diver reaching you can force an unpleasant E. Shield yourself and the Ball comes back, giving up the choke you were threatening. Leave it forward and you risk dying to preserve a setup nobody uses. The current client passive also returns the Ball when Orianna gets too far away. A teammate who carries it too far ahead will lose it, even though E attached successfully. If keeping up means walking through the enemy team, let the Ball return and find another position.
Pick her if you enjoy noticing that an enemy has stopped walking forward, then using that hesitation to give an ally room. Reject her if managing a second position sounds more tiring than exciting. There is no dash that turns a poorly placed body into a good one. The impressive Shockwave is a reward for managing that problem, not a substitute for it.
A missed Zoe shot might have you planning the next angle, or wishing you had picked someone who could keep moving with the target. If another attempt from a different wall sounds appealing, she is worth learning. If the delay already sounds exhausting, take Ahri instead. You can prefer chasing to lining up the shot without needing either champion to be objectively more fun.