
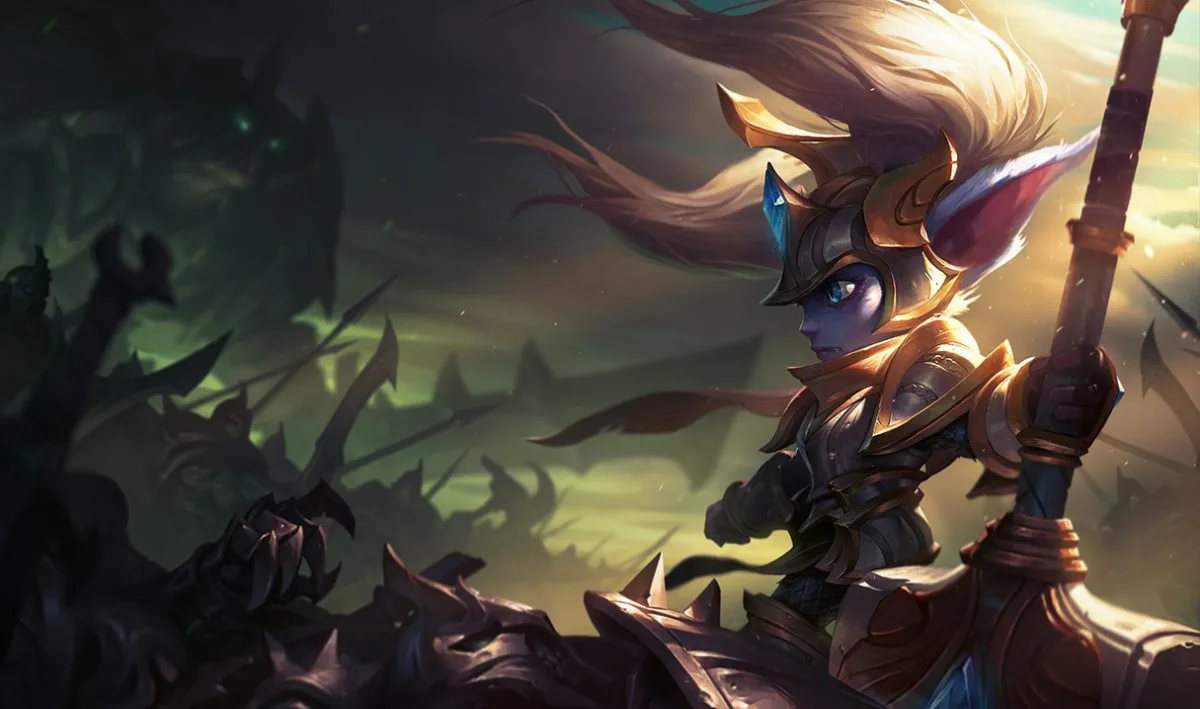
Poppy can land her ultimate on the enemy carry and still ruin the fight. A charged Keeper’s Verdict sends that target away and makes them untargetable during the flight. If your teammates were about to finish the kill, the hammer just rescued the wrong person.
The best teamfight junglers do different jobs. Pick Amumu to start a reachable fight, Wukong to follow an opening, Fiddlesticks to punish a group from fog, or Poppy to shut down the enemy’s entry. Choosing between them starts with what your teammates need, not how many champions you could fit inside an ultimate.
Reviewed for modern PC Summoner’s Rift Patch 26.18 on September 10, 2026. The four junglers retain the engage, displacement and vision conditions used here. Poppy’s Data Dragon wording adjustment does not establish a new slow value.
Which job is missing from your draft?
This is an editorial shortlist for grouped solo queue fights, not a highest-win-rate ranking or a complete jungle tier list. The criteria are how each champion reaches the fight, changes enemy movement, and leaves allies able to deal damage. Amumu, Wukong, Fiddlesticks and Poppy meet those criteria in different drafts.
| Jungler | What your team gets | Reason to choose someone else |
|---|---|---|
| Amumu | Open with nearby area control | Your allies cannot cross the space behind your engage |
| Wukong | Extend a fight after the first commitment | You need a reliable long-range opening from one champion |
| Fiddlesticks | Punish a clustered team from an unseen angle | Your team cannot protect an approach or hold the enemy’s attention |
| Poppy | Deny a dive or remove one threat | The enemy mostly attacks from range without dashing into you |
These jobs overlap. Amumu can protect a carry; Poppy can start a fight with a wall stun. The table identifies the reason to put each champion in your pool, not a rule that forces you to play every fight the same way. For a broader look at the role, see our best junglers guide.
Before moving into river, look at the wave your nearest damage dealer is clearing. Then look at the route that player must take to reach your target. A teammate standing one screen away behind a wall is not necessarily ready to follow you. If the safe route goes around the enemy frontline, your engage may end before their damage arrives.
The same check applies to your own jungle. Finishing a camp is reasonable when neither team can start yet. It is expensive when your team is already walking through the only contested entrance and needs you there. Decide whether you are farming, escorting the approach, or setting a flank. Taking the camp while allies lose the entrance may leave you with no safe way into the fight.
Amumu: stun the enemies your team can actually hit

Choose Amumu when the draft has damage but nobody can hold an enemy in front of it. Bandage Toss has two charges. Each cast pulls him to the first enemy hit, so a minion or monster can intercept a bandage meant for a champion. Curse of the Sad Mummy then stuns nearby enemies for a base 1.5 seconds and applies his Curse. Those are the current normal-game spell records, matched to Riot’s English ability text.
The practical target is often the front of the enemy formation. Imagine your mage and marksman arriving behind you at a river entrance. An enemy fighter walks through first while their backline remains on the other side of the wall. Hitting that fighter lets your teammates begin dealing damage immediately. Trying to thread Q past them for a backline target could leave you alone beyond the choke.
Once the first Q connects, decide whether R is needed now. If the enemy’s response would stop your teammates from entering, use the stun to secure their approach. If your first target is already controlled and nobody else is threatening the follow-up, there may be time to let that control run before using R. Waiting is useful only while the target remains catchable; do not turn a clean kill into an escape while searching for perfect timing.
His passive adds a second reason to stay involved after the stun. Basic attacks apply Curse, making incoming magic damage trigger bonus true damage; Despair refreshes an existing Curse. An allied magic-damage threat can therefore benefit from the enemy you are marking, even when that enemy is a tank. The passive does not amplify your marksman’s ordinary physical attacks in the same way. In a mostly physical-damage draft, choose him for the engage and protection, not for a teamwide damage multiplier.
The three-person ultimate to refuse
Your marksman is under pressure behind you. Three enemies are clustered farther downriver, apparently inviting Q into R. Taking that invitation removes your control from the one place your team currently needs it.
Stay close enough to stun the diver instead. A single-target R is defensible if it keeps your strongest damage dealer attacking and the rest of your team can punish that diver. It is poor value if the carry has already escaped safely and the threat cannot reach them again. The number in the ultimate is less important than what the stun buys.
If the opening Q misses, keep the second charge as a threat while your team adjusts. Do not immediately fire it from the same bad line. Walk to a cleaner angle if it is safe, or let the opponent retreat while you claim the entrance. A missed engage can still leave your team with useful space; spending every charge on a fleeing target may give that space back.
Wukong joins after the enemy has committed

Wukong is the pick when someone else can create contact and you want to make the resulting fight last. Nimbus Strike takes him to an enemy; Cyclone then provides nearby knockups and physical damage. The second Cyclone cast is available within an eight-second window. It can knock enemies up again, rather than merely extending the first spin. Riot introduced that interaction in patch 10.6; the recast window remains in his current normal ability data.
He benefits when the opponent has already chosen a direction. If an allied frontline catches somebody, the enemy support may walk forward to protect them while the carry backs toward a wall. Wukong can enter during that response. Their attention is split between the caught ally and your approach. Running at five opponents before anyone else moves gives them much less to worry about.
Use the second spin to chase or to turn back. After the first knockup, watch where the important enemy lands and whether your own carry is still safe. Move with a retreating target if your teammates can follow. Turn back if an enemy has bypassed the frontline. Recasting immediately is fine when another interruption would secure the kill; automatically spending both casts on the original spot is not.
Warrior Trickster adds a short dash and invisibility, leaving a stationary clone. It attacks nearby enemies Wukong has recently damaged and mimics his ultimate at reduced damage. The clone gives you another position from which to threaten the area, but it does not chase for you. Place it along the enemy’s path, not where they have already finished fighting.
Consider a fight spreading out from the dragon entrance. Leave the clone where enemies must pass, then move Wukong toward the target your team is following. The two positions can cover more of the fight than stacking them on a target that is already escaping. They do not grant four separate knockups on the same opponent: the clone does not add another knockup to a target already hit during that Cyclone cast.
Do not make Wukong your only plan for crossing open ground. Nimbus Strike needs an enemy target, and using Warrior Trickster to get forward spends a tool you could need after entering. Against opponents holding their distance with their control spells ready, wait for an ally’s opening or for someone to step into range. Being hard to track briefly does not make it safe to fight alone.
His pre-fight farming decision matters too. If the teammate with the first engage has already arrived and you are still taking a camp across the map, your best follow-up exists only on the champion-select screen. Move early enough to enter from a second direction, without abandoning camps to wait in a flank that your team is not ready to use.
Fiddlesticks needs an unseen entrance, not a bigger crowd
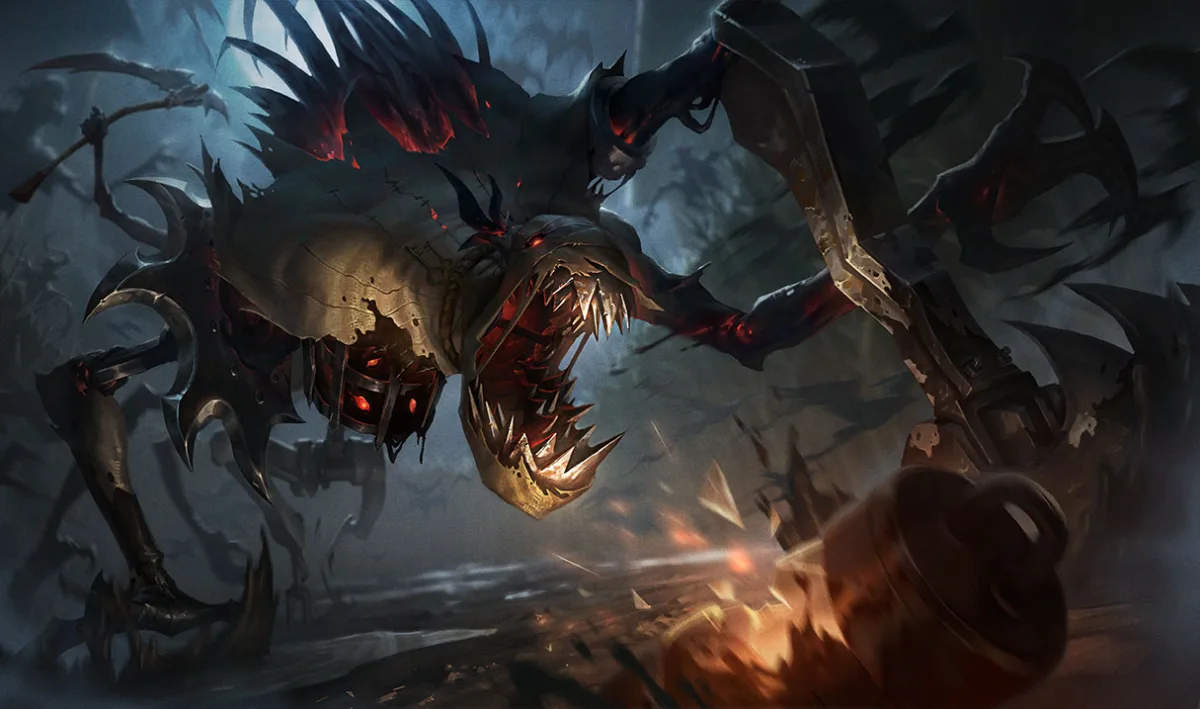
Fiddlesticks rewards a team that can occupy the enemy from the front while you prepare a side angle. Crowstorm has a 1.5-second channel before the teleport and deals damage over five seconds. Enemies merely standing close together do not make that channel safe or keep them inside the storm afterward.
Terrify is what turns the entrance into control. Its passive fears enemies damaged by an ability while Fiddlesticks is unseen and out of combat, or while impersonating an Effigy. For an ordinary flank, plan around the unseen, out-of-combat condition. A warded approach can leave you delivering damage without the fear you were counting on. The distinction is explicit in the current Fiddlesticks spell records and English tooltip text.
Start the setup while your teammates can still control the front of the fight. Approach a wall from the side your team has made safe, check the area, and identify where you will land if the enemy moves during the channel. From level six onward, placed Effigies can reveal nearby wards. That helps inspect a position; it is not a promise that every enemy source of vision is gone.
The good Crowstorm is aimed at where enemies are committing. If they are walking through a choke to reach your frontline, their path gives you a useful landing area. If they are already backing away through open ground, the same cast may land behind them. Ping the approach while your allies can still keep them occupied, rather than beginning a channel after the front of the fight has collapsed.
After landing, do not assume Q gives a second fear to everyone you already feared. Against a target recently feared by Fiddlesticks, its active instead deals increased damage. That makes your first control window important: allies need to use it, and you need to decide whether the victim will stay near enough for Bountiful Harvest.
Drain is a commitment of its own. Its two-second channel puts the missing-health damage at the end, and finishing without interruption reduces the remaining cooldown. If a surviving enemy still has an interrupt ready, standing still in front of them can lose that payoff. Reap’s center can silence an enemy; the outer part deals damage and slows but does not silence. Aim the center at the enemy who could interrupt your drain, rather than treating any E hit as a silence.
Reject this pick when your team needs a jungler to walk visibly into contested ground first and nobody can help establish another route. You can still fear one enemy with Q and contribute damage, but you have made Crowstorm much harder to use. When a flank gets exposed, leave it before opponents collapse on you. Take the safe camp or regroup with your team if the fight can wait; do not spend the next wave of enemy pressure hoping they forget the wall you are standing behind.
Poppy can win the fight by keeping your carry in it

Poppy makes an enemy’s dive your opening. Steadfast Presence creates a two-second field around her that stops enemy dashes, then slows and grounds the enemies it stops. Heroic Charge pushes a target and stuns if the push hits terrain. She can punish an opponent who enters a narrow passage, but she is particularly useful when that opponent wants to cross the space around your carry. See her current normal W, E, and R records.
Hold W near the player the enemy needs to reach. Spending it for movement speed on the way toward a distant target can leave it unavailable for the dash that actually decides the fight. When the diver arrives, use the field to interrupt their entry, then look for a wall angle with E or a short R knockup while your carry attacks. If the enemy chooses to walk forward instead, you still have to position and use your other control; W is not a zone that stops ordinary movement.
The mobility distinction matters in champion select. Ezreal’s Arcane Shift is a teleport, not a dash for W to interrupt. Malphite’s normal ultimate is explicitly an unstoppable dash in Riot’s English tooltip. Do not choose Poppy on the assumption that her field cancels either one. Judge the enemy’s actual way in, not simply whether its champion has a movement spell.
Tap R to keep the target; charge R to remove it
An uncharged Keeper’s Verdict knocks enemies up for one second. A charged cast knocks them toward their own Nexus and makes them untargetable while airborne. More charge increases range and knockback distance. Those versions solve different problems.
If a diver has entered your team and is losing the fight, the short knockup lets allies keep hitting them. The charged version is appropriate when that enemy is too dangerous to keep nearby, or when removing another opponent would give your team a temporary numbers advantage. Check the target before charging: sending away the low-health carry your marksman was finishing can waste allied damage and let that carry survive.
At an objective, knocking the enemy jungler away can create room to finish, but the animation is not an automatic objective secure. Your team still needs enough damage to kill the monster in that opening. The enemy carry may also still be shooting into the pit. If your teammates cannot finish safely, use the space to improve position or disengage rather than blindly continuing a losing objective attempt.
Poppy’s worst setup here is an enemy team that does not need to enter. If they can keep poking from open ground while your allies lack an opening, waiting beside your carry with W ready does not fix the problem. You need a genuine wall catch, a teammate’s engage, or a change of approach. Running through repeated damage because you drafted a tank only starts the eventual fight at low health.
After the ult, stop asking for the same fight
An ultimate can win access to river without winning a kill. If the enemy gives up the entrance, use that opening: escort allies forward, check the next approach, and decide whether the objective is actually safe to start. Chasing past the next wall may surrender the space you just earned.
If your big cooldown forced nothing and your team is backing away, back away with them. Amumu with a spare Q, Poppy with W, or Fiddlesticks with Q can still help cover the retreat. That remaining control is often worth more than one last attempt to prove the engage was correct.
After a lost fight, ask whether an ally could damage the target during your control. If nobody could reach it, change your next starting position or your target. If they could reach it but were busy surviving a dive, stay closer to them next time. That tells you more than counting the champions your ultimate hit.