
The best first champion is not the one with the fewest buttons. It is the one that leaves enough attention for everything outside those buttons: the next minion, the missing jungler, the wave walking toward you, the ultimate the enemy has not used, and the fight you should leave before it starts.
For one clear starting point in each role, choose Garen top, Warwick jungle, Annie mid, Miss Fortune ADC, or Nautilus support. Malphite, Amumu, Lux, Ashe, and Sona are the best alternatives when a different kind of lesson appeals to you. All ten have understandable jobs, visible success conditions, and mistakes you can diagnose after the game.
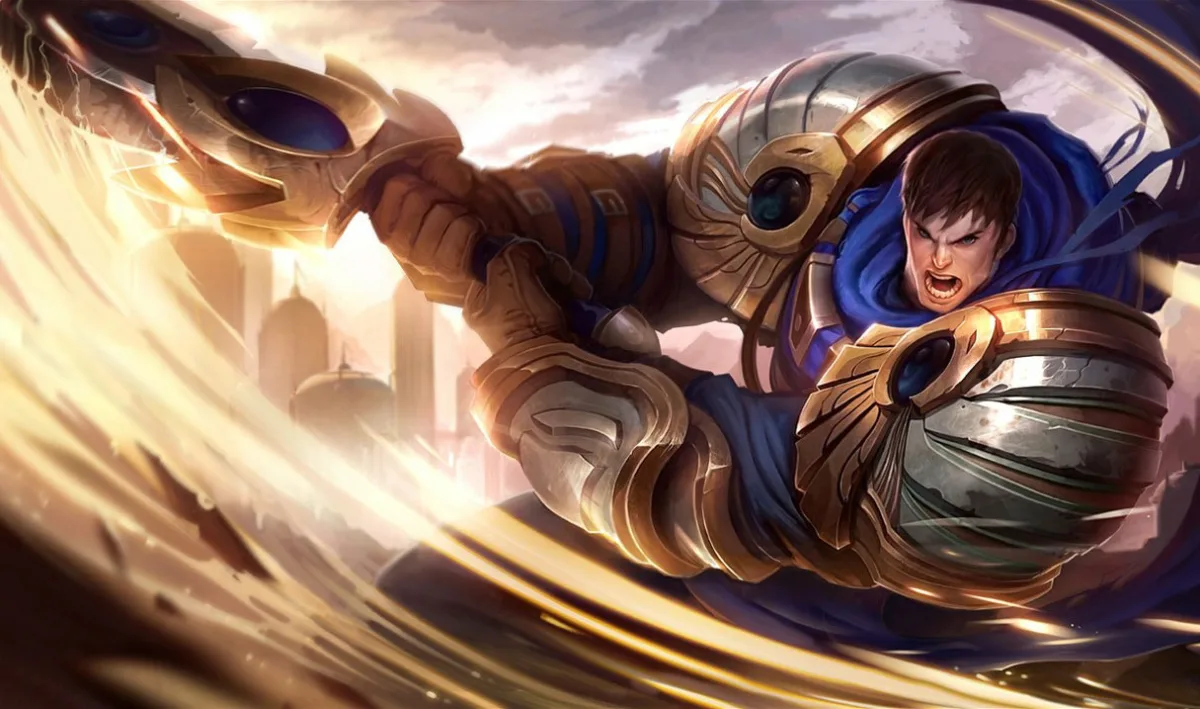
A beginner champion should free your attention for League, not hide League from you.
Patch check: These recommendations were reviewed on August 30, 2026 for modern Summoner’s Rift Patch 26.17 and Data Dragon 16.17.1. None of the ten received a standard Summoner’s Rift balance change in 26.17. Riot’s long patch page also contains a separately labeled League Classic section with changes to several familiar names; those old-version numbers do not apply here.
Easy mechanics are useful only if the lesson transfers
Some simple champions create bad comfort. A new player wins a few fights by pressing every spell at the first target, then discovers that the same habit fails as soon as opponents hold a dash or disengage. The champion was easy. The decision never became clearer.
The ten picks below pass a stricter test:
- Their job fits into one sentence. You can tell whether you were trying to split, engage, peel, poke, or deal damage from safety.
- Their main cooldown is readable. A stun indicator, shield, ultimate, or movement spell creates a visible before-and-after state.
- Their failure is explainable. "I hooked the tank" teaches more than "my combo did not happen."
- Their skill transfers. Last-hitting, wave respect, jungle pathing, vision, target selection, spacing, and cooldown tracking still matter on the next champion.
- They remain real champions. A beginner pick should not become useless the moment you understand the controls.
| Role | Start here | Learn this first | Main trap |
|---|---|---|---|
| Top | Garen | Trade, disengage, recover, repeat | Spinning through a wave with no exit plan |
| Top alternative | Malphite | Itemize for the lane and choose an engage | Treating every available ultimate as a good ultimate |
| Jungle | Warwick | Read health states and arrive before a fight ends | Following Blood Hunt into an obvious collapse |
| Jungle alternative | Amumu | Approach lanes, layer control, and fight around allies | Throwing Bandage Toss before anyone can follow |
| Mid | Annie | Last-hit while tracking one decisive stun | Spending Pyromania on the wave before danger arrives |
| Mid alternative | Lux | Aim through movement and maintain spell range | Standing still because the champion feels safe |
| ADC | Miss Fortune | Trade through target switching and protect a channel | Ulting from an angle the enemy can leave immediately |
| ADC alternative | Ashe | Kite, scout, and create picks for the team | Walking into danger to use a short-range attack |
| Support | Nautilus | Own vision lines and declare one target | Hooking the first champion instead of the right one |
| Support alternative | Sona | Position for repeated value and plan Power Chord | Tagging one more ally after the enemy can already engage |
Top lane: learn when the trade is over
Top lane isolates cause and effect. There is less help, a longer route back to safety, and more time for one lost trade to become a lost wave. Garen and Malphite are forgiving enough to keep playing while still exposing the decision that caused the problem.
Garen teaches the full trade cycle
Garen is the best beginner top laner because his kit makes a healthy lane rhythm visible. Decisive Strike clears slows, grants movement speed, and empowers an attack that silences. Judgment supplies sustained nearby damage. Courage rewards farming with passive defenses and gives a timed shield, tenacity, and damage reduction when activated. Perseverance restores health after Garen stays out of enemy champion damage and abilities for a short time.
That creates a complete beginner assignment: walk in with a reason, trade for a few seconds, use W against the opponent’s important return spell, then leave and let the passive repair the lane. You are not learning a secret combo. You are learning that a trade can be successful without ending in a kill.
The common failure is confusing simplicity with permanent permission. Judgment damages the wave as well as the opponent. Spin carelessly and you may push toward an enemy jungler, lose a freeze, or remove the minions that made the trade safe. Decisive Strike can begin a fight, but it can also remove a slow and help Garen escape. Spending it early closes that option.
Demacian Justice gives the lane a clear finishing tool. It does not replace estimating whether you survive until the cast. A beginner who learns to leave at 40 percent health after a good trade will improve faster than one who repeatedly discovers whether R executes from the death screen.
First ten-game goal: after every trade, say whether the wave is moving toward you or away from you. Garen’s kit gives you enough mental space to look.
Malphite teaches that the draft changes the build
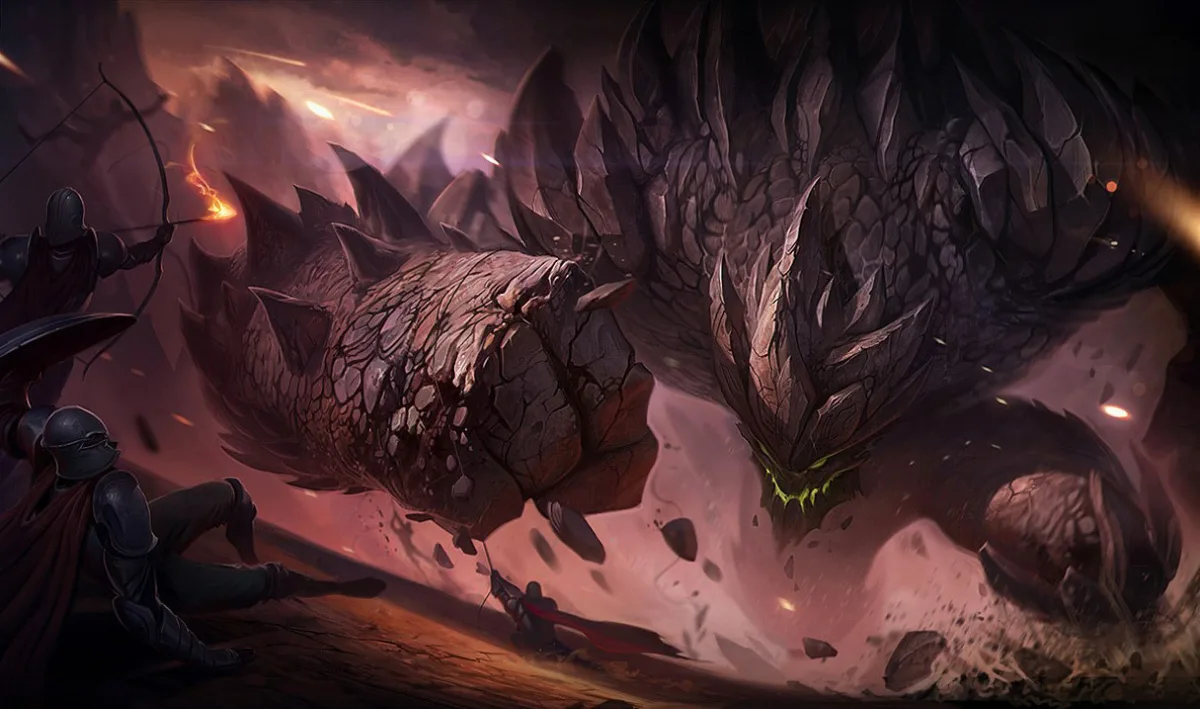
Malphite makes the engage obvious, then asks whether the team can use it.
Malphite is the alternative for a player who wants a clearer teamfight job. Granite Shield returns after he avoids damage for a short period. Seismic Shard damages and steals movement speed. Ground Slam scales with armor and reduces enemy attack speed. Unstoppable Force launches Malphite to a location, damages enemies, and knocks them up.
The champion introduces itemization without demanding a spreadsheet. Armor becomes more attractive into physical attackers, especially those relying on basic attacks. Magic damage changes that answer. Health can matter against both. The beginner lesson is not "always buy armor on Malphite." It is "look at who can actually kill you before opening the shop."
His ultimate teaches target quality. A five-person knockup is wonderful, but a one-person ultimate can also win if that champion is the only fed carry and the team can follow. The real failure is engaging beyond allied range, hitting a tank nobody can kill, or using R for damage when its threat was keeping the enemy back line away.
Malphite’s lane can encourage lazy Q spam. Mana is finite, and a poke spell that does not change health, wave access, or recall timing may accomplish nothing. Use Seismic Shard to create a trade, escape, or deny a minion, not because the button lit up.
First ten-game goal: before each ultimate, identify the nearest ally who can hit your target after you land.
Jungle: learn to arrive with information
Jungle is not difficult because camps have complicated attacks. It is difficult because every route spends time, and the map changes while you spend it. Warwick and Amumu offer reliable clears and obvious ganks, leaving more attention for lanes, objectives, and the question that matters: why are you walking there?
Warwick turns low health into information, not orders
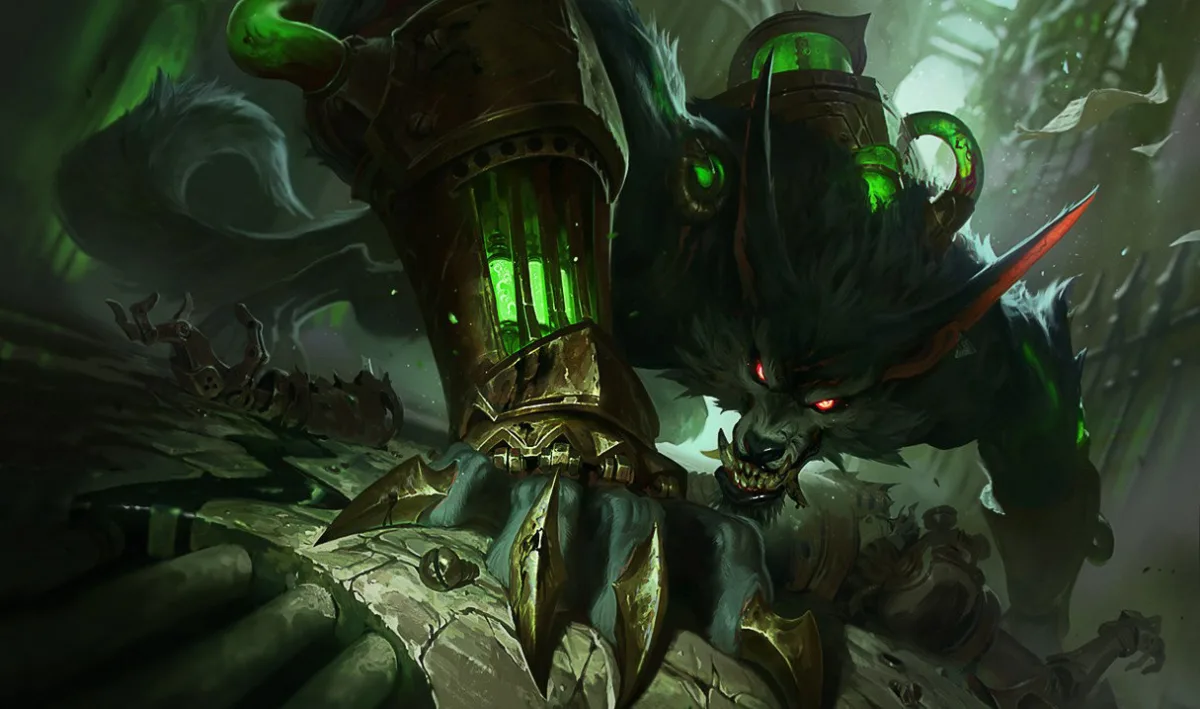
Blood Hunt points toward action. Warwick still has to decide whether the action is good.
Warwick is the best beginner jungler because Eternal Hunger and Jaws of the Beast give him sustain while Blood Hunt highlights wounded enemies. Primal Howl supplies damage reduction followed by a fear. Infinite Duress is a directional leap that suppresses the first champion hit.
The blood trail helps a new player notice action that would otherwise be missed. It is not an instruction from the game. A low-health enemy under turret may be bait. The direct route may cross vision. Your camps, dragon, or a guaranteed countergank may be worth more than a chase through an empty jungle.
That tension teaches the correct use of information. Check the lane state, allied health, visible enemies, and escape route before following the trail. Warwick can hold Jaws of the Beast through a target’s movement in specific situations, but beginners should first learn the simpler principle: save a gap-closing decision until the enemy shows where it wants to go.
Primal Howl also teaches defensive timing. Activate it before the important damage, not after the health bar disappears. Recasting to fear can secure a gank, interrupt an attacker, or send a target away from teammates who were about to hit it. Direction matters.
First ten-game goal: before leaving a camp, name the lane state or objective that justifies the next 20 seconds.
Amumu makes a successful gank easy to recognize
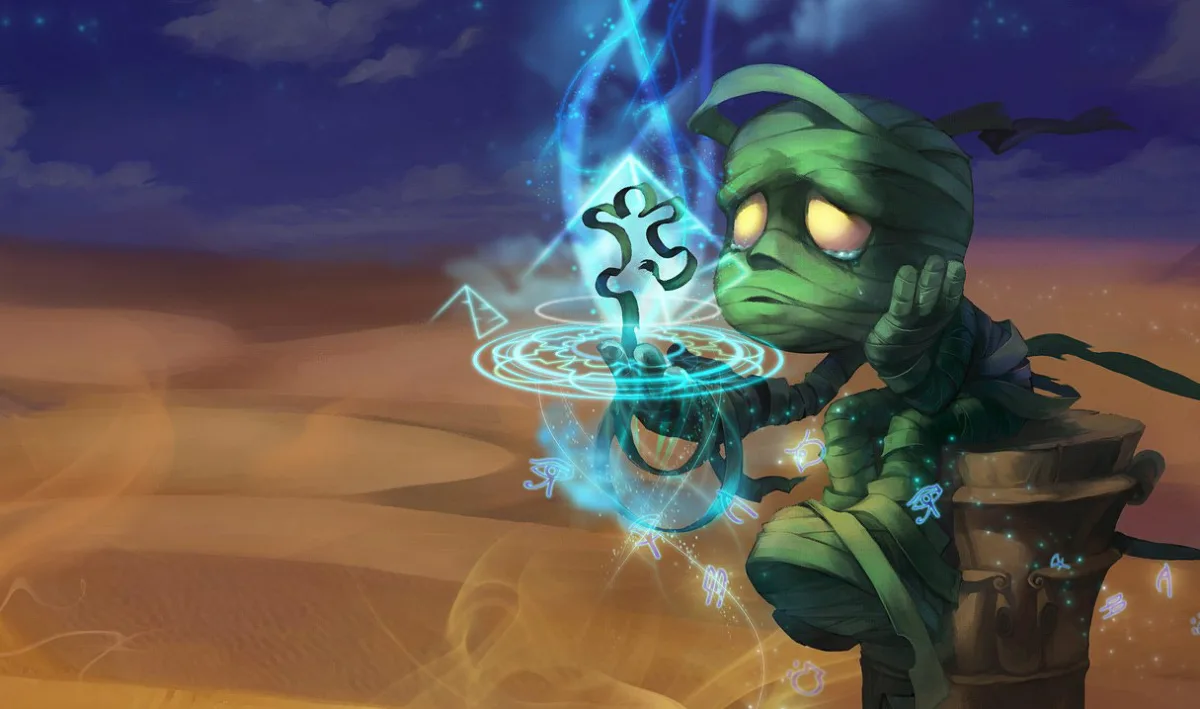
Amumu keeps the combo clear enough that pathing and follow-up become the real review.
Amumu offers a cleaner initiation lesson. Bandage Toss stuns a target and pulls him to it. Despair damages nearby enemies over time. Tantrum reduces incoming physical damage and rewards being in the middle of combat. Curse of the Sad Mummy damages and stuns enemies around him.
The kit tells a simple story: approach from an angle, land close enough that allies can act, keep enemies nearby, and use the ultimate when its control changes the fight. That last clause matters. Pressing R on the first champion is easy. Holding it for the enemy carry, a second arrival, or two divers on your back line is the skill that transfers.
Amumu’s sadness cannot fix a bad path. Walk through a ward and opponents back away before Q range. Start a dragon while both nearby lanes are pushed into your team and the enemy gets first movement. Gank a lane with no allied health and the stun becomes a solo visit. These failures are readable because the mechanics did not hide them.
He also teaches that engage is not synonymous with forward. An Amumu beside his ADC can use Bandage Toss and R against assassins entering the back line. New junglers often think their tank must always start. Sometimes protecting the only damage dealer is the start of the winning fight.
First ten-game goal: after every failed gank, check whether the enemy saw you, your ally could follow, and the wave allowed action. Record one cause, not "bad luck."
Mid lane: learn to manage attention in the center
Mid receives pressure from both sides and touches every major rotation. Annie reduces the number of mechanical questions. Lux adds range and skillshots without turning the kit into a combo exam.
Annie gives every decision a visible stun state
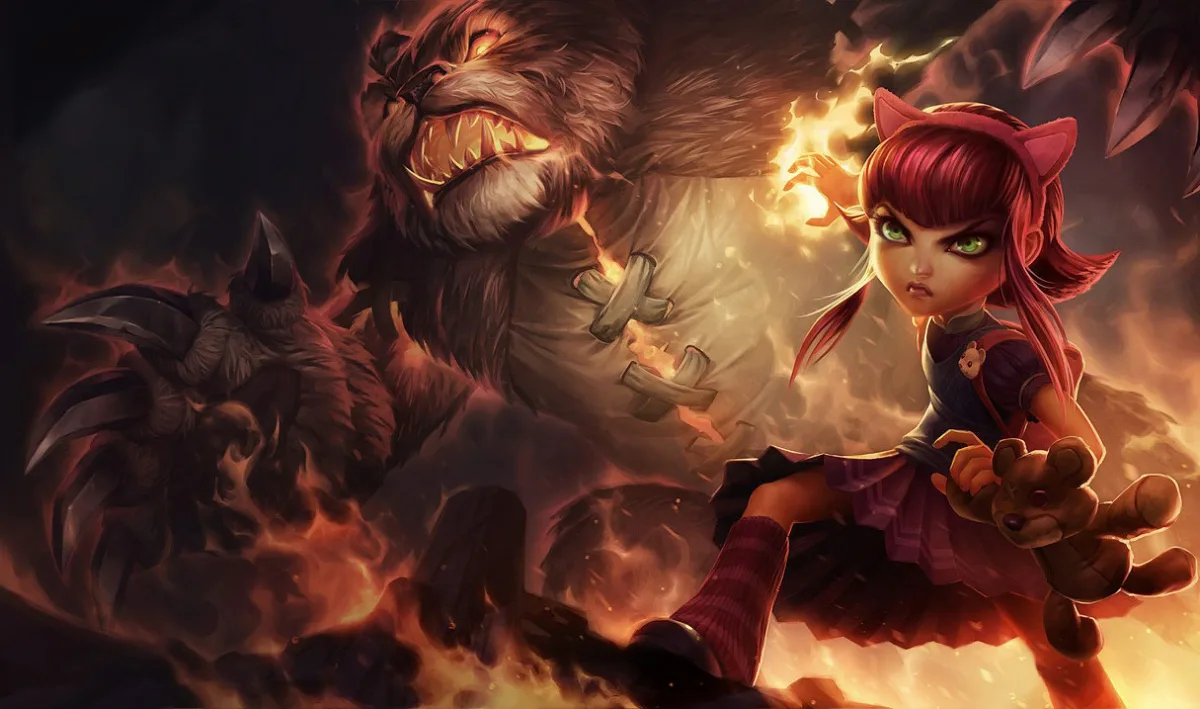
Annie’s stun state gives a new mid laner one decisive resource to track.
Annie is the best beginner mid laner. Disintegrate refunds its mana cost when it kills the target, making it a forgiving last-hit tool. Pyromania gives her next offensive spell a stun after the required spell cycle and is available when she begins or respawns on the current kit. Incinerate covers a cone. Molten Shield can protect Annie or an ally and provides movement. Summon: Tibbers deals area damage and brings a controllable threat into the fight.
The lesson is resource visibility. The passive indicator tells both teams when Annie can force action. With stun ready, walking toward the side of the lane changes what the opponent may safely do. Spend it on a minion and that pressure disappears. A beginner can feel the value of holding a cooldown before understanding every matchup.
Annie also teaches last-hit discipline. Q makes individual minions easier, but leaning on it for every kill can prevent you from practicing basic attacks and leave the spell unavailable for a trade. Alternate intentionally. Use some waves to secure difficult minions with Q and others to learn the attack timing.
Tibbers should not end your attention. Move him after the cast, send him toward a target or away from danger, and notice whether the ultimate was used for damage, stun, zone control, or self-defense. A good cast has a job.
First ten-game goal: before using a stun on the wave, look at both river entrances and ask what becomes possible without it.
Lux teaches range only if you keep moving
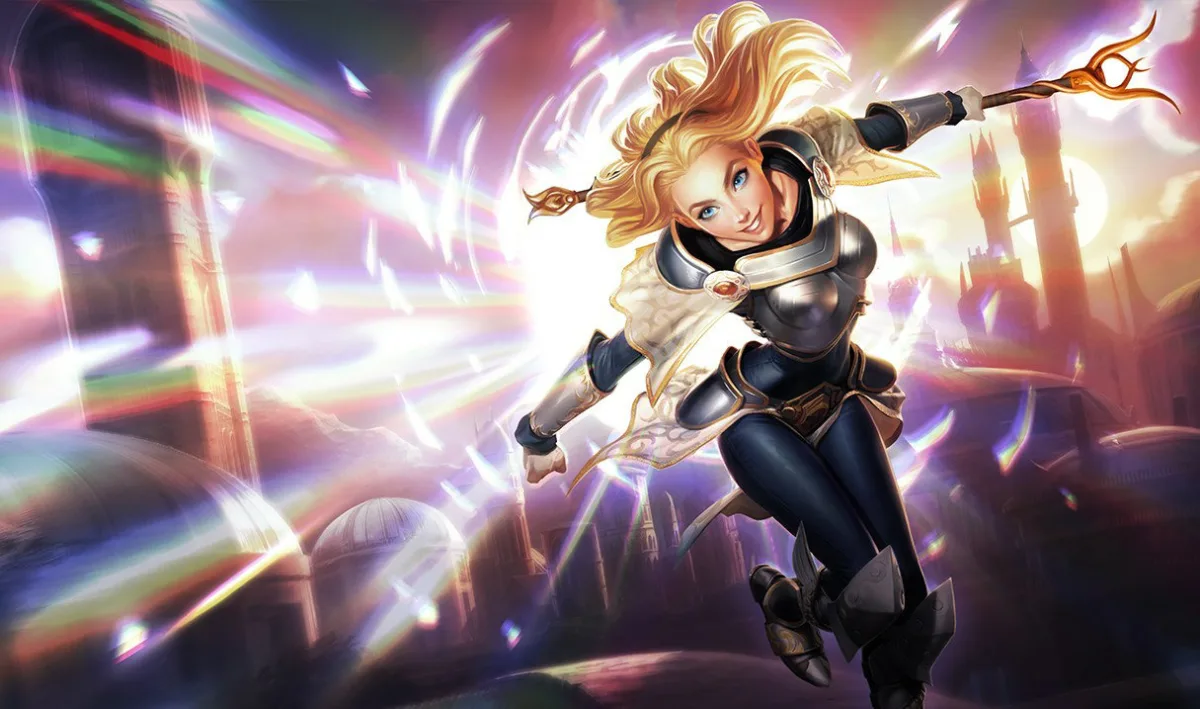
Lux teaches skillshot setup only if the player reviews why the target moved.
Lux is the alternative for players who want to practice skillshots and long-range spacing. Light Binding damages and roots up to two enemy units. Lucent Singularity slows in an area before detonation. Prismatic Barrier shields allies along its outgoing and returning path. Final Spark fires through a long line.
Her spells make misses easy to diagnose. Did the target have only one exit? Did you throw Q through a minion without accounting for the second unit? Did E force movement before Q, or did both spells ask the same question at once? A miss should produce a new aiming rule, not another immediate cast from the same spot.
Range can create the wrong lesson. Lux feels safe far from the wave, so a beginner may stop moving after each spell or stand at maximum distance while the opponent controls the river. Good spacing is active. Step forward when the enemy’s threat is down, back away while your Q is unavailable, and change angles so every binding does not travel through the same minions.
Final Spark is a line, not a guarantee. Use roots, slows, terrain, allied control, or predictable movement to make the line meaningful. Firing only because a target is visible teaches hope instead of setup.
First ten-game goal: after each missed Q, name the movement you expected and the movement the opponent actually chose.
ADC: learn to deal damage without borrowing safety
Marksmen expose positioning because their damage depends on repeated access. Miss Fortune gives the cleanest first trade pattern. Ashe replaces burst with control, scouting, and an honest lack of mobility.
Miss Fortune teaches that targets are resources
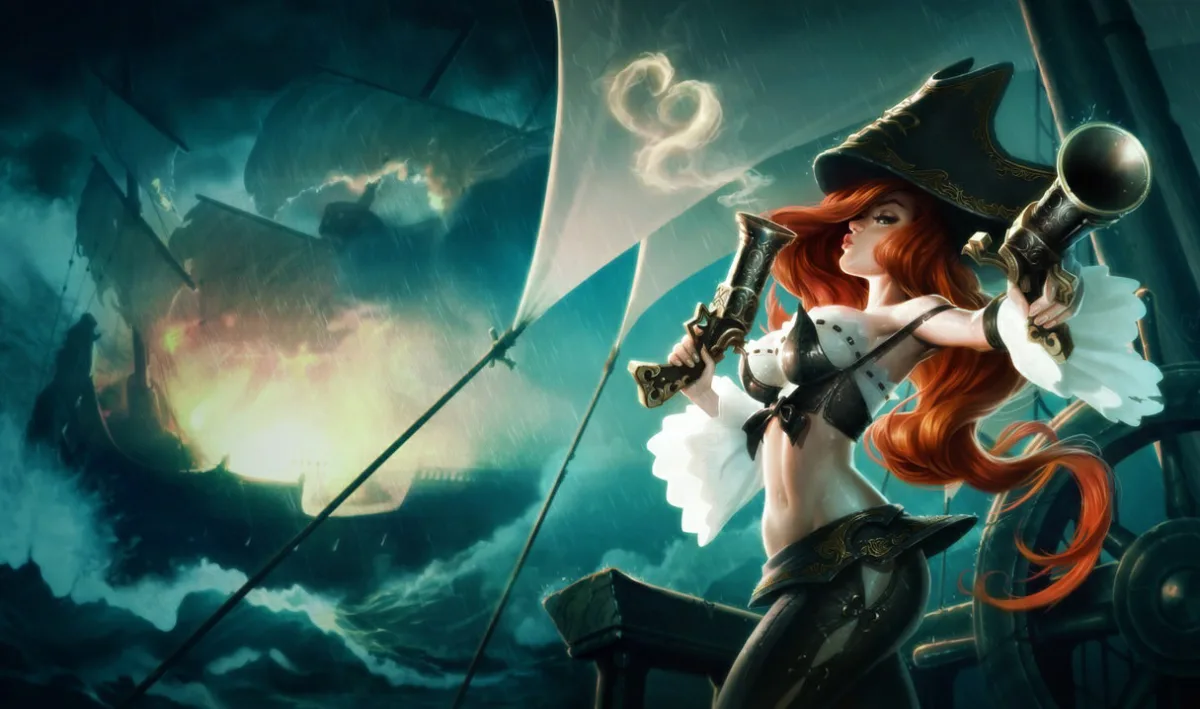
Miss Fortune turns target switching and firing angles into visible rewards.
Miss Fortune is the best beginner ADC because Love Tap deals bonus physical damage when she attacks a new target. Double Up hits one enemy and then a target behind it. Strut grants movement while enemies have not attacked her and can be activated for attack speed. Make It Rain slows an area. Bullet Time channels repeated waves into a cone.
Love Tap turns target selection into visible value. Alternate between minions to last-hit, switch to a champion for a trade, then return to the wave. You begin noticing which target is available instead of attacking whatever the cursor touched last. That habit transfers to every marksman, even when the passive does not.
Double Up teaches geometry. The first target is often a minion; the second hit is the actual threat. Watch where the opponent stands relative to low-health minions rather than throwing Q on cooldown. Make It Rain can hold someone in the route of a bounce or ultimate, but its slow is also a defensive tool against an engage.
Bullet Time teaches channel ownership. The best angle is not necessarily the closest. Ask what can interrupt you, which direction the enemy must leave, and whether an ally has already forced movement. A full cone on two targets is better than a dramatic cast on five champions who can walk sideways immediately.
First ten-game goal: count how many trades began with a deliberate Love Tap switch or Double Up angle rather than walking into direct attack range.
Ashe makes every positioning error honest
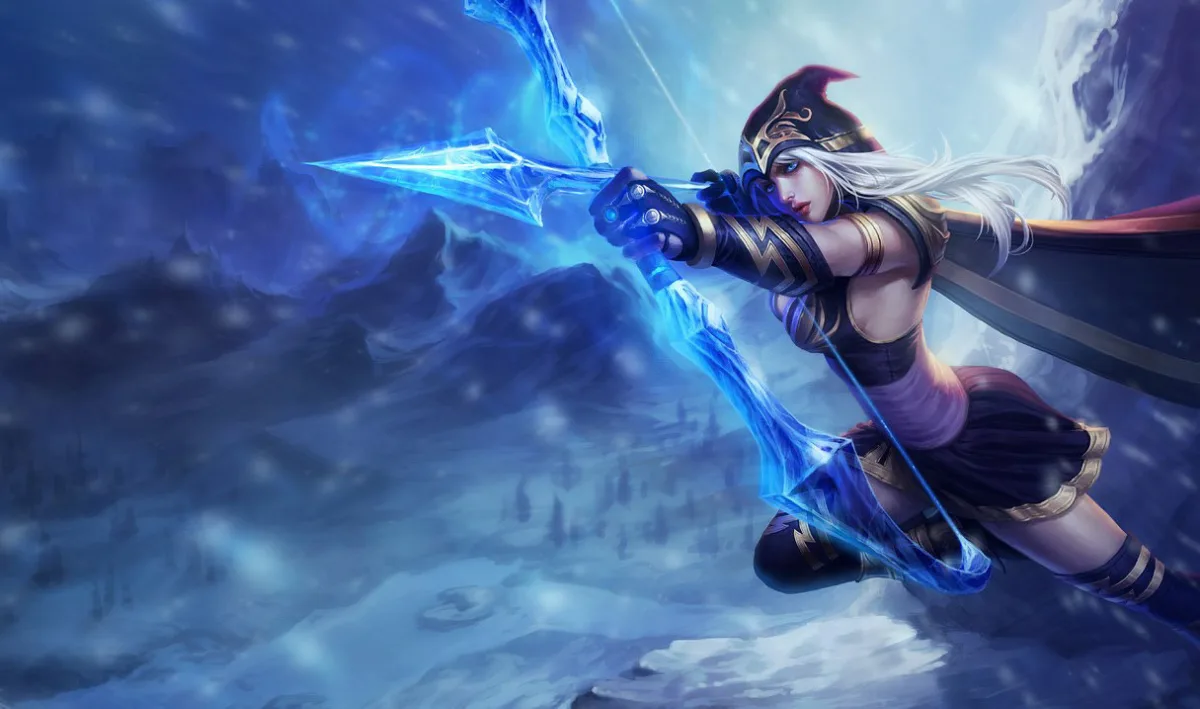
Ashe trades a panic dash for slows, scouting, and honest positioning feedback.
Ashe is the alternative for a player who wants team utility and kiting practice. Frost Shot makes her attacks slow. Volley applies that slow across a cone. Hawkshot scouts anywhere along its route. Enchanted Crystal Arrow can stun an enemy champion, with a longer stun after longer travel, while slowing nearby units.
She has no ordinary dash to erase a bad step. That sounds unfriendly, but it makes spacing legible. If an opponent reaches Ashe, review when she entered its range, whether Volley was available, and whether she attacked while moving between shots. The champion gives clear feedback without hiding the decision behind an escape spell.
Hawkshot is one of the best beginner macro tools in League because it turns a guess into information. Send it through camps before walking into river, across the enemy jungle when an objective is approaching, or along the route where a missing jungler would travel. Do not use both charges for curiosity and then complain that the map is dark.
Enchanted Crystal Arrow can start a fight from far away, but distance creates travel time. A shorter arrow on a target your team can immediately reach may be better than a cross-map highlight attempt. Aim with allied position, not only enemy position.
First ten-game goal: use Hawkshot before one risky river movement per game, then check which decision the information changed.
Support: learn that vision is a permission system
Support gives up farm, not responsibility. Nautilus teaches when to cross a line. Sona teaches how much value can come from staying one step outside that line.
Nautilus turns one target into a team call
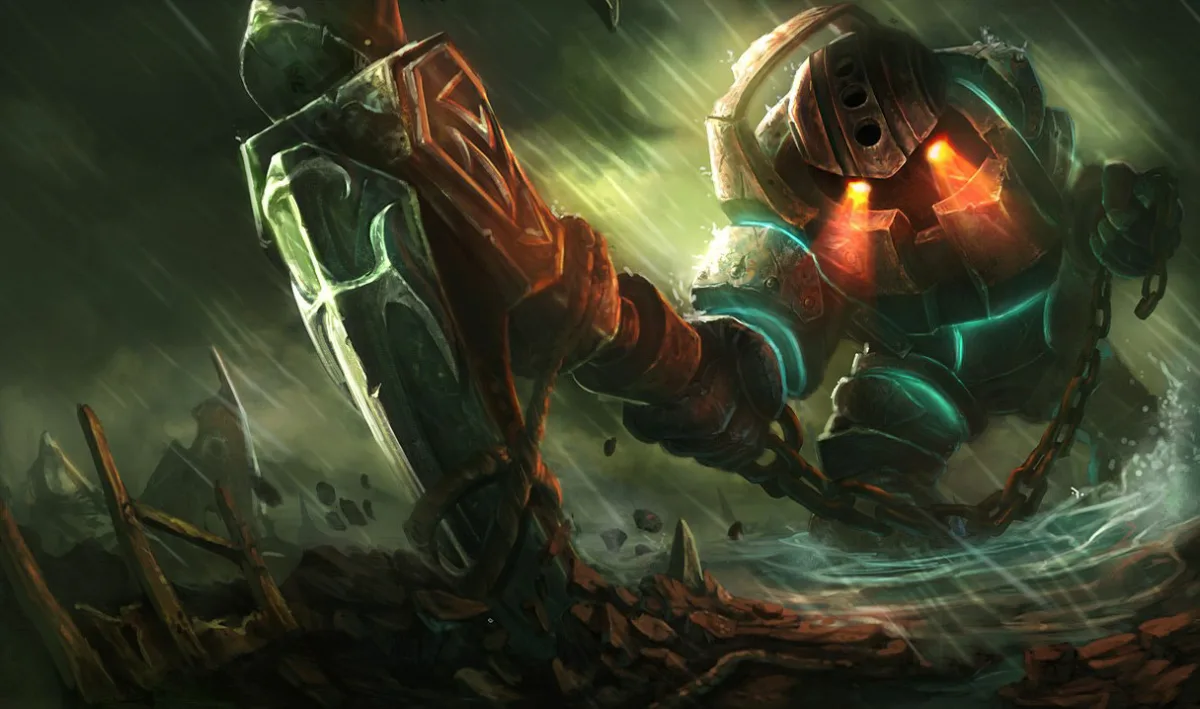
Nautilus makes the target call clear, including when the call was wrong.
Nautilus is the best beginner support because his control is obvious. Dredge Line pulls him and the enemy together when it hits a champion, or pulls Nautilus toward terrain. His first attack against a target roots it through Staggering Blow. Riptide creates slowing waves around him. Depth Charge follows a chosen opponent, knocking up enemies along its route before reaching and disabling the target.
The champion teaches commitment. A hook changes Nautilus’s position automatically. Before throwing it, check the allied carry, enemy wave, jungle information, and target. Landing Q is not success if the ADC is too far away or the hooked champion wanted to enter your team.
Depth Charge teaches target declaration. It tells four allies which champion is likely to be controlled and gives them time to move. Use that certainty to coordinate, not to chase the most distant nameplate while the enemy assassin attacks your carry.
Vision makes the kit stronger because unseen angles reduce reaction time. The beginner mistake is warding alone in the same dark space where Nautilus hopes to hook someone. Move with a teammate, ward from a safe edge, or use the threat of your position to control entry before face-checking.
First ten-game goal: before every hook outside lane, identify who can follow and which visible enemy would punish the pull.
Sona teaches value through positioning, not aim
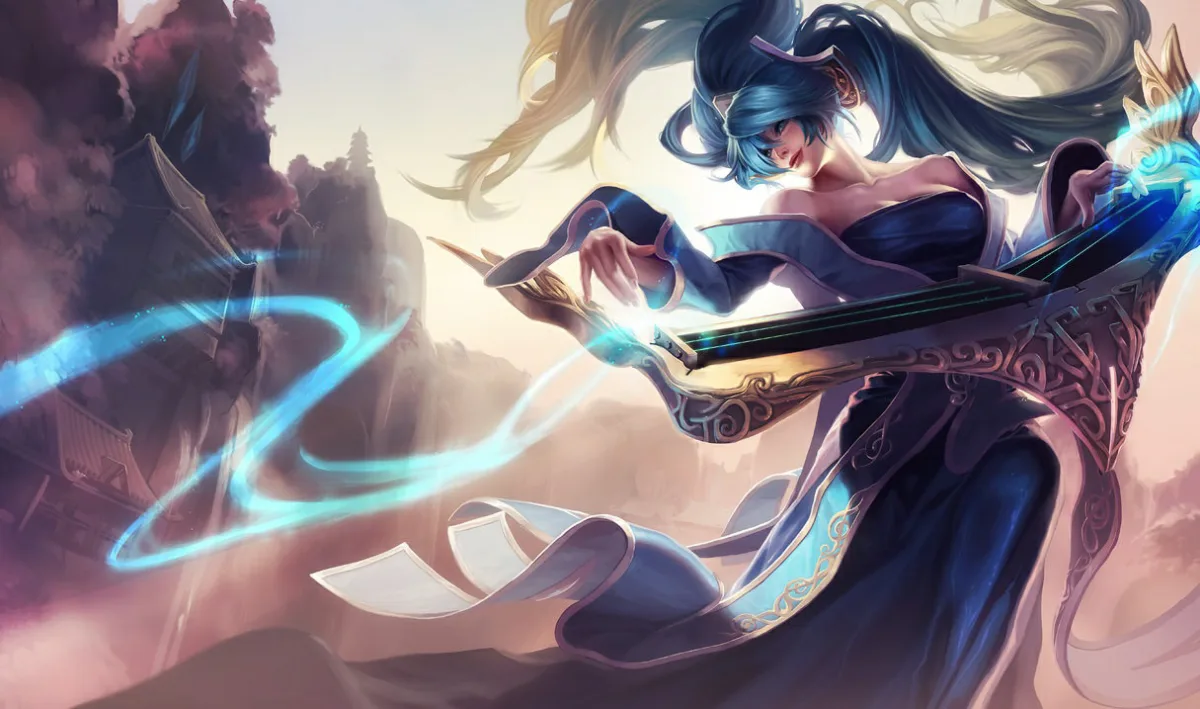
Sona’s buttons are approachable. Standing close enough without standing too close is the lesson.
Sona has low mechanical entry but punishes careless movement, which makes her a useful second support. Hymn of Valor damages nearby priority targets and gives allies a temporary damage aura. Aria of Perseverance heals a wounded ally and supplies shields through its aura. Song of Celerity grants movement. Crescendo stuns enemy champions in a line.
Power Chord gives her next attack an additional effect based on the last basic ability used after the required spell cycle. The beginner lesson is intent. Do you want more damage, reduced enemy output through the defensive chord, or a slow from the movement chord? Pressing Q, W, and E as soon as they appear may create activity while removing the effect the next fight needed.
Her aura range encourages one extra step toward an ally. That step is the whole champion. Tag the teammate and retreat before the enemy engage begins. Stand too far back and the spells touch nobody. Stand inside the front line and Sona’s low durability ends the lesson immediately.
Crescendo is simple to aim but valuable to hold. It can start on grouped enemies, stop a diver, or interrupt a channel. A support who watches the enemy’s intention will often find a better line than one trying to prove the ultimate is ready.
First ten-game goal: before completing Power Chord, decide which version the next trade or fight actually needs.
Use one champion for 20 games, not ten champions for two
The list is a menu, not a weekly challenge. Pick one role and one champion. Twenty games is a practical trial rather than a mastery threshold: long enough to expose repeated mistakes, but short enough to review without feeling trapped. Treat the bold goal under your champion as the main question for games 6 to 10.
Use four five-game blocks:
- Games 1 to 5: inputs. Learn ranges, cooldown rhythm, farming or clear, and what the ultimate actually changes.
- Games 6 to 10: one lane rule. Track wave direction in a lane or arrival timing in jungle. Do not add three goals at once.
- Games 11 to 15: the map. Look at the minimap before each major spell, ward, recall, or camp transition.
- Games 16 to 20: death review. Choose the first avoidable decision before each death. The final damage number is rarely the first cause.
Do not switch because one matchup felt impossible. Check whether the problem was champion knowledge, wave state, pathing, vision, target selection, or impatience. Switch when the role’s basic job is not enjoyable after you can actually perform it.
Which beginner champion should you choose?
Choose Garen if you want a private lane and clear trade cycles. Choose Warwick if the moving map is the appeal. Choose Annie if farming and one decisive stun sound manageable. Choose Miss Fortune if repeated ranged damage is the goal. Choose Nautilus if making the first team call feels better than being the main source of damage.
Pick the alternative in that role when its lesson sounds more useful: Malphite for teamfight entry, Amumu for group control, Lux for skillshots, Ashe for scouting and kiting, or Sona for positioning and repeated support value.
None of these champions will teach League automatically. They remove enough noise that the next decision becomes visible. That is what a real beginner champion is for.
For the next step, compare RiftBrain’s easiest mid laners, current support field, and Patch 26.17 ADC ranking.
Beginner-pool review: Verified August 30, 2026 for Patch 26.17. Recheck after major kit reworks, role-system changes, jungle pathing changes, or a patch that materially alters several recommended champions.